

I was given this display case a little over a week ago with the hope it would be useful out in the shop. We’re not sure the exact age on it, but it could be up to about 100 years old. It seems like you’re never “done” getting the shop set up and this beauty is going to be a counter height work bench with built in Moxen vices.
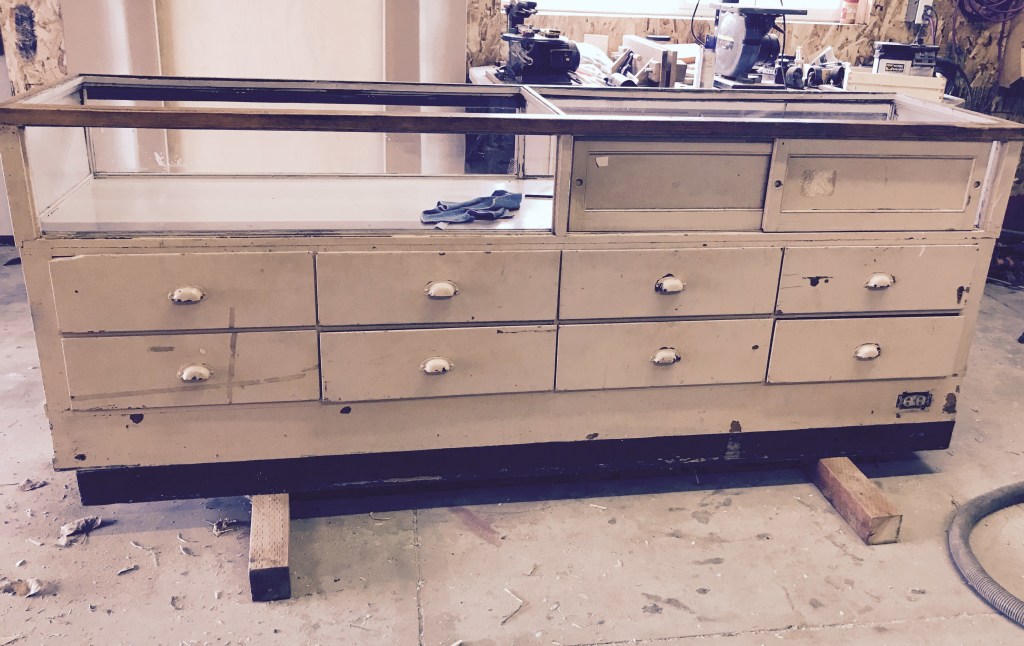
It really was rather ugly at this point, I didn’t get a picture of the wood paneling that had been tacked onto the sides and back, that didn’t even make it out of the trailer. We got it set on skids and I started looking at it closer. From past experience, paint that old can be fairly easy to chip off once you get it started and within a few minutes I had part of a side panel chipped away.

I started with a regular utility knife blade, but once I decided I was serious about getting the paint off, I switched to a cheap but effective scraper I found at the hardware store. Once you got the angle just right, the paint came off in sheets. All 4 layers of it, which just left the original varnish. There were a few stubborn patches that I took off with a more traditional scraper, but they squeak horribly and are hard to hear over. I ended up putting on ear muffs while using them.
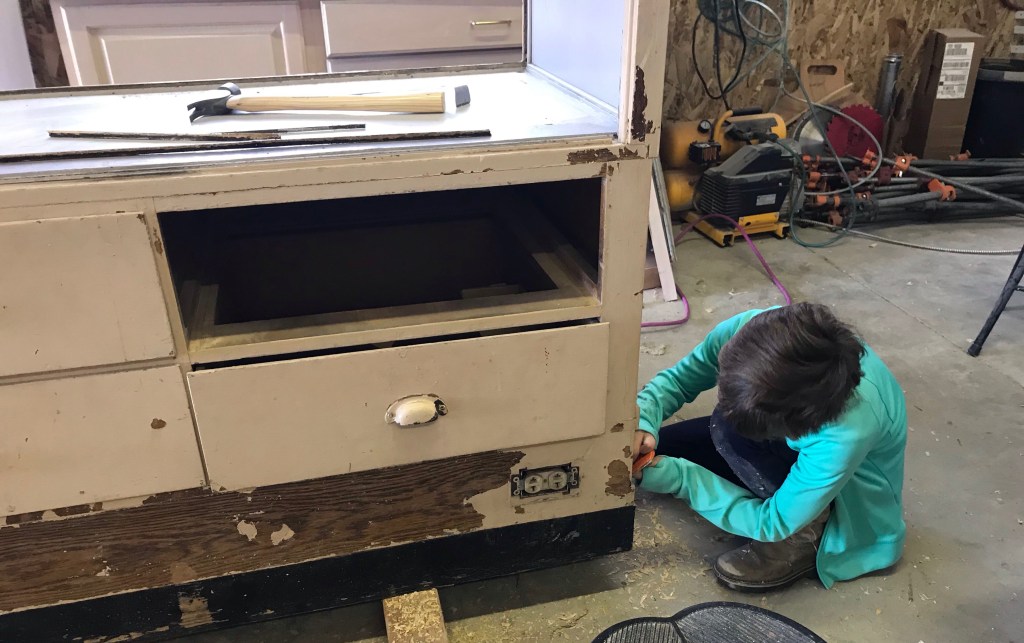
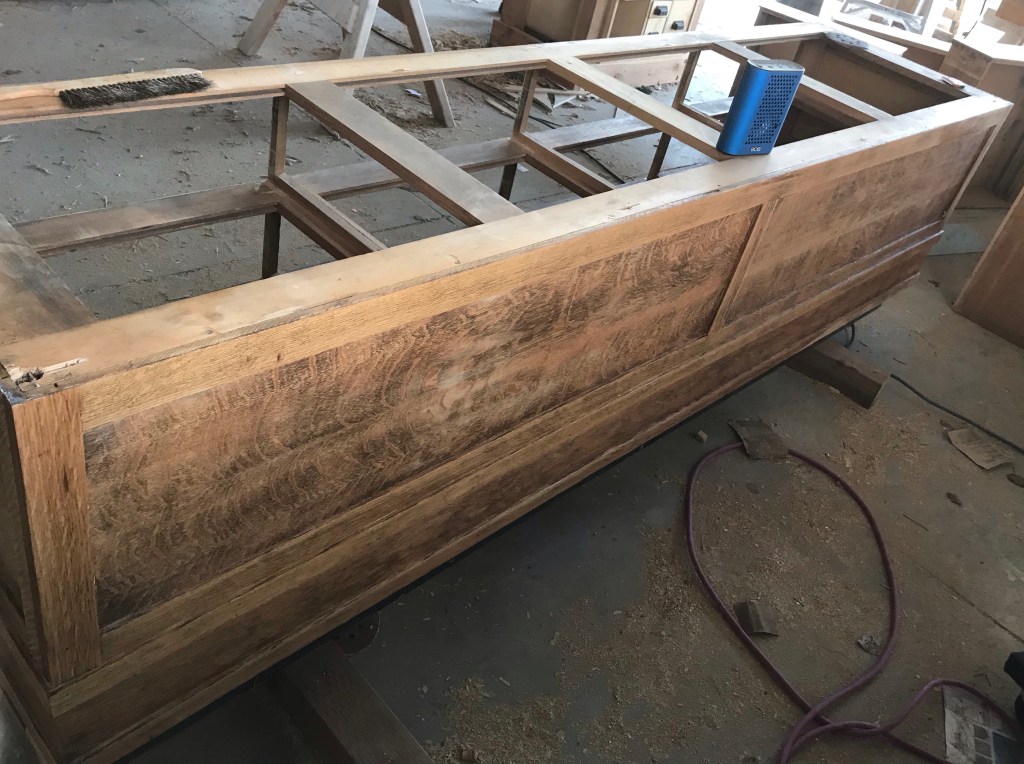
The top portion is still on the case at this point. but not for long. I hadn’t quite figured out whether I could beef it up enough to support the work top I wanted, or if something else would need to be built when the same friend who gave it to me stopped by.
Looking at the case, it was obvious to him that it was built at a factory using modules. You could look through the catalog and decide you wanted a bank of so many drawers on top of a counter base. Then add the display case with glass and sliding doors on top of that. While I was trying to have a conversation with at least two children at a time, he pried the top off before I was sure that’s what I wanted and we set it aside on some saw horses to think about later.
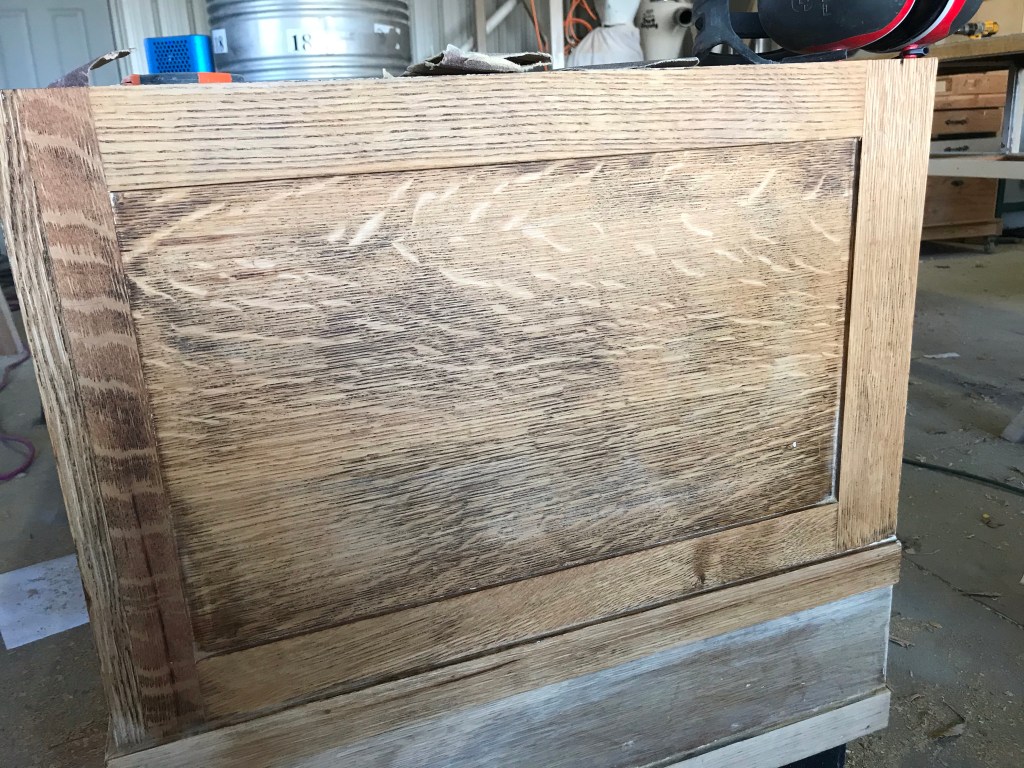
Getting the varnish off was the next step. This was mostly done with 60 grit sandpaper and an orbital sander. The key to not having that be a frustrating tedious experience is to use tons of sandpaper. Once the sandpaper stops cutting on its own, it’s times to change it out. I did a final pass with 150 grit sandpaper over the entire thing before applying the finish.
Once I had the side started, I was getting impatient to see what this was actually going to look like when finished so I wiped a section of the case with mineral spirits and was rather surprised at how beautiful the wood was underneath. All of the oak in this cabinet is high quality quarter sawn lumber. The ray flecks show up beautifully in everything including the plywood.

A while ago I bought a can of Danish Oil that didn’t quite work for what I had in mind…..I’m not at all sure anymore what project that might have been. I wanted to really show off the grain on this case, so dig it out to use.
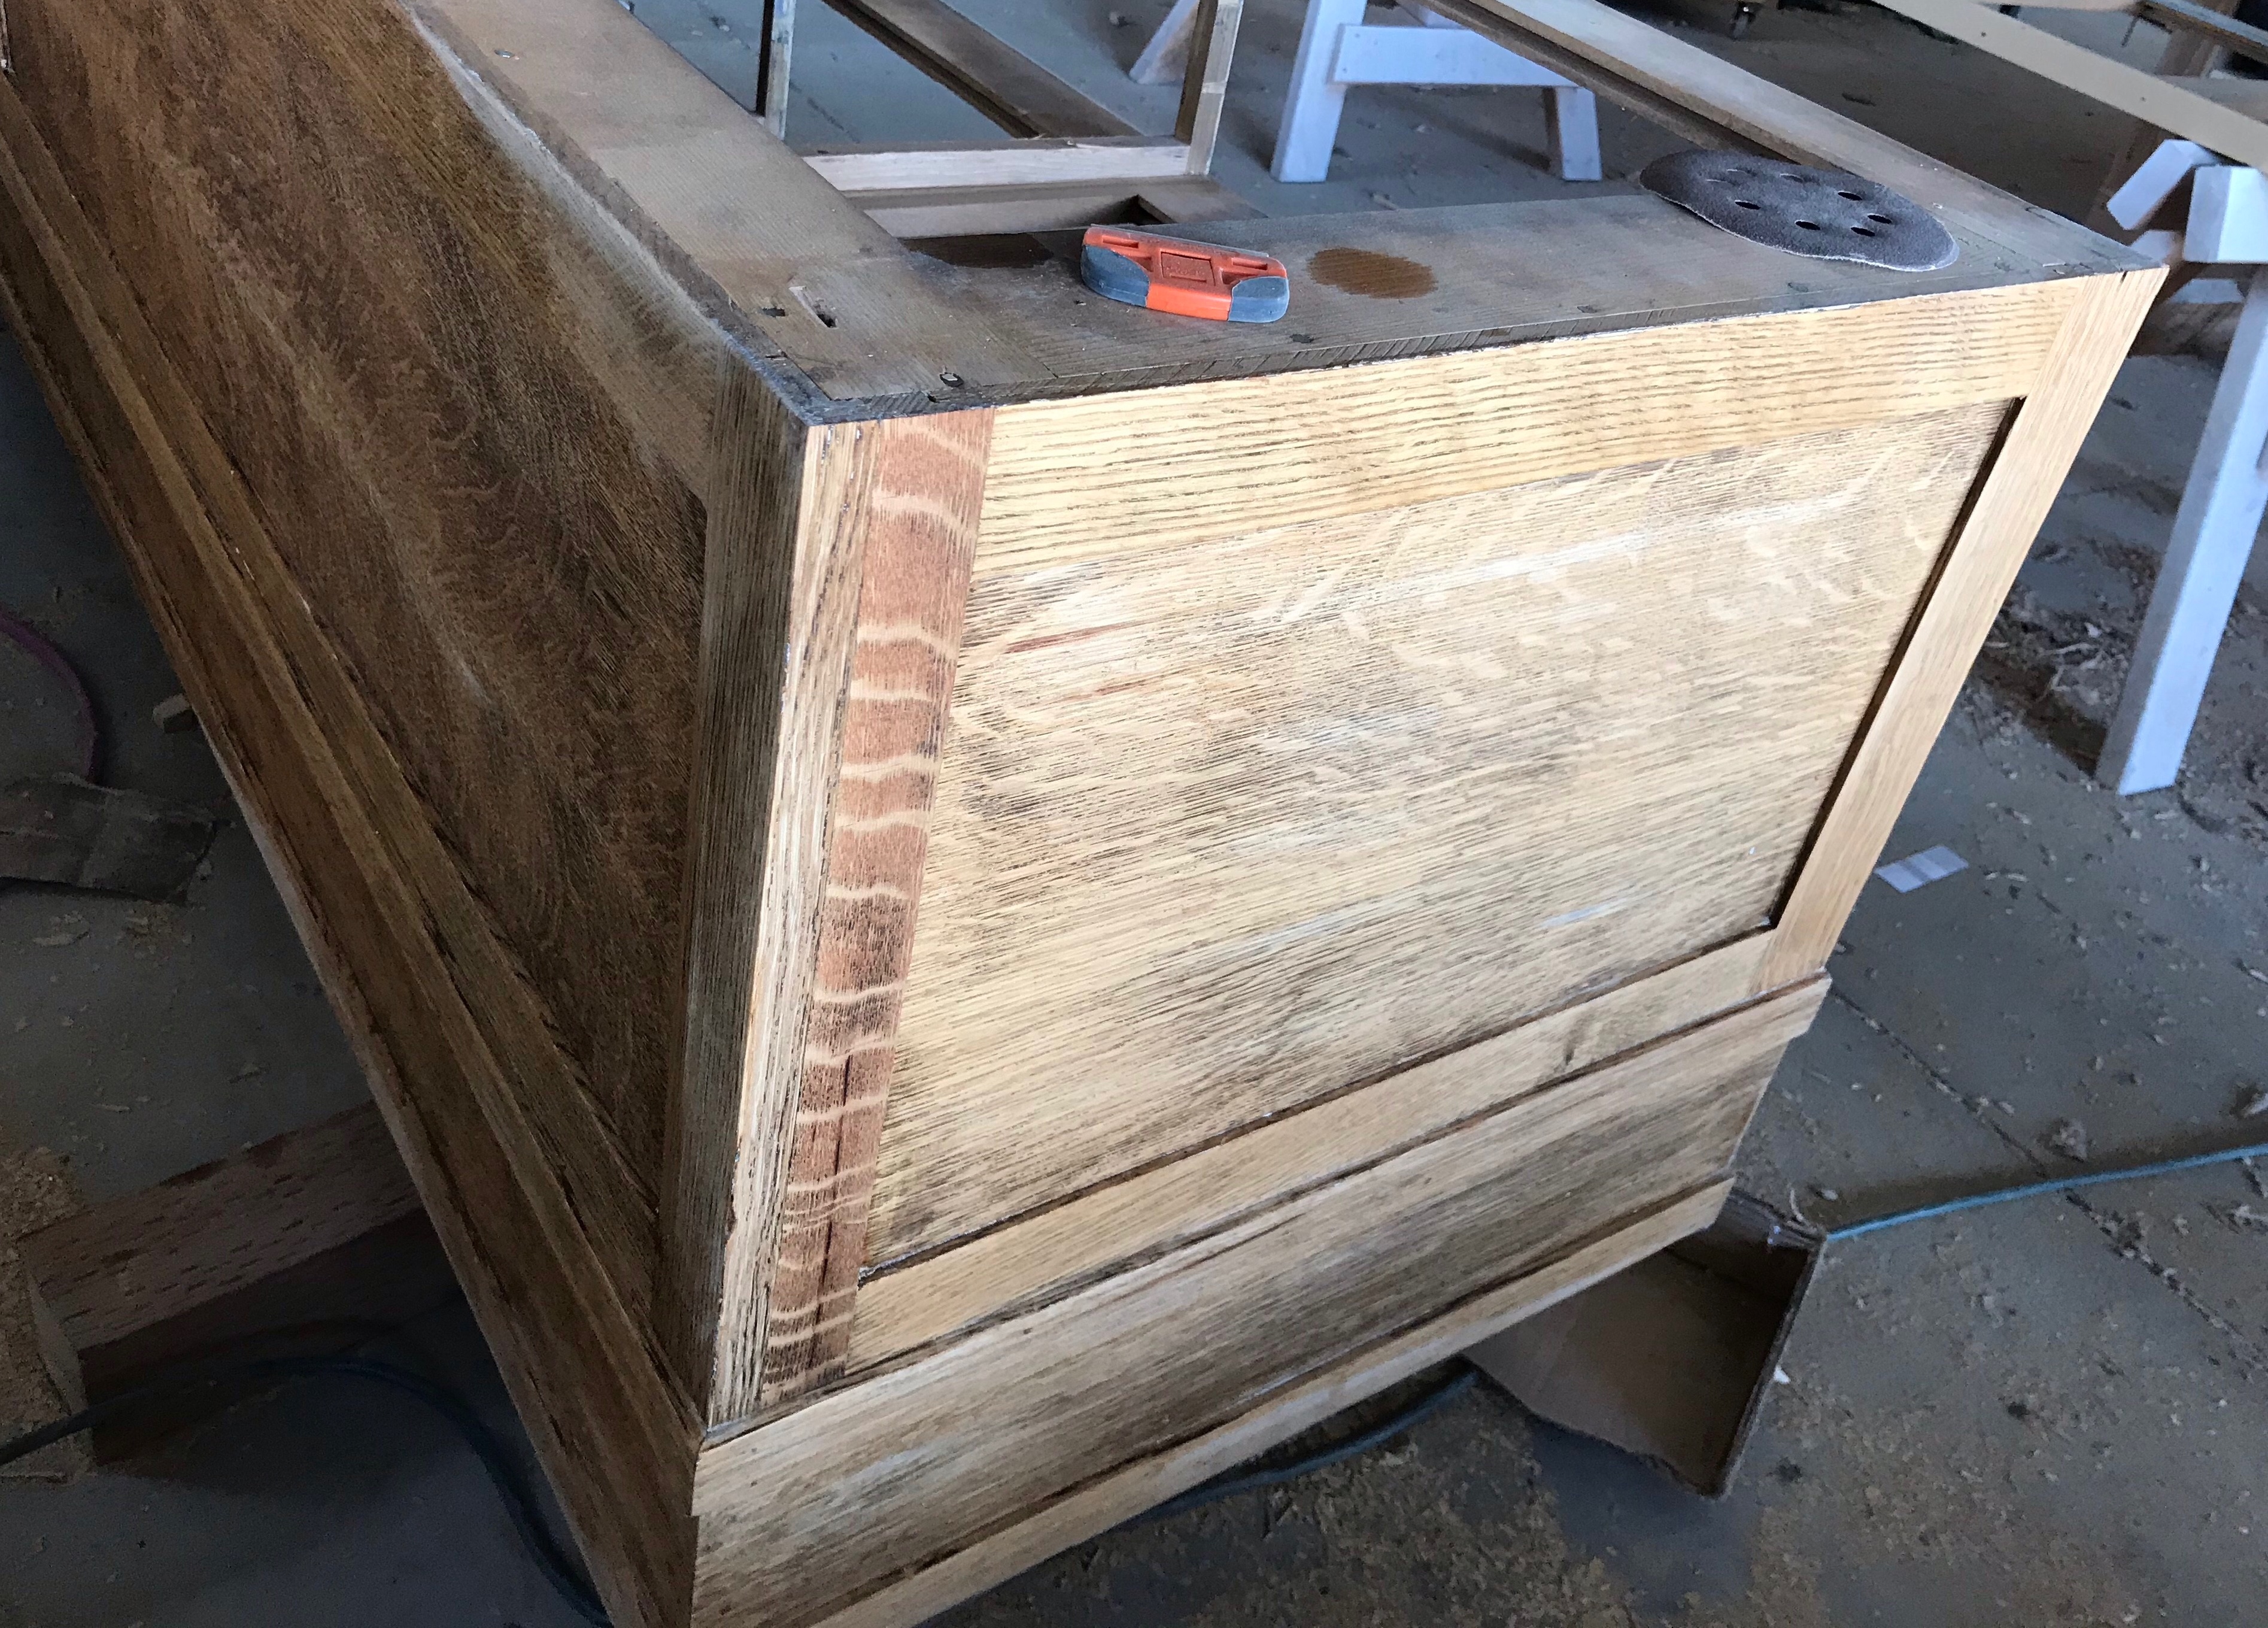
Final prep on the cabinet consisted of blowing off the biggest dust than wiping the whole thing down with mineral spirits to remove the finer particles. Then I started wiping on the Danish Oil. For the sake of time, it was getting to be dinner time ;0). I applied two coats, one right after the other and this is how it turned out!

5 thoughts on “Display Case Restoration”