

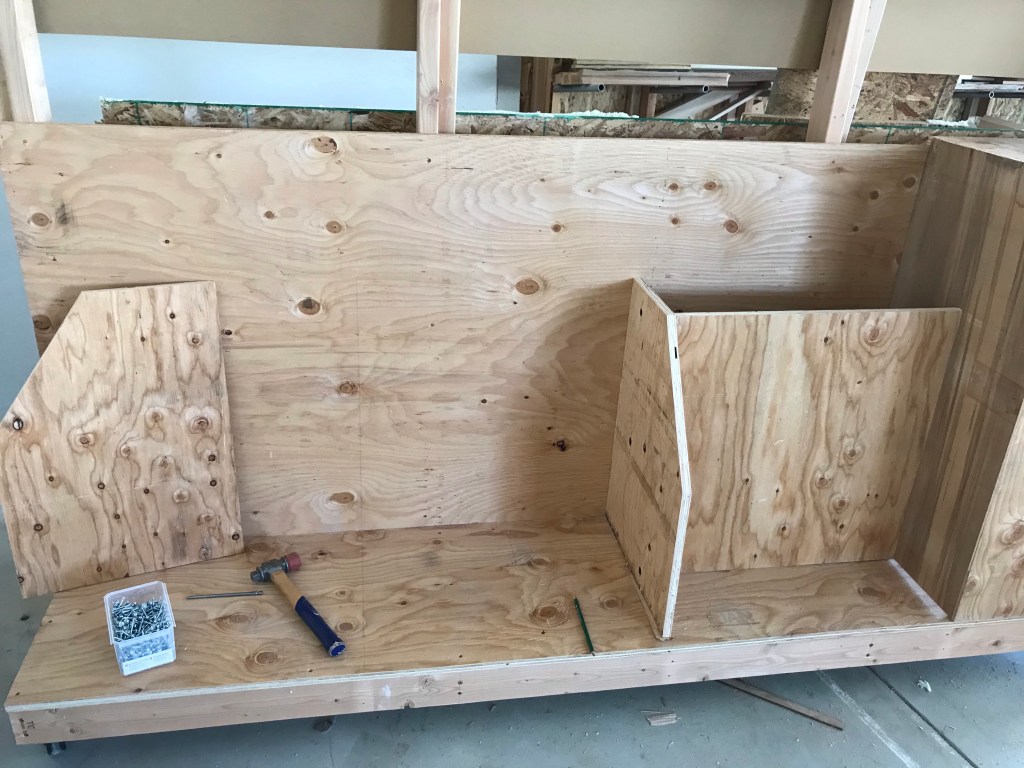
In Wood and Plywood Cart Part I I built a base and finished the plywood side of the cart, now we’re going to add some shelves and bid to the other side of the cart. First I covered the bottom and 3’ of the back with plywood.

Everything is divided into roughly 2’ sections from here on out. The shelves are 2’ deep, plus a 1/4” back. I opted for using runners on the shelves vs. making a dado for them to sit in for the sake of time.
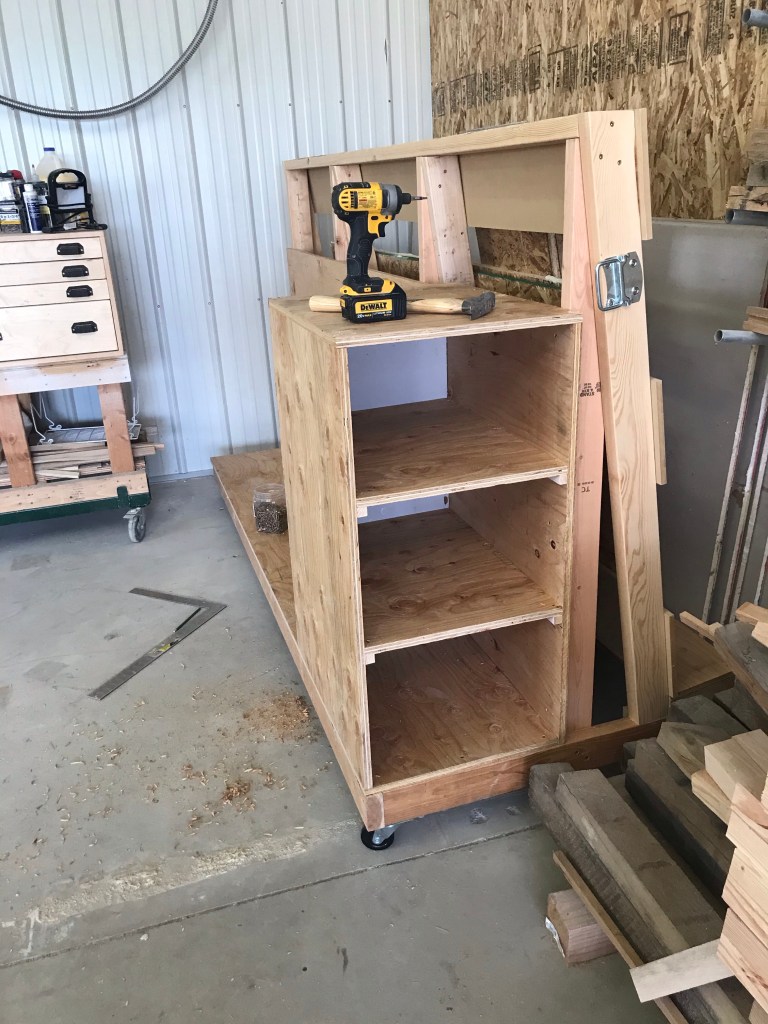
Just remember when you’re cutting things out that the shelves are not the same width as the top :0). Since I’m using 3/4” plywood, the shelves are 3/4” less than the bottom. But the top sits on both sides so it needs to be 1-1/2” wider.
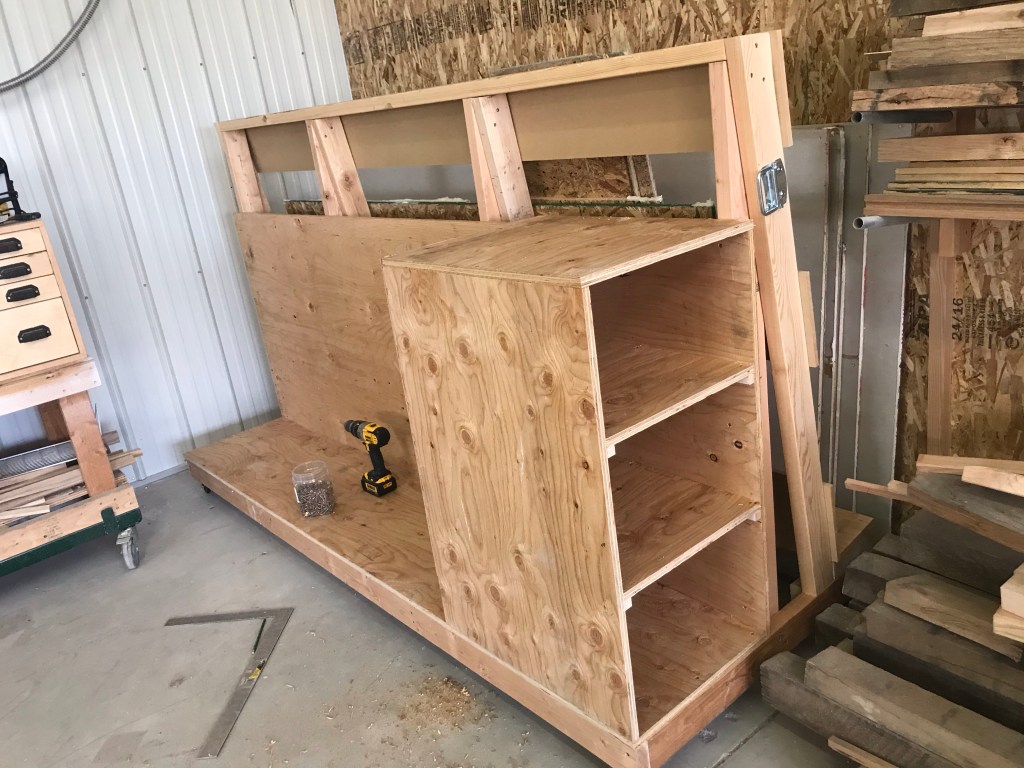
Same thing on the bin dividers, there was going to be a 3/4” front attached to them, so the width was 3/4” less than the base.
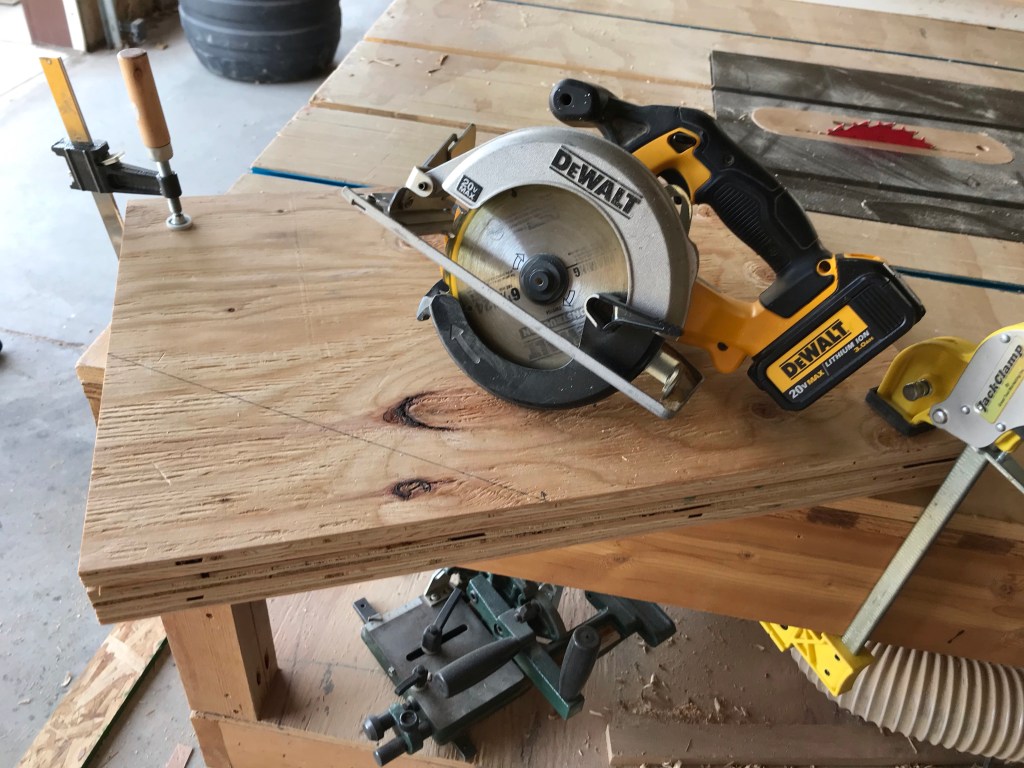
To save plywood I didn’t have the slope go all the way to the top of the back. Also I didn’t have a full 8 foot piece big enough for the front so I used two smaller strips that ended up being close to 12” when stacked on each other, so their combined measurement was the front of my slope. I stacked them together and cut them with the circular saw.
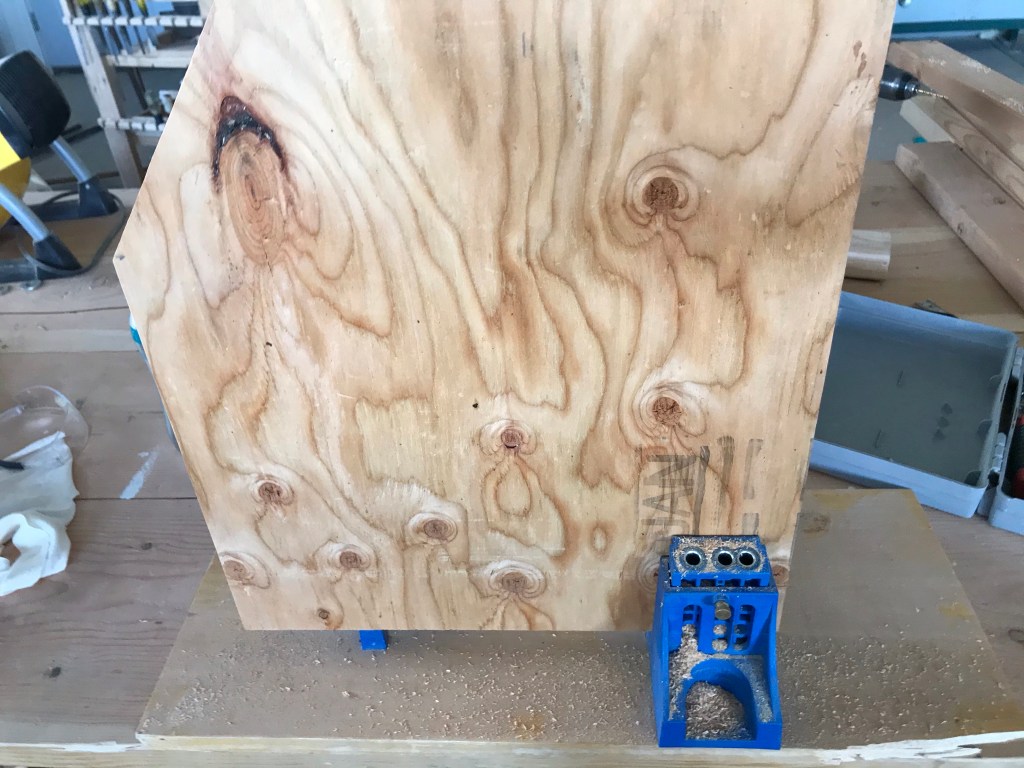
Almost this entire section went together with pocket hole screws. Here I’m adding the pocket holes to the bottom and back if this divider.
I cut the middle dividers of the bins one at a time…I’m sure you could measure the length of where they were going, subtract the 2-1/4” for the dividers then divide by 3 to get perfectly equal bins. It just seemed like a lot of fractions to me, so I put one up, measured and cut.
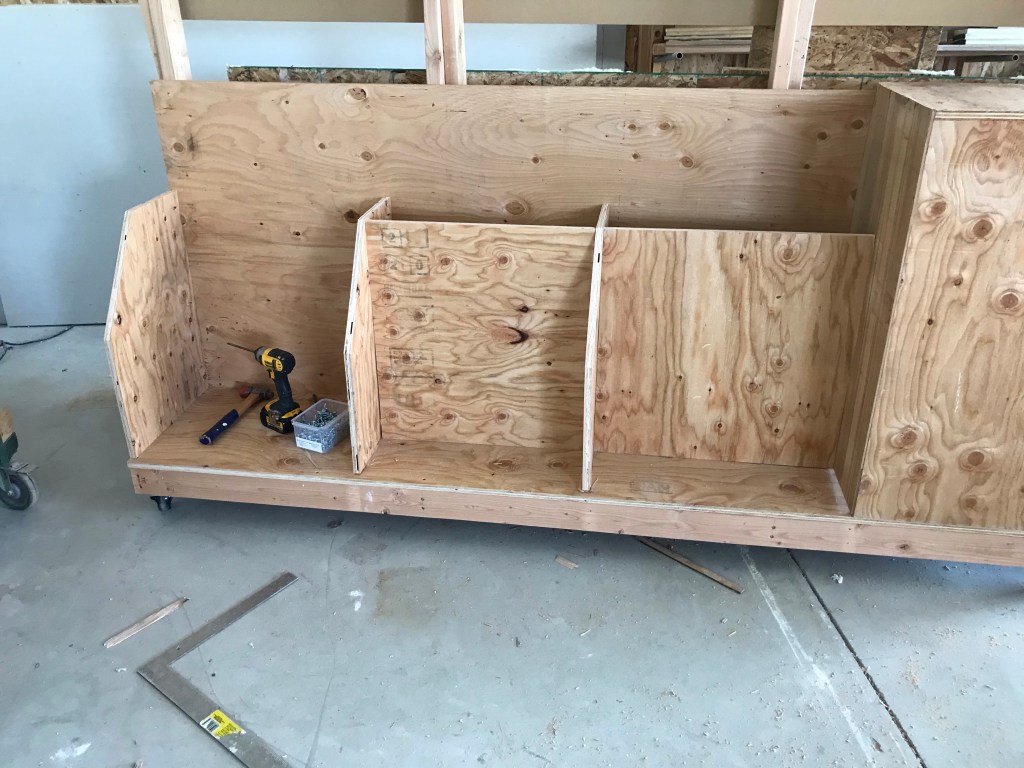
All of the screws are hidden on the back side of the middle dividers. I drew where each one was going with a square before screwing it in. Yes, it really does pay off to mark everything before you start screwing it in. I used to be really impatient too and would spend more time fixing things than it would have taken to do them right in the first place ;0).

The front pieces went on separately, but I didn’t take a picture until I had them both up. I used pocket hole screws along the bottom, and on the side that attaches to the shelf. For the slopes dividers I put screws through the front into them.
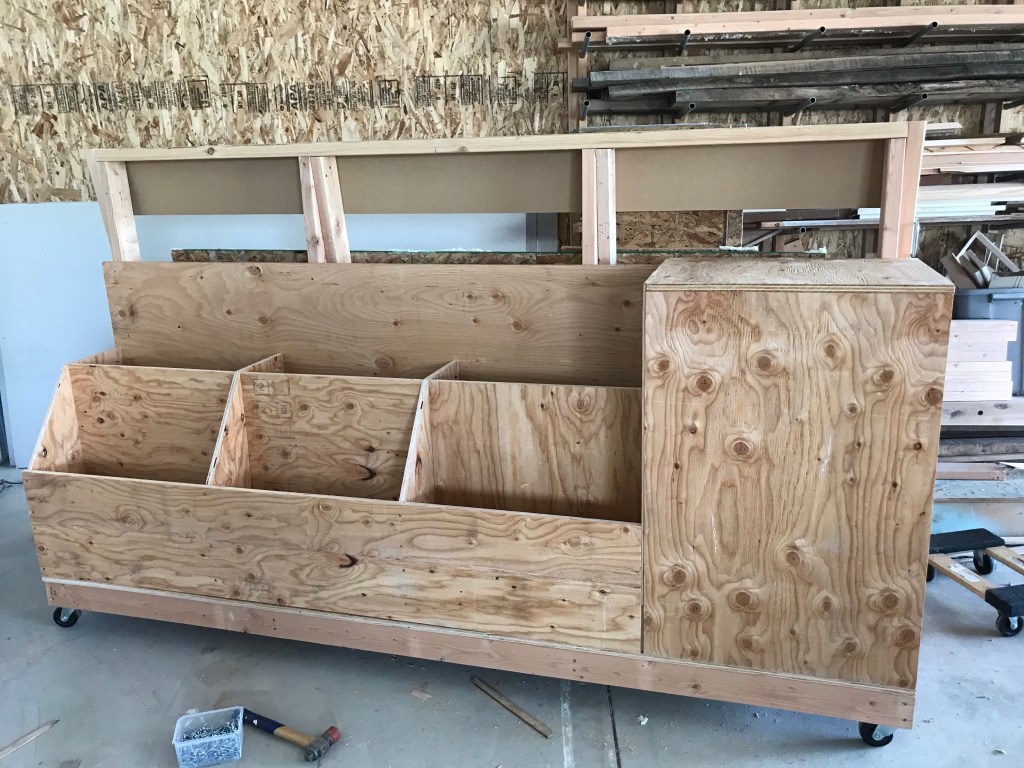
On the second piece, I put one pocket hole screw per section on the bottom of the board to hold the two front pieces together. I thought I was done….I was ready to be done, but came back the next day and added another shelf section on top of the other one for all the really small scraps :0).
Then I wasn’t quite done yet…I had started loading this up and realized I should add a couple more casters to the middle of the cart. Why not? I had them sitting in a drawer. Out came all of the wood and I almost didn’t get this tank tipped over, which is a good thing, you don’t want a precarious wood cart. In the end Kendie helped me get it on its side and back up again.
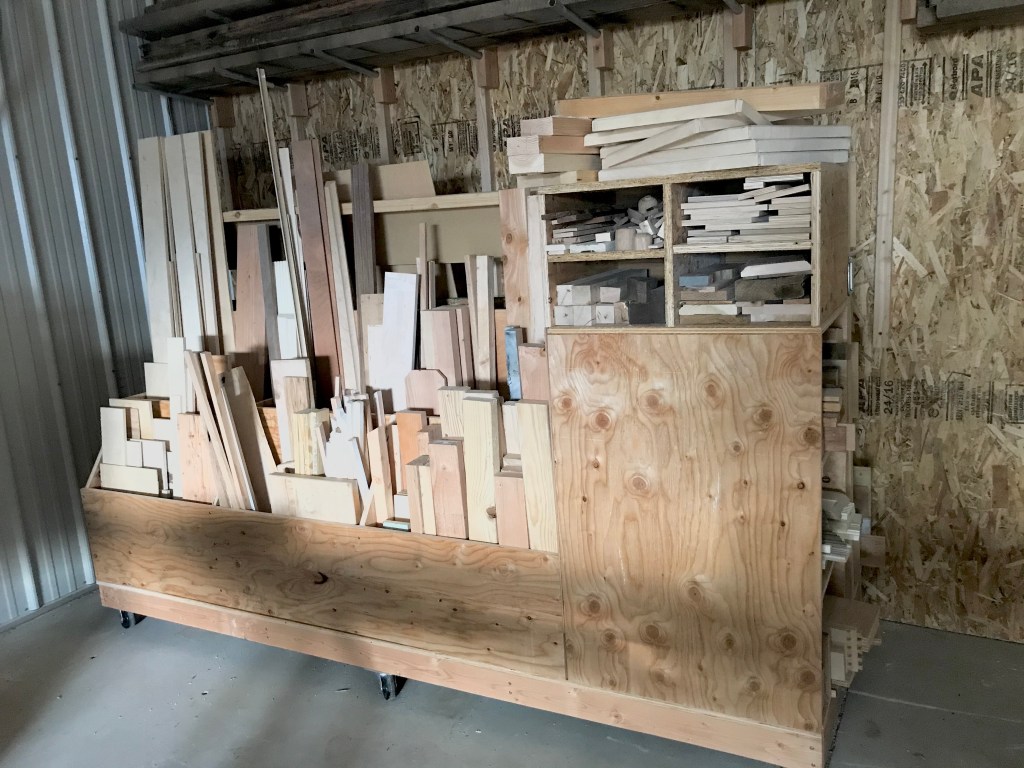
Fully loaded, this is a beast to move around. Good thing I don’t need to move it all that often!!
This system works much better than just having a wood rack on the wall. The wall rack is great for longer pieces, but the shorter ones tend to fall when you try to sort through them :0/. Being able to see what’s there and easily find it is much better :0).
Don’t forget to hit the follow button, or like my page on Facebook “Girl with a Hand Plane” for more projects and tips!
