

One Saturday a while ago I let the kids watch way to much TV, drove 45 minutes to the “Big City” and walked around Hobby Lobby for a good two hours. While I was there I found some clip board clips. My first idea for them was a flop…but after I learned to make ocean scenes I was pretty sure I needed some pretty clipboards for the Children’s Craft Fair.
I still had two sheets of hardboard I rescued from being thrown out at the grocery store, so I cut some clipboard sized then rounded the corners with a disk sander then painted one side white.
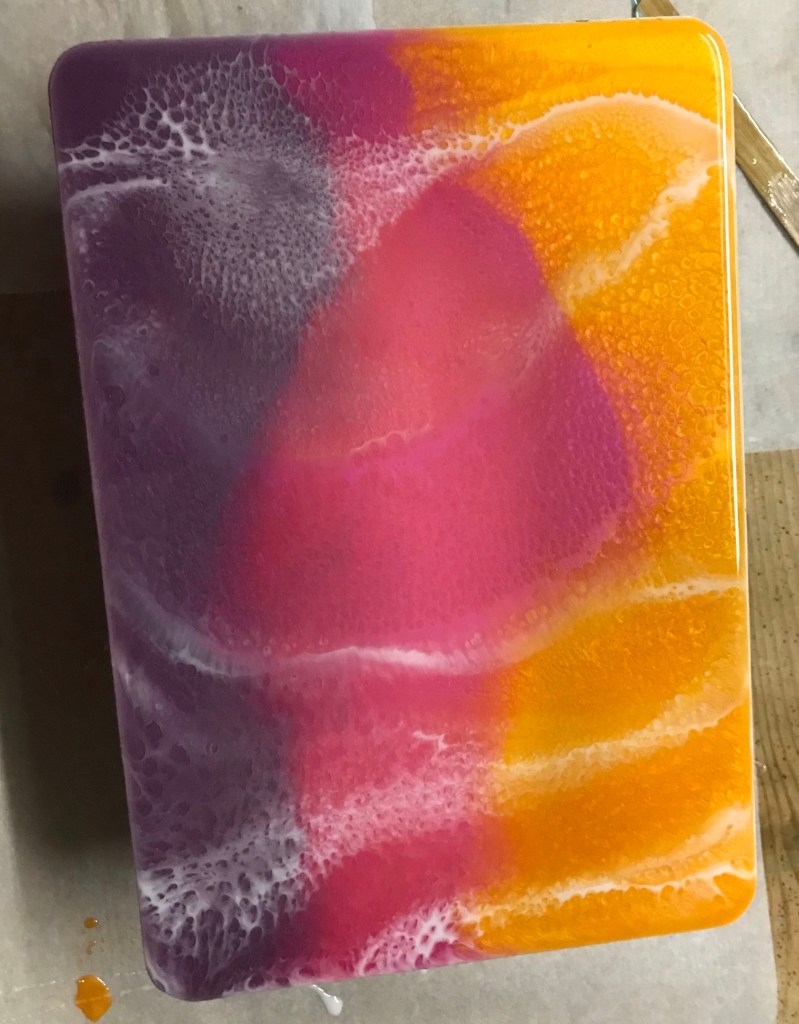
After the idea of making paintings with alcohol inks didn’t quite turn out and I couldn’t convince any of the kids to come out to the shop to be creative with no me, I did them myself ;0). They may have been watching TV again…

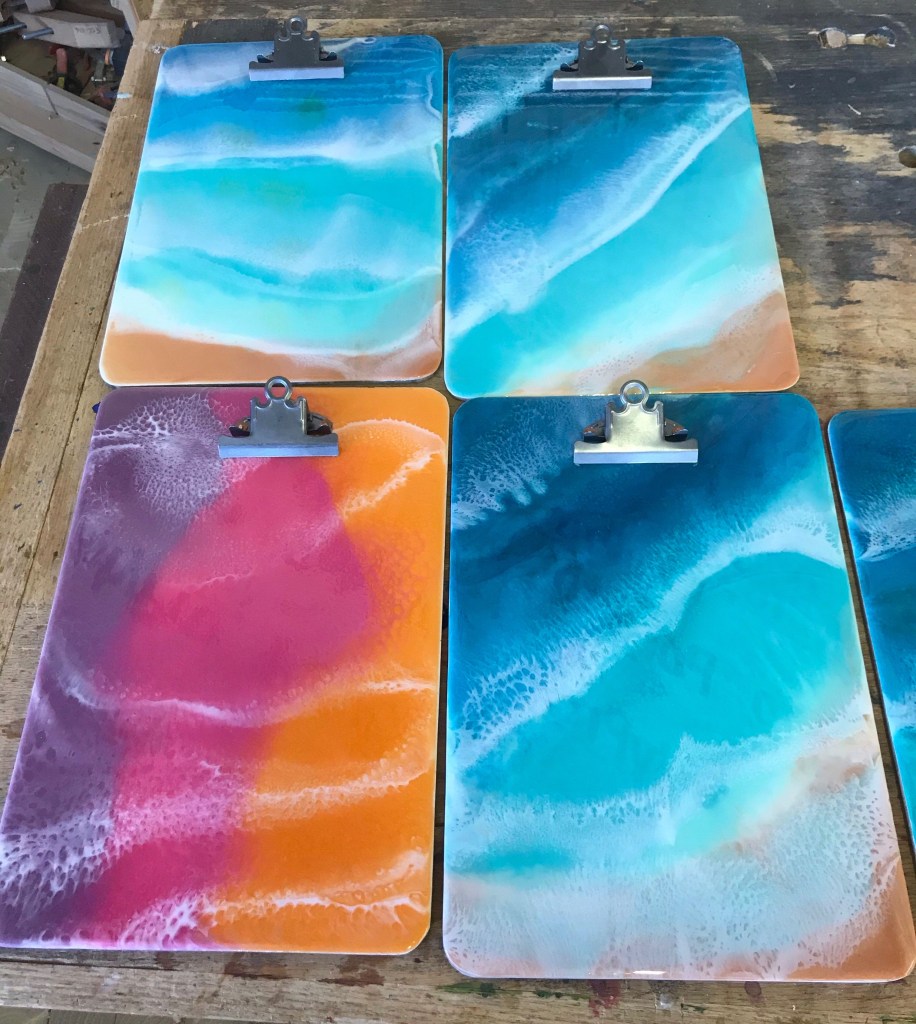
I ended up making 4 clip boards, 3 ocean scenes and one abstract. I wasn’t real happy with all of the ocean ones, so I added a second layer and liked them a lot better.
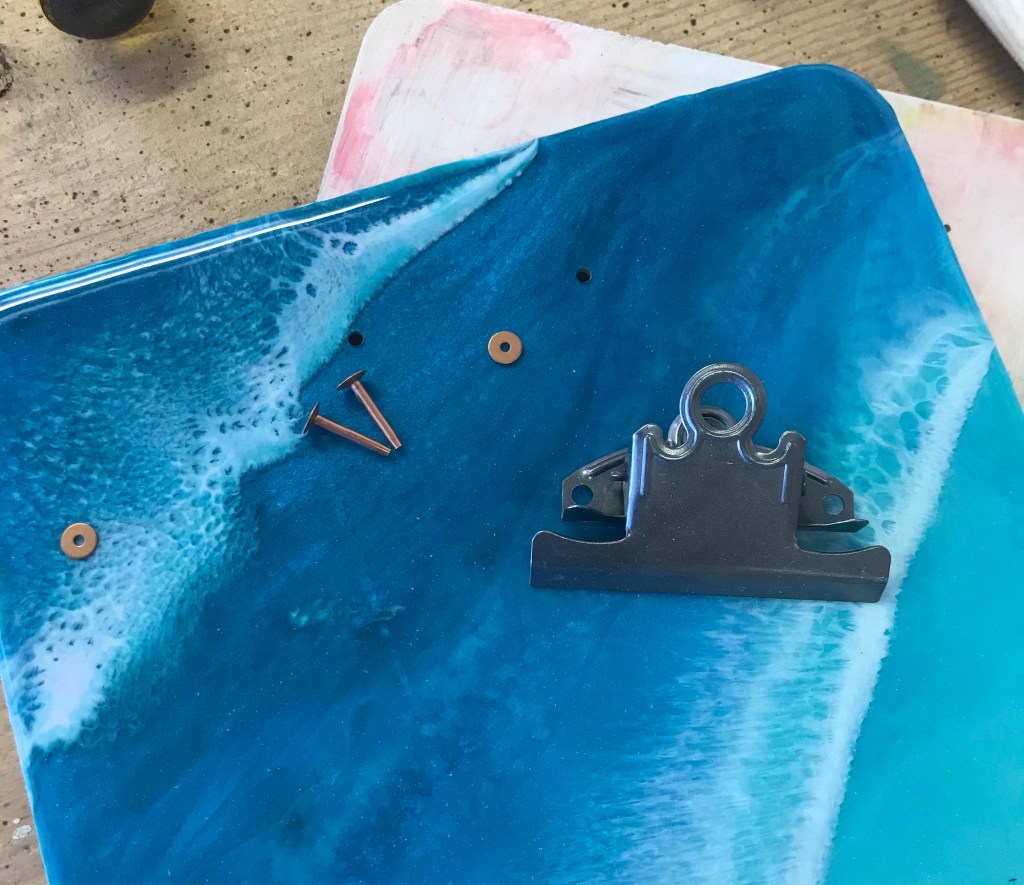
I let them all cure for a little longer than a week. There’s a possibility that I was afraid the resin would shatter when I drilled the holes and pounded on the rivets. It’s a legitimate fear, resin shatters when it’s freshly hardened but not fully cured.

I was also afraid of scratching my picture to death while sanding the bumps off the back. Some people spend a few more minutes during prep time and tape the back edge. At least I’ve seen YouTube videos of these people. I decided a couple pairs of toddler pants from the scrap drawer would protect the top enough. The bumps sanded off pretty easily with 80 grit sand paper.

The edges also had resin drips on them too that needed to be sanded off. I attempted to use a pop rivet to attach these first, but the one big enough to hold was too big to go through the hole on the clip. So I took a chance…but really was afraid the resin would shatter and used a copper rivet that is usually used with leather working.
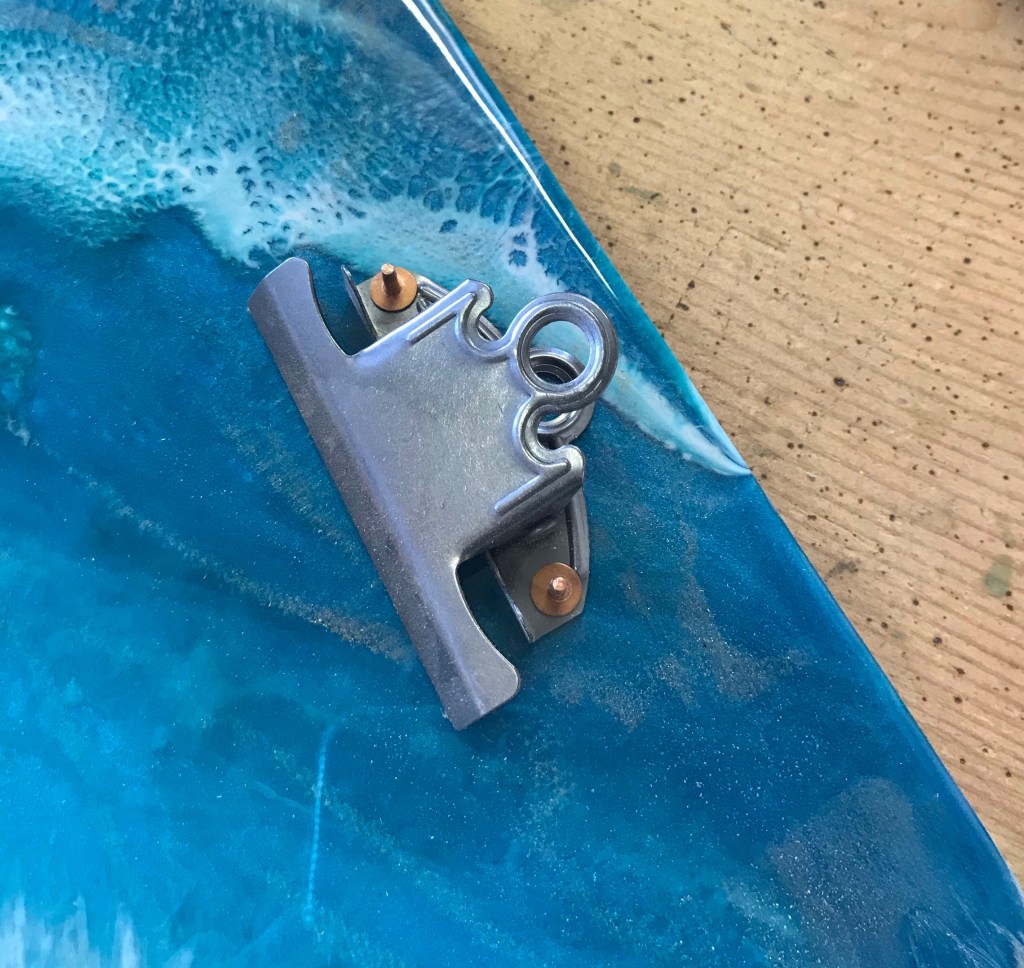
With a rivet setter I set the washers on top, clipped the ends and set the end with the help of the rivet setter and a hammer. To my surprise, none of the resin shattered or chipped! It did get a little dusty though :0)
Here is a finished clipboard!
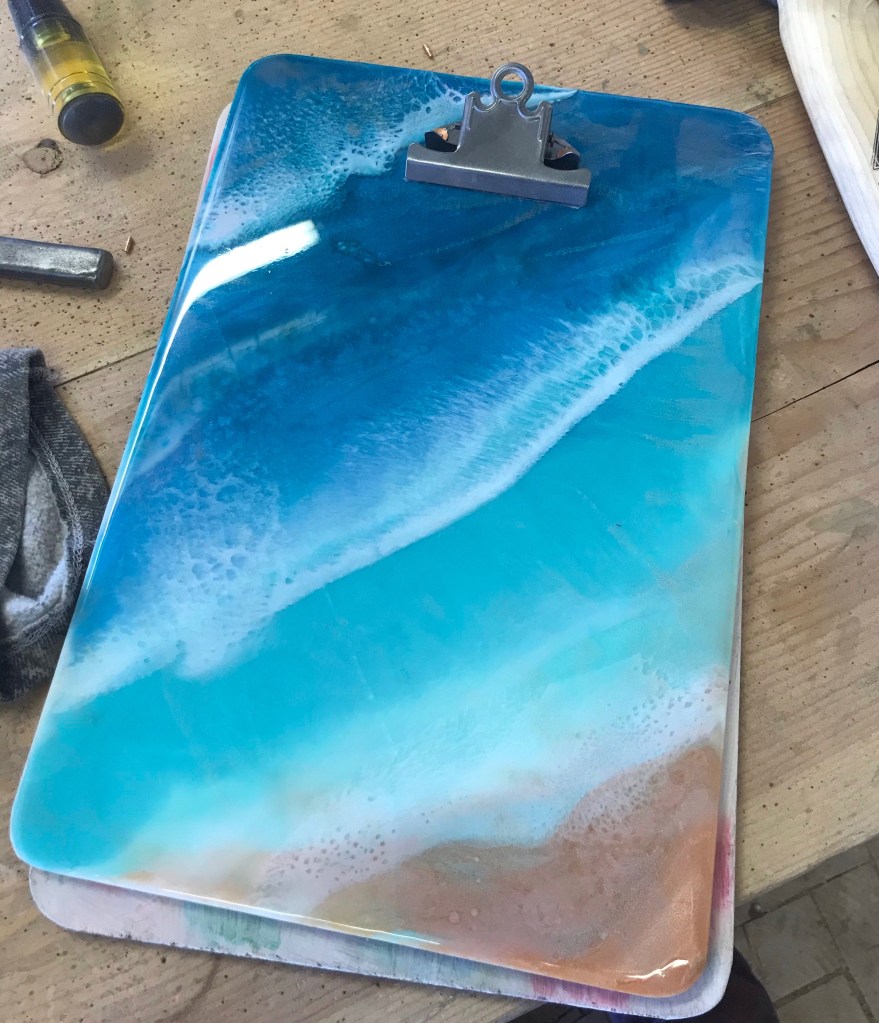
They’re almost too pretty to cover with uninteresting papers….if I try it again, I’ll probably use thinner hardboard. By the time you add two layers of resin to 1/4” hardboard it gets pretty hefty.
This was a fun little side project. A good chance to try new techniques and ideas.
Don’t forget to hit the follow button, or like my page on Facebook “Girl with a Hand Plane” for more projects and tips!
