

Sometimes you have to try things the “wrong” way to understand why you should do them the “right” way.
I had successfully cut one outside corner of crown molding for my bathroom cabinet following the rule that you cut crown moldings upside down. It worked, but for some reason I rebelled when I went to cut it for my dad’s mantle. I mean, how big of difference can it make?
I went to put my pieces together and….the bevel was on the wrong side of the wood for an outside corner. My mantle would have the pretty side facing inside instead of outside as intended. So I quickly turned my piece upside down and tried again ;0)
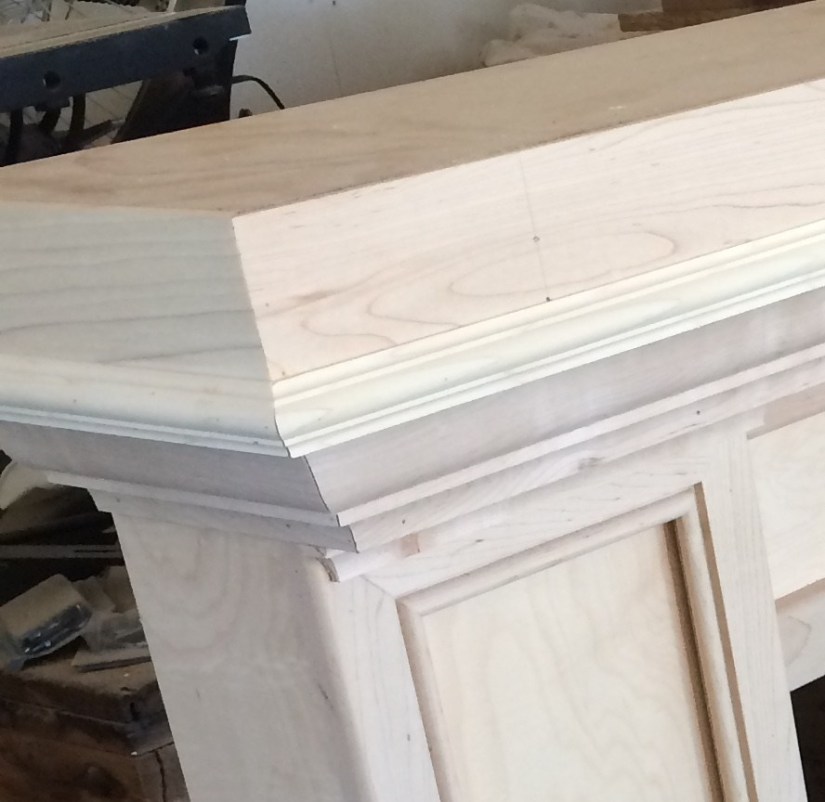
This is what I was after, corners with the pretty side out for the beginnings of a mantle.


Next I attempted to add some cove molding right under the mantle….it was confusing beyond belief…..until I just started cutting the hardest, and by that I mean all of the pieces, upside down.

I started with the longest piece across the middle, got my bevels cut on both ends and went to try out the length and proceeded to flip it around about 4 times before I had it the right direction. It only got worse from there ;0).
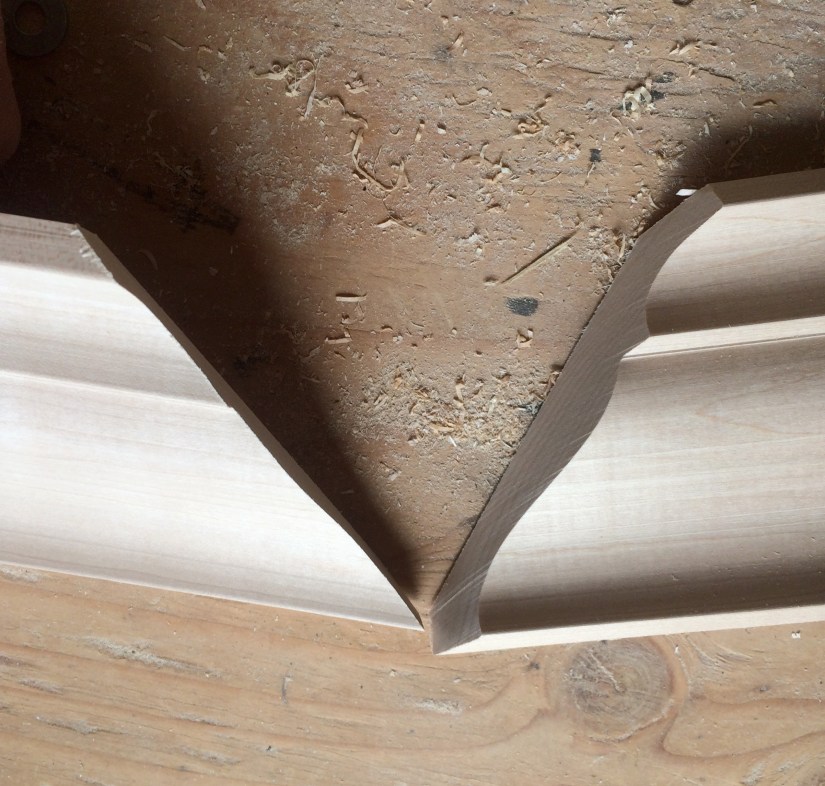
In the end by cutting each piece long I managed to get the correct angle on each one. The hardest part to figure out was how to wrap the end back around itself to have a finished look there.
Basically you cut a very tiny piece as if you are continuing with an outside corner. I think if I had explained it to myself that way I would have figured it out 10 cuts sooner. Before long I had a pile of little pieces sitting by the saw while I attempted to get everything going the right way.
The little pieces are also very tricky. Just when you think you’re going to have one you can use, it flies away behind the saw and disappears in a pile of saw dust ;0)


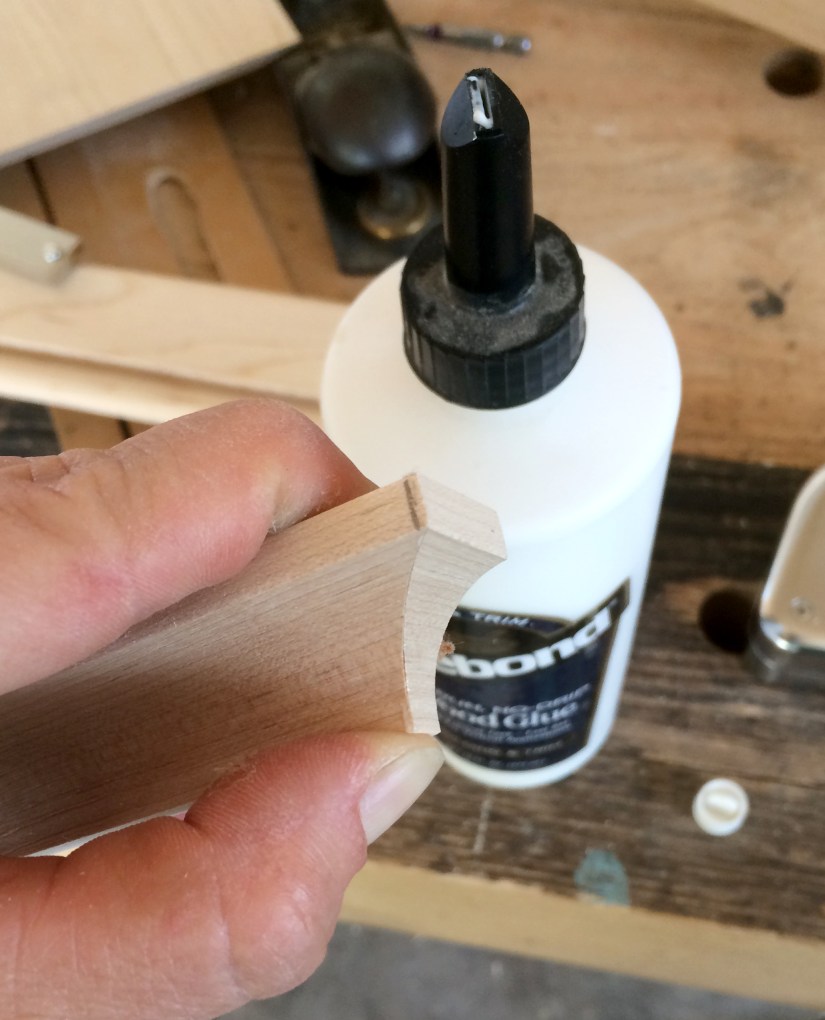
Since you are cutting such little pieces, usually you cut the angle first, then the straight edge. It’s best to cut it a little long and sand it flat after gluing with trim glue. It doesn’t take too long to set, then you just flatten it on a disk sander.
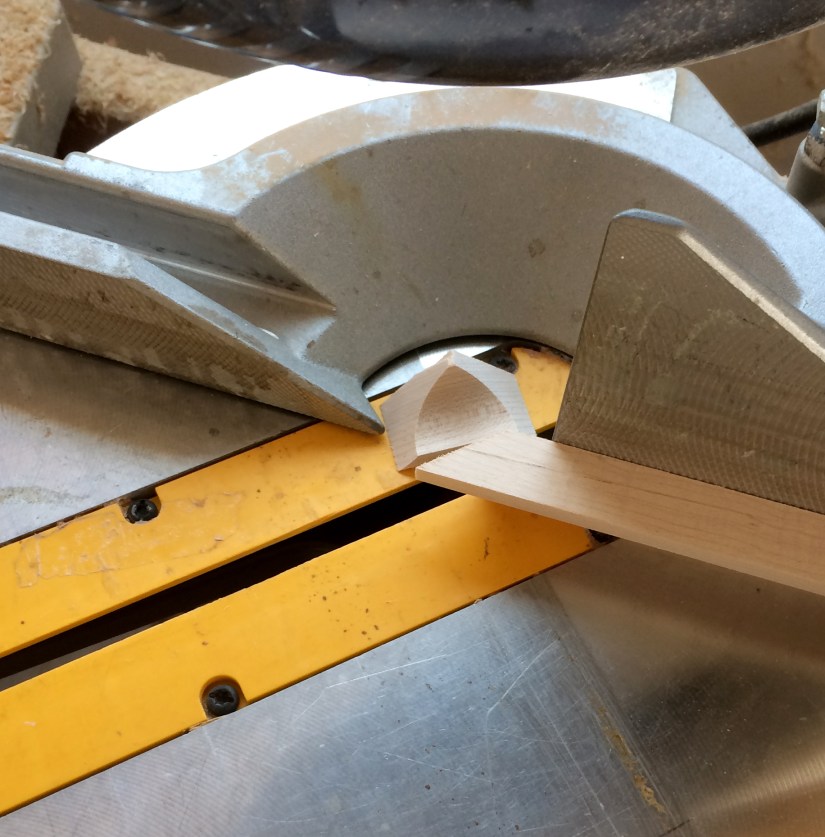
At first I tried to cut the molding curve side up and could never get it at the right angle. In the end I just started holding the flat side against the fence and cutting it upside down. So much less confusion, all of a sudden it wasn’t so hard anymore!!
Stay tuned for the finished fireplace! I plan on getting it installed next week.
Don’t forget to hit the follow button, or like my page on Facebook “Girl with a Hand Plane” for more projects and tips!

1 thought on “Cut the Crown Molding Upside Down and other molding woes ;0)”