

Remember that drawing I did of a fireplace I was planning on building for my dad? It is finally installed. Let’s take look at the process of getting from rough lumber and plywood to a finished fireplace.
For the sake of not having to change the planing head on the Woodmaster more often than necessary, the first order of business was putting a straight line on the 8/4 piece of maple I planned on using for the archway. Once I had a straight line on it, I sawed it into 1/4 inch strips.
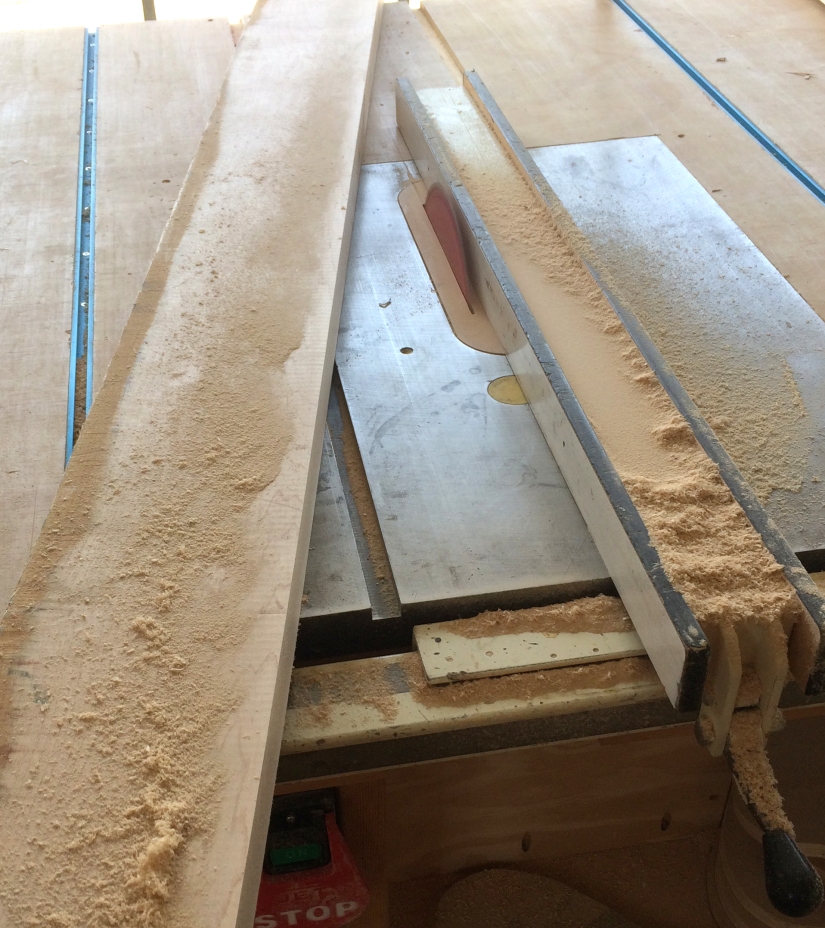
Once the strips have been cut, you plane one side of each strip to remove saw marks. The other side you leave rough so the glue has something to adhere to.


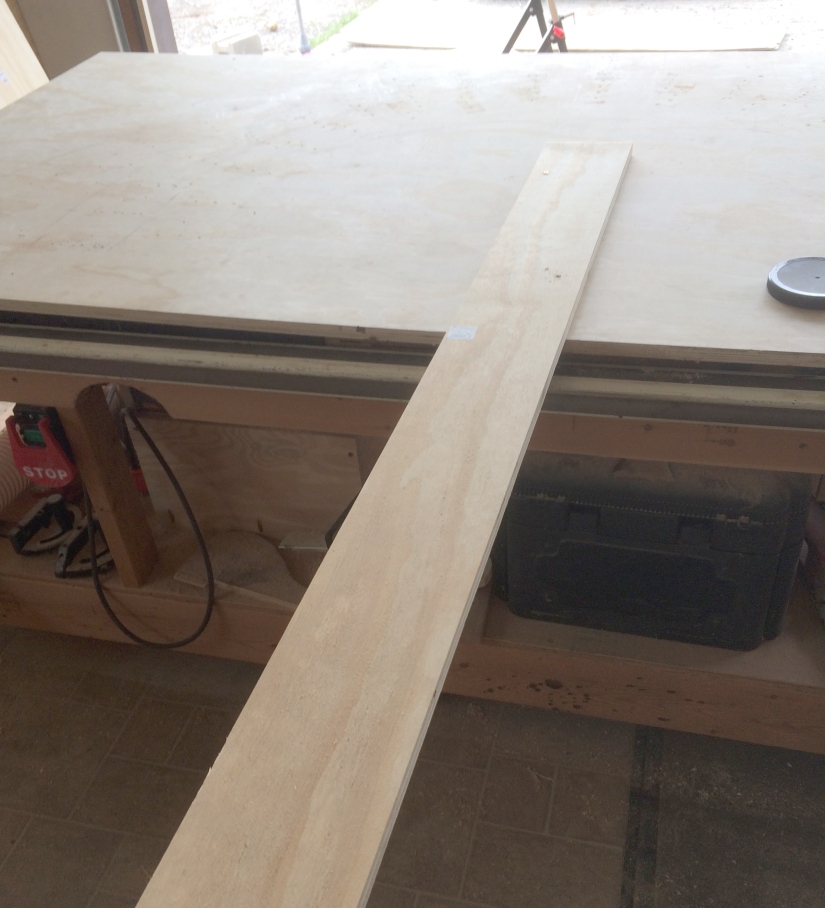
The curve on this archway had a 6 foot radius, so I needed to add a little extension before I could use my tape measure to draw the arch for the form.
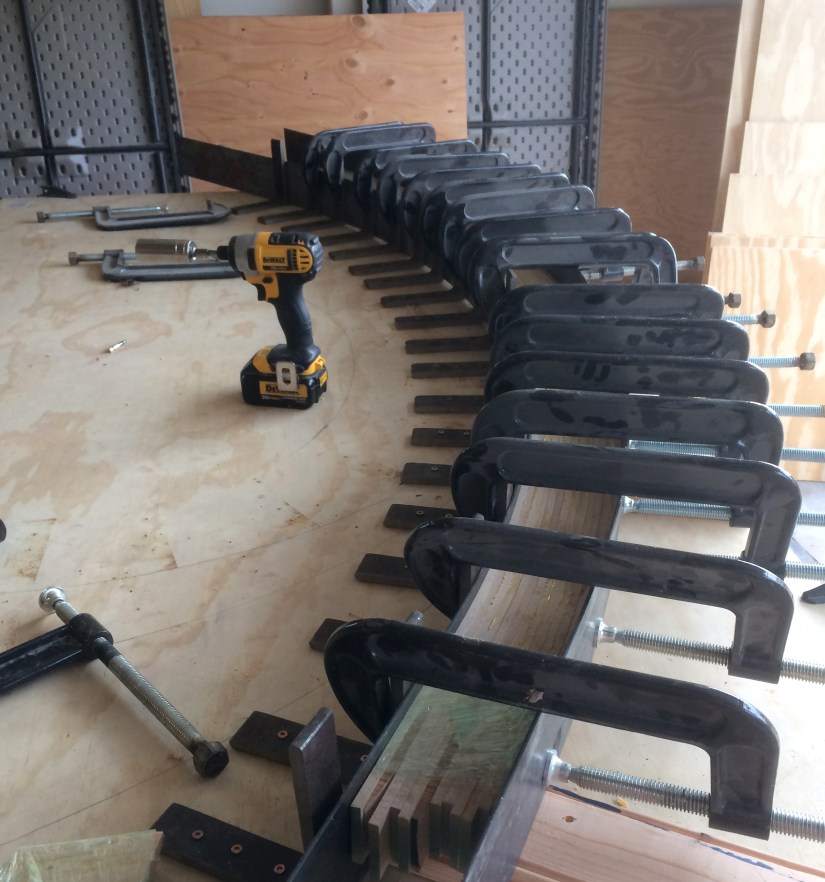
Some day I will get pictures of a glue-up in progress…until then Gary S. on my Curved Molding post will have to do ;0) This is what it looks like when all of the hurried work is done and you let it dry for a couple of hours before unclamping.
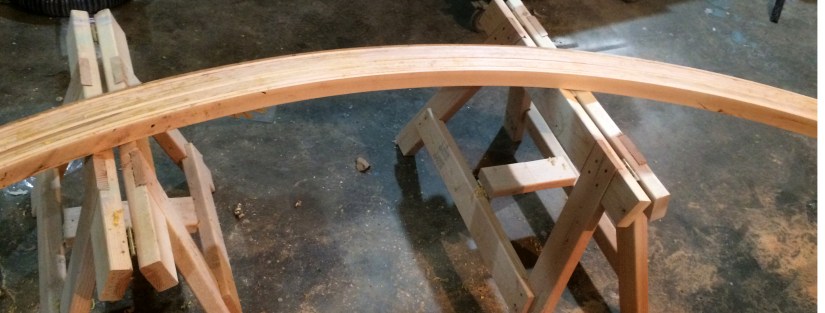
This is the archway after unclamping. The glue needs to be scraped off, then I planed it until it was smooth in my little DeWalt planer.
Next is getting the guide ready for the Woodmaster so a profile can be cut into the arch. It really is easy to do, you just cut out the curve you are doing in wafer board with a router.


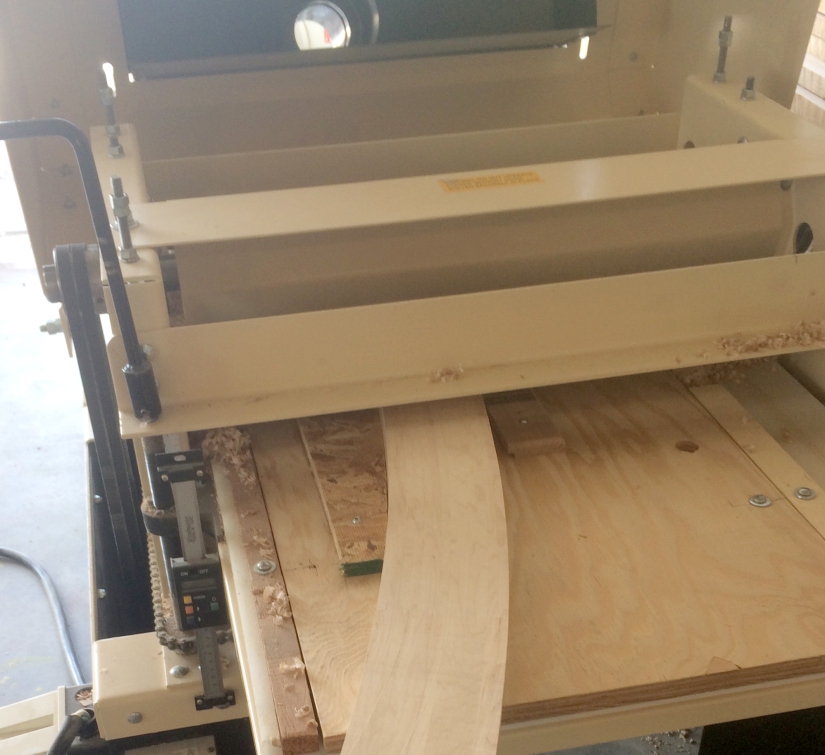
I use the same base for each new guide, so all I need to do is add the new wafer board and adjust the straight piece each time. In this picture I am running it through to make sure it doesn’t catch anywhere and so I can set my knives. I like that you can run the feed rollers independently of the cutting head, making it easy to do a dry-run.
Getting the profile knives lined up. You loosen the two set screws and slide the holder along the bar until it is where you want it.
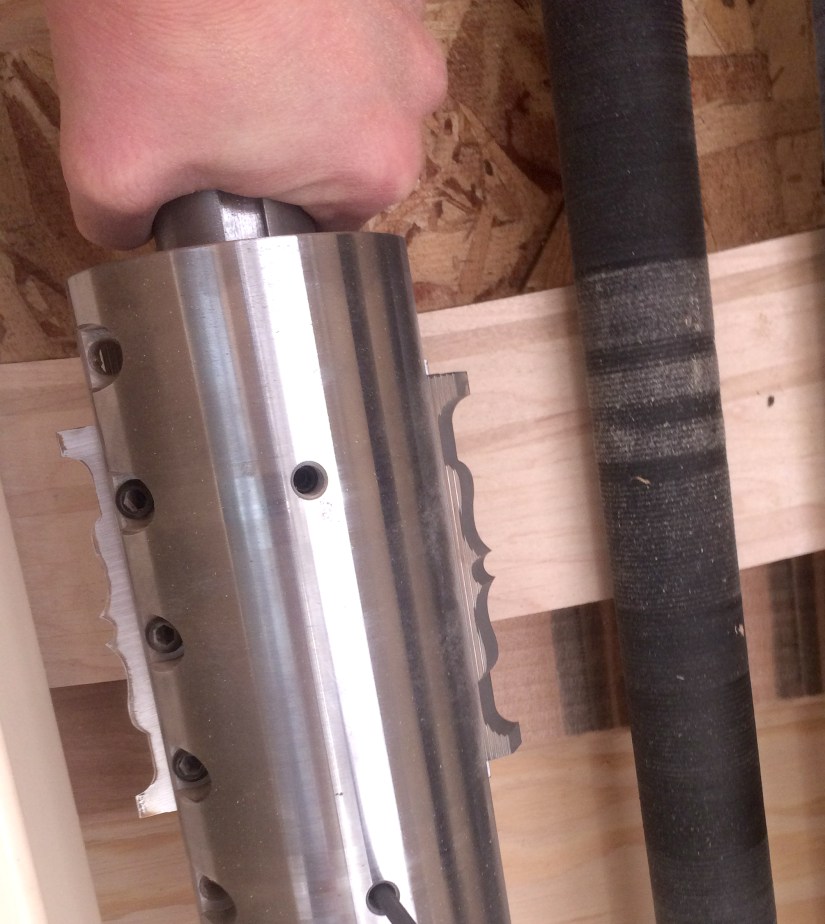
Once you have them lined up, you can adjust the depth. If at all possible, you want to do this in one pass.
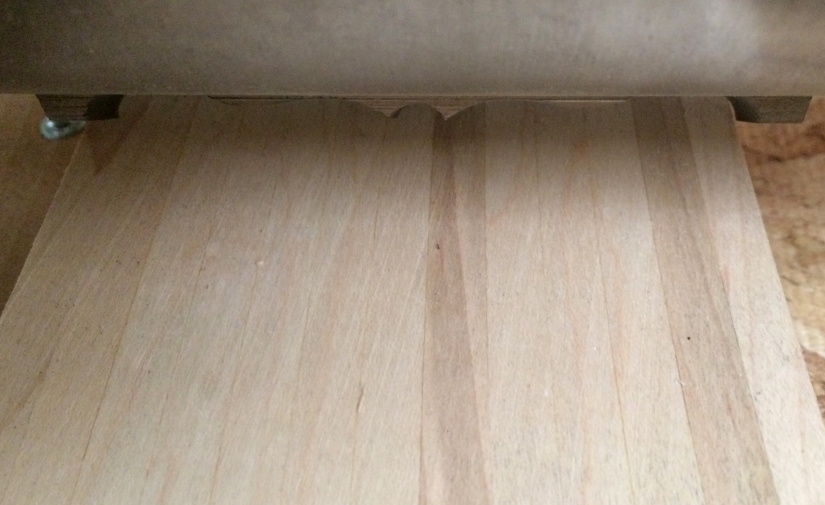
Once everything has been checked and re-checked it’s time to turn on the cutting head ;0). This part is both exciting and a bit nerve racking. I really don’t think it will ever get old watching a curved piece of trim come out the other side perfectly.


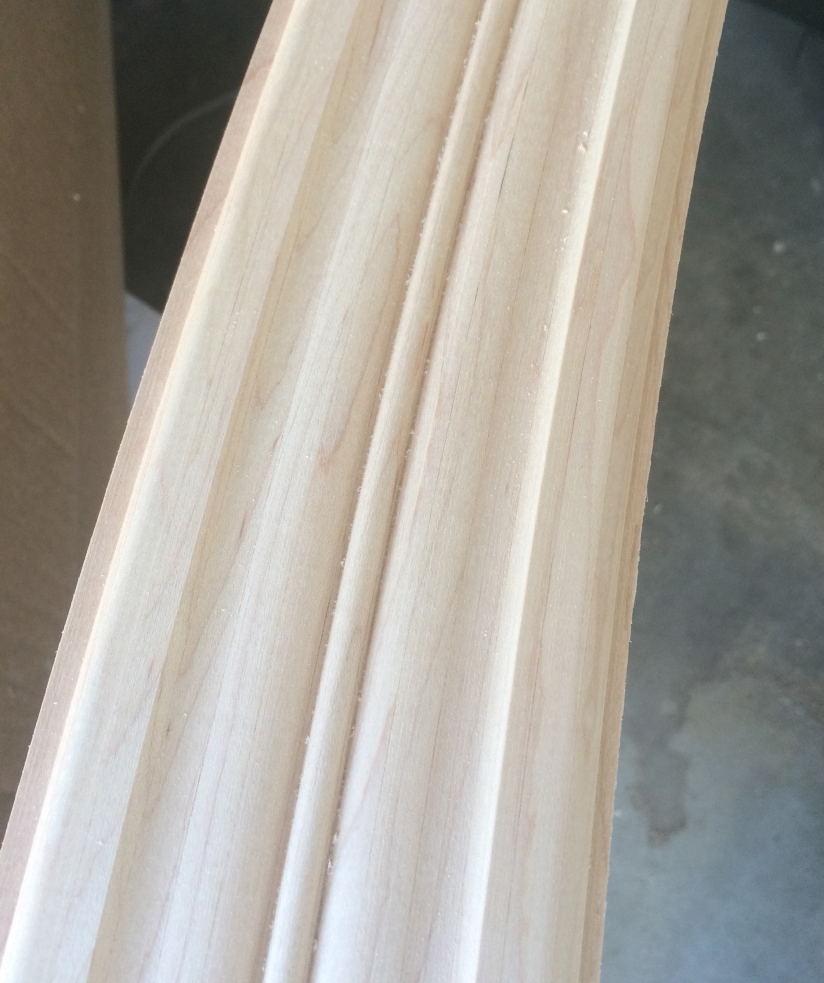
My blank was a little wider than my profile and I had planned on trimming it, but it turned out so even that I decided just to leave it as it was. You almost can’t tell that this is laminated. If we had paid more attention to the order of the slats, it would be stainable.
Coming up in Part II: getting the rest of the wood from rough to profiled, Part III Assembly, Part IV Final Assembly, Part V Installation
Don’t forget to hit the follow button, or like my page on Facebook “Girl with a Hand Plane” for more projects and tips!

4 thoughts on “Fireplace Remodel: Part I the Archway”