

In Part I I got the archway ready, in Part II I’ll go through getting the rest of the lumber planed and profiled.
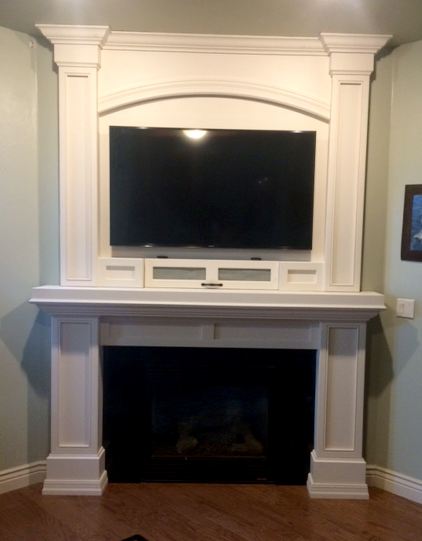
If you notice in the picture of the fireplace, almost all of the wood has some sort of profile on it, whether it be a cove at the top of the pedestals on the bottom, the crown molding at the top, or the bead around the four columns. Even the boxes under the mantle have a radius on them.
Before you get to those fun parts, all of the rough lumber needs to be straight-lined and planed to thickness.
Meet the planer head. Any idea how heavy that sucker is? Yeah, me neither. All I know is I’m short and I have to plan ahead to get it off it’s cozy little shelf and into the Woodmaster so it can do some work for me ;0).
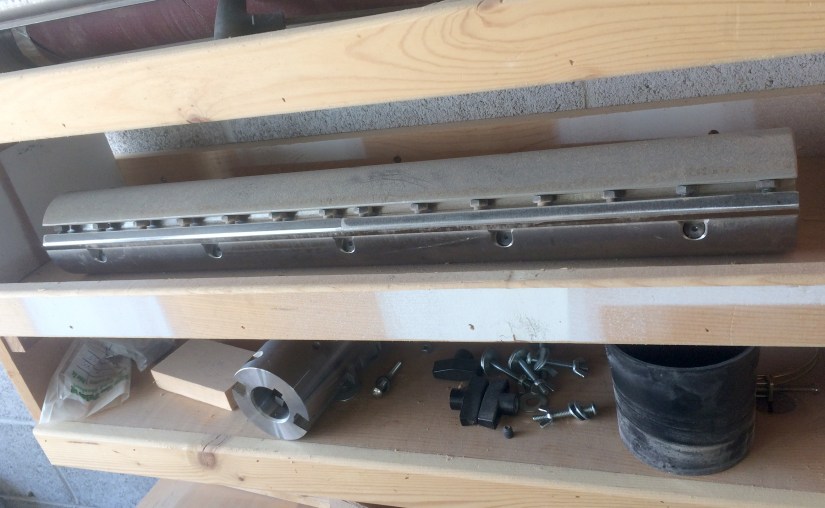
In order to get that beast in to the machine, I put on my gloves and make sure the stool is near the Woodmaster, place a block of wood in the planer bed and heave it off the shelf. I’m too short and weak to get it in place from the ground so I climb up the stool and kneel on the bed to get it lowered carefully onto the block of wood. The rest is easy ;0). Just tightening the morse taper ends and getting the belts back in place.


Here is my stack of wood cut 1/4″ over final width ready to be planed. The wormy maple on the left is for my bathroom…but it was getting planed in this batch. I cut everything a quarter of an inch too wide so I can edge plane it down to the final width without saw marks.

Once everything was planed….I had to heave that beastly planer head back out of the machine and put in the much more manageable accessory bar. And of course…I failed to take pictures until I was just about done with this part ;0)


What I did manage to snap a picture of is the base getting it’s cove profile put on. I also cut crown molding, cove molding, and the very bottom trim molding with the Woodmaster. The bead I cut with the router table, using the same bit I used for Toy Box .


Once everything had a profile, I sanded the flattest pieces and was ready to start assembling the fireplace!


In Part III I will start putting all of these pieces together! Part IV Final Assembly, Part V Installation
Don’t forget to hit the follow button, or like my page on Facebook “Girl with a Hand Plane” for more projects and tips!

4 thoughts on “Fireplace Remodel: Part II Rough wood to molding”