

Storing plywood is always a problem, you end up with stacks of it leaning on all of the walls, and little pieces get stashed behind bigger ones, and you forget what you have hidden…….as I mentioned in my last post we were able to move the rest of the flour mill equipment out of the shop which greatly increased the floor space I had available. Time to tackle the wood storage problem every shop faces.
There she is! The organized mess of lumber in the new rack!
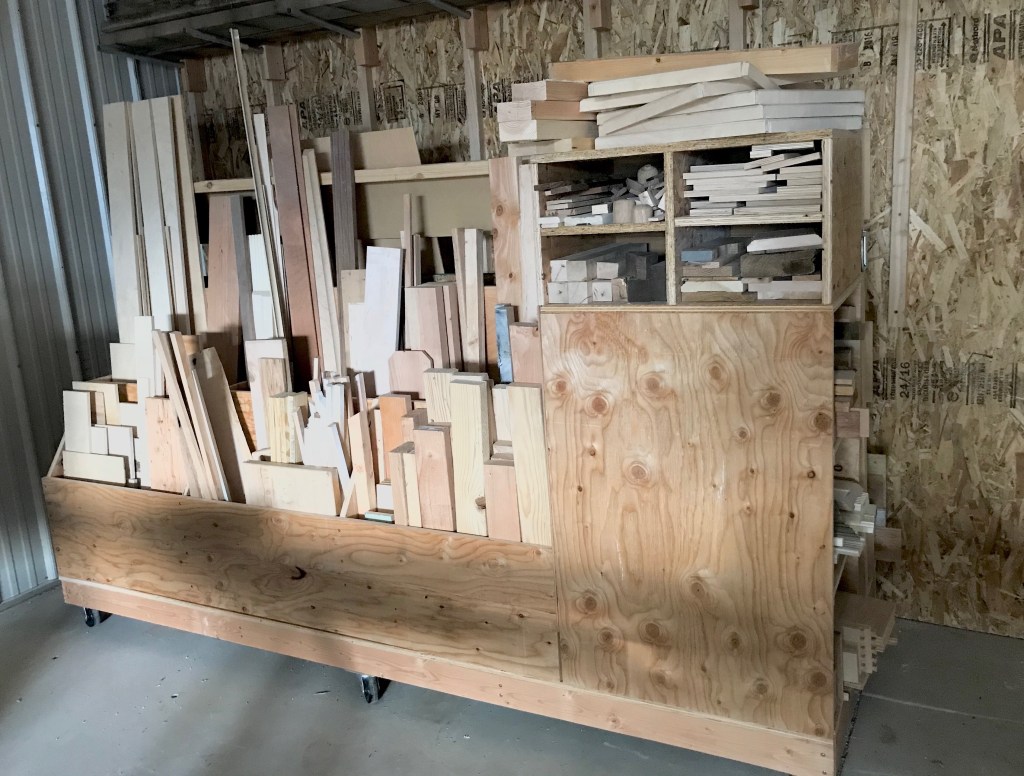
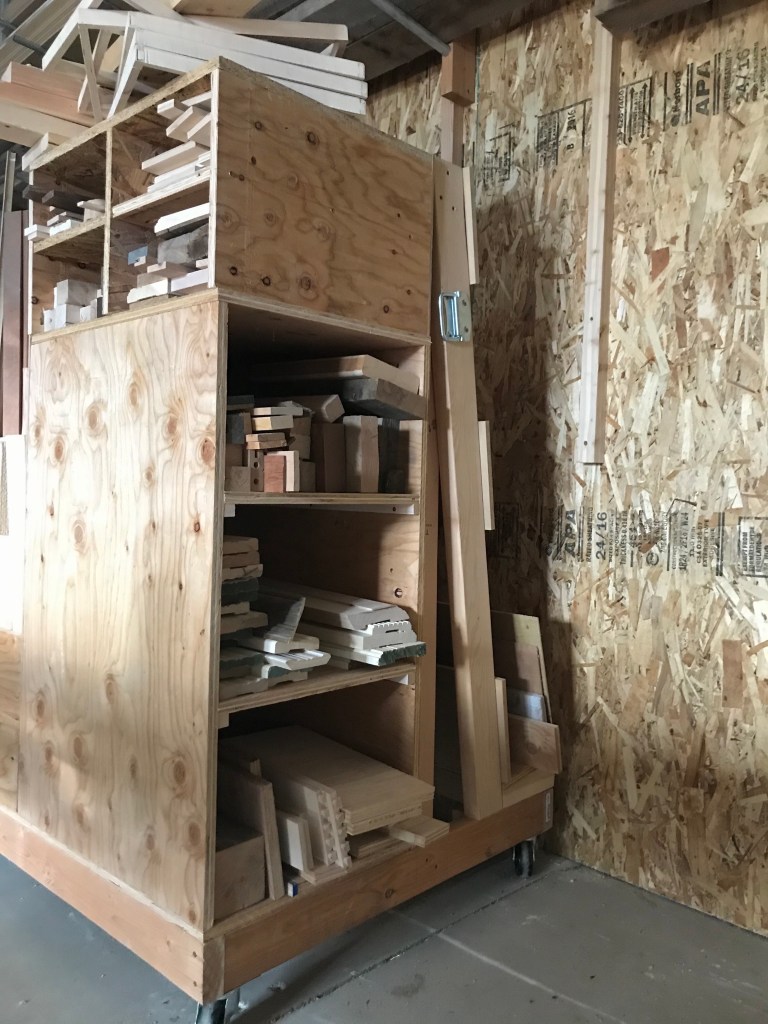
After looking at quite a few versions on Pinterest, I decided to combine a few key features on the same cart. I have racks attached to my walls for longer lumber, but needed plenty of space to sort my shorter pieces of wood. These seemed to come in two flavors, vertical bins with sloping sides for various lengths of wood and cubicle shelving.
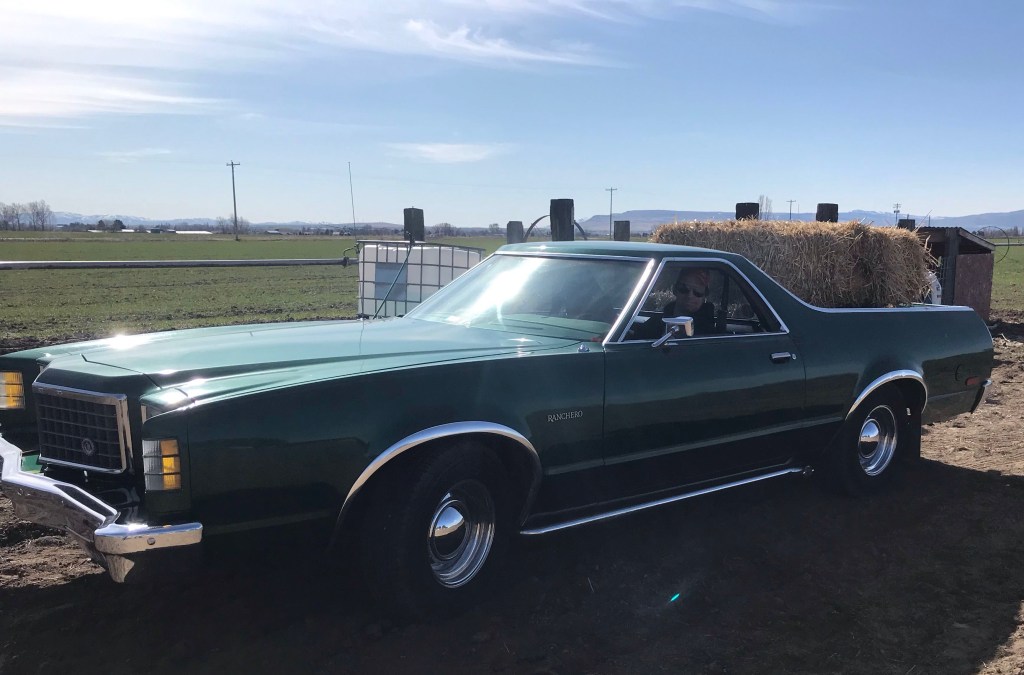
The only thing I needed to buy for the project was the plywood…which I underestimated by a whole sheet….no big deal, it’s a good excuse to go cruising to the lumber yard in the Ranchero :0).
If you’d prefer to do this in one economical trip, I used 3 sheets of 3/4” plywood. Plus some 10” strips of MDF that I had already. And even then I was forced to finish my last cubby holes with OSB from the milling room. If you have nothing laying around, double my original estimate of 2 sheets :0).
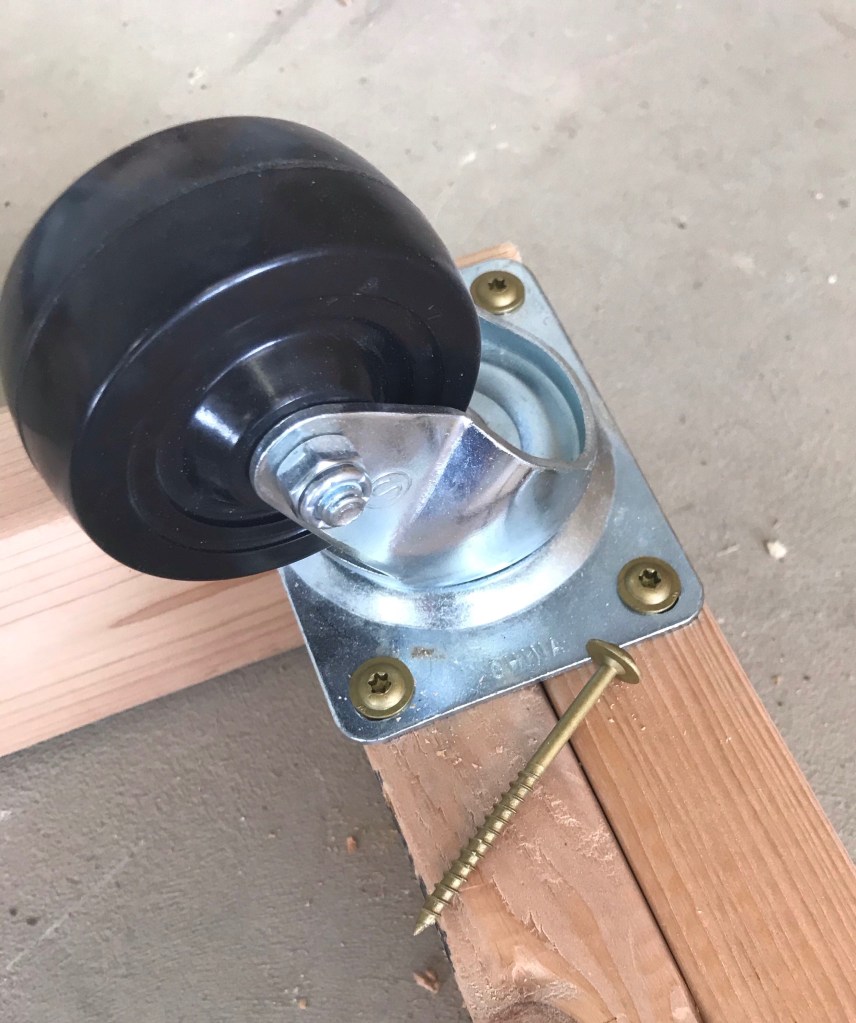
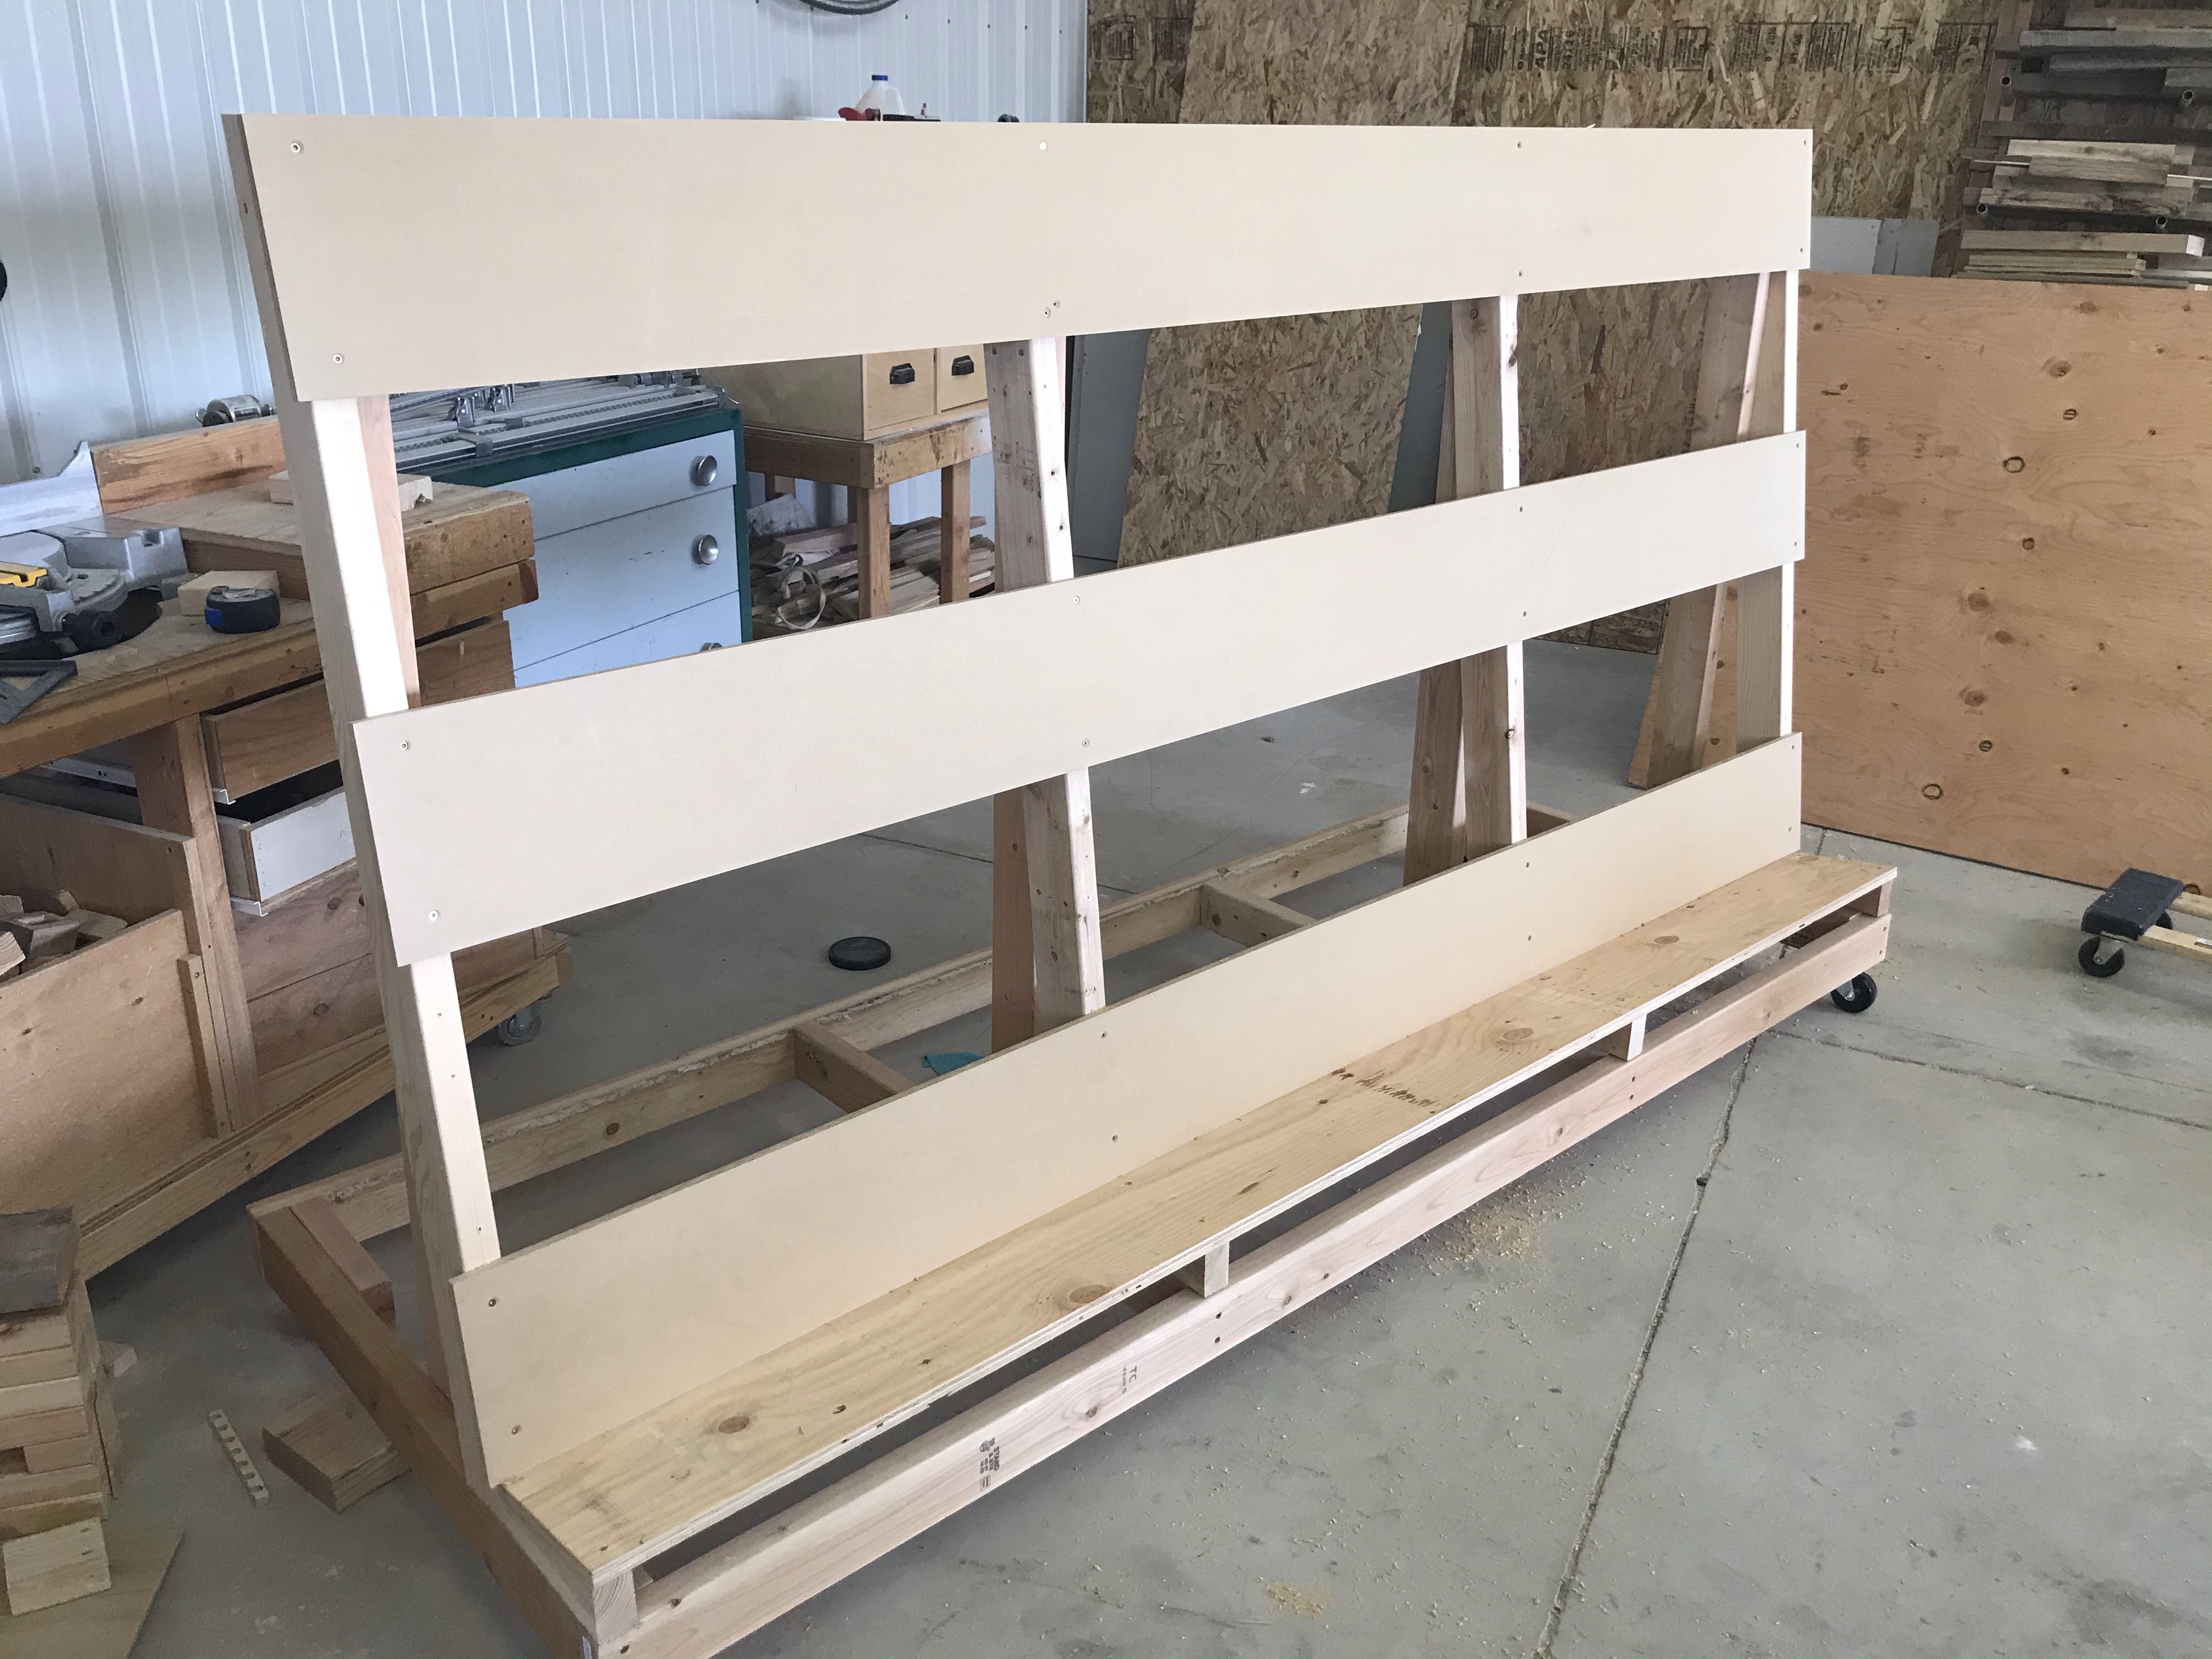
I started with the base it is 8’ long and 3’ wide. At first I had casters only on the corners, but added two more in the middle after I finished to help it roll better. I predrilled all the holes before screwing everything together with 2-1/2” screws.

To make the base wide enough for the casters, I added in a scrap of wood at each corner. I like these washer head screws for attaching casters since they eliminate the need for an actual washer.
Next I added in some upright pieces just to the right of center. I wanted a full 18” on the bin side. To make it easier I cut a block for them to sit on and used a level. Mary was my helper on these ;0)
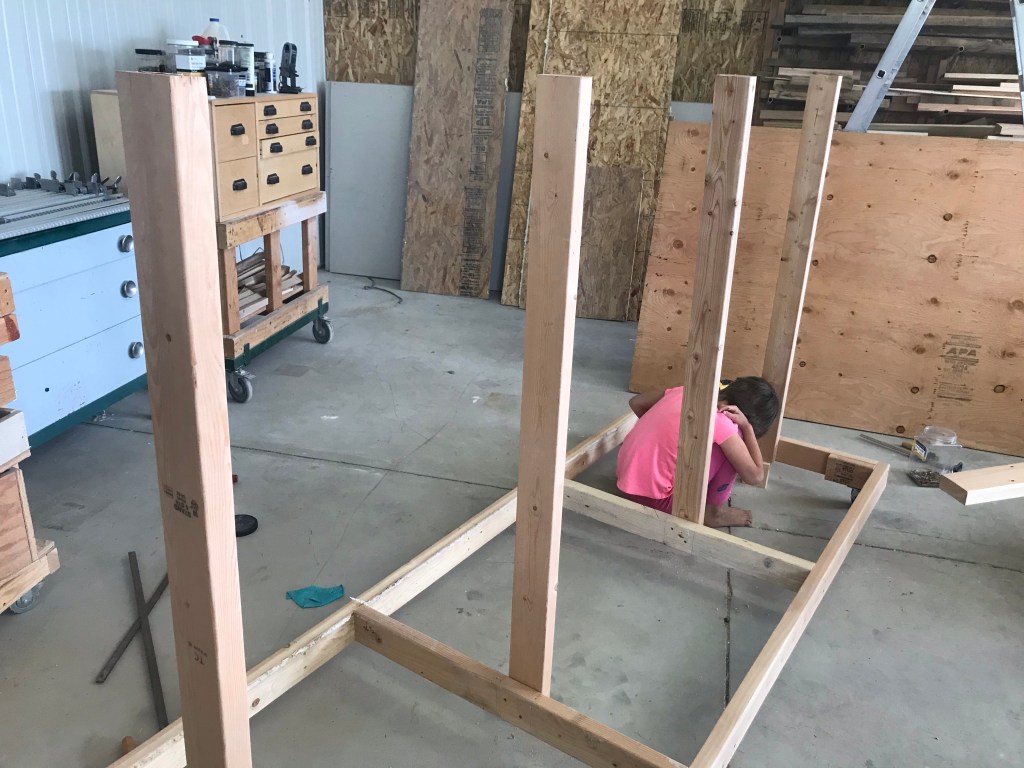
The angled supports were a bit trickier…I think I cut the top at 10 degrees…I could have been 15, but I’m pretty sure it was 10. Anyhow, I cut the tops then clamped the board in place to mark the bottom. After I had them all cut and attached at the top, I tipped the whole thing on its side to drill holes up through the bottom.
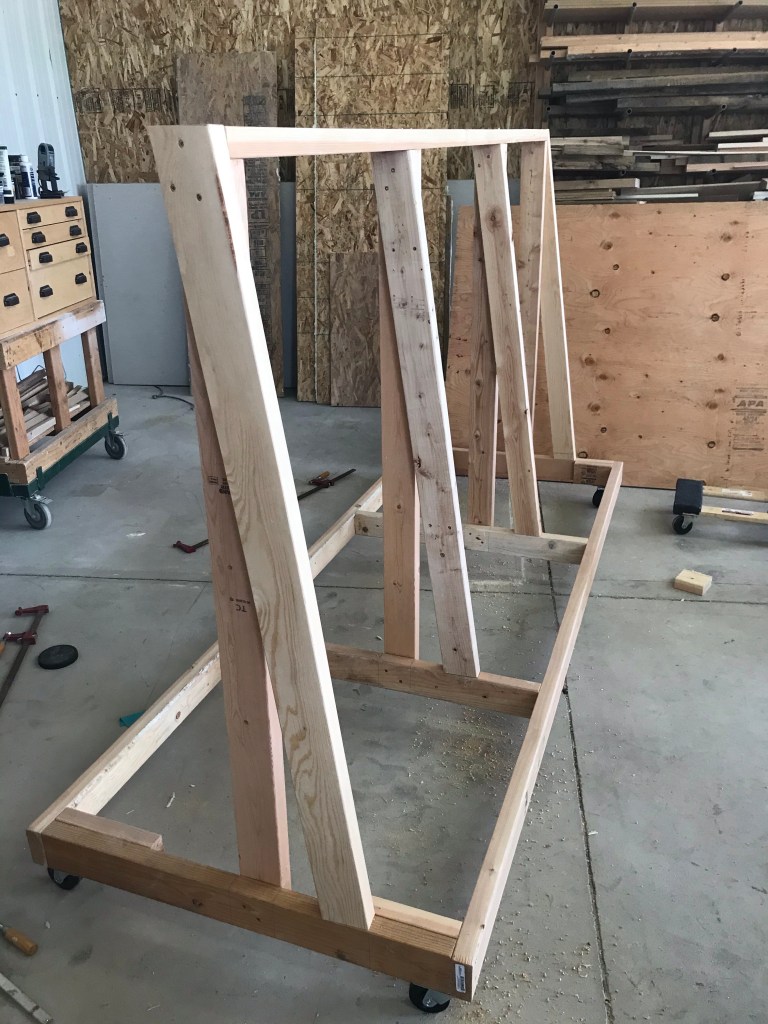
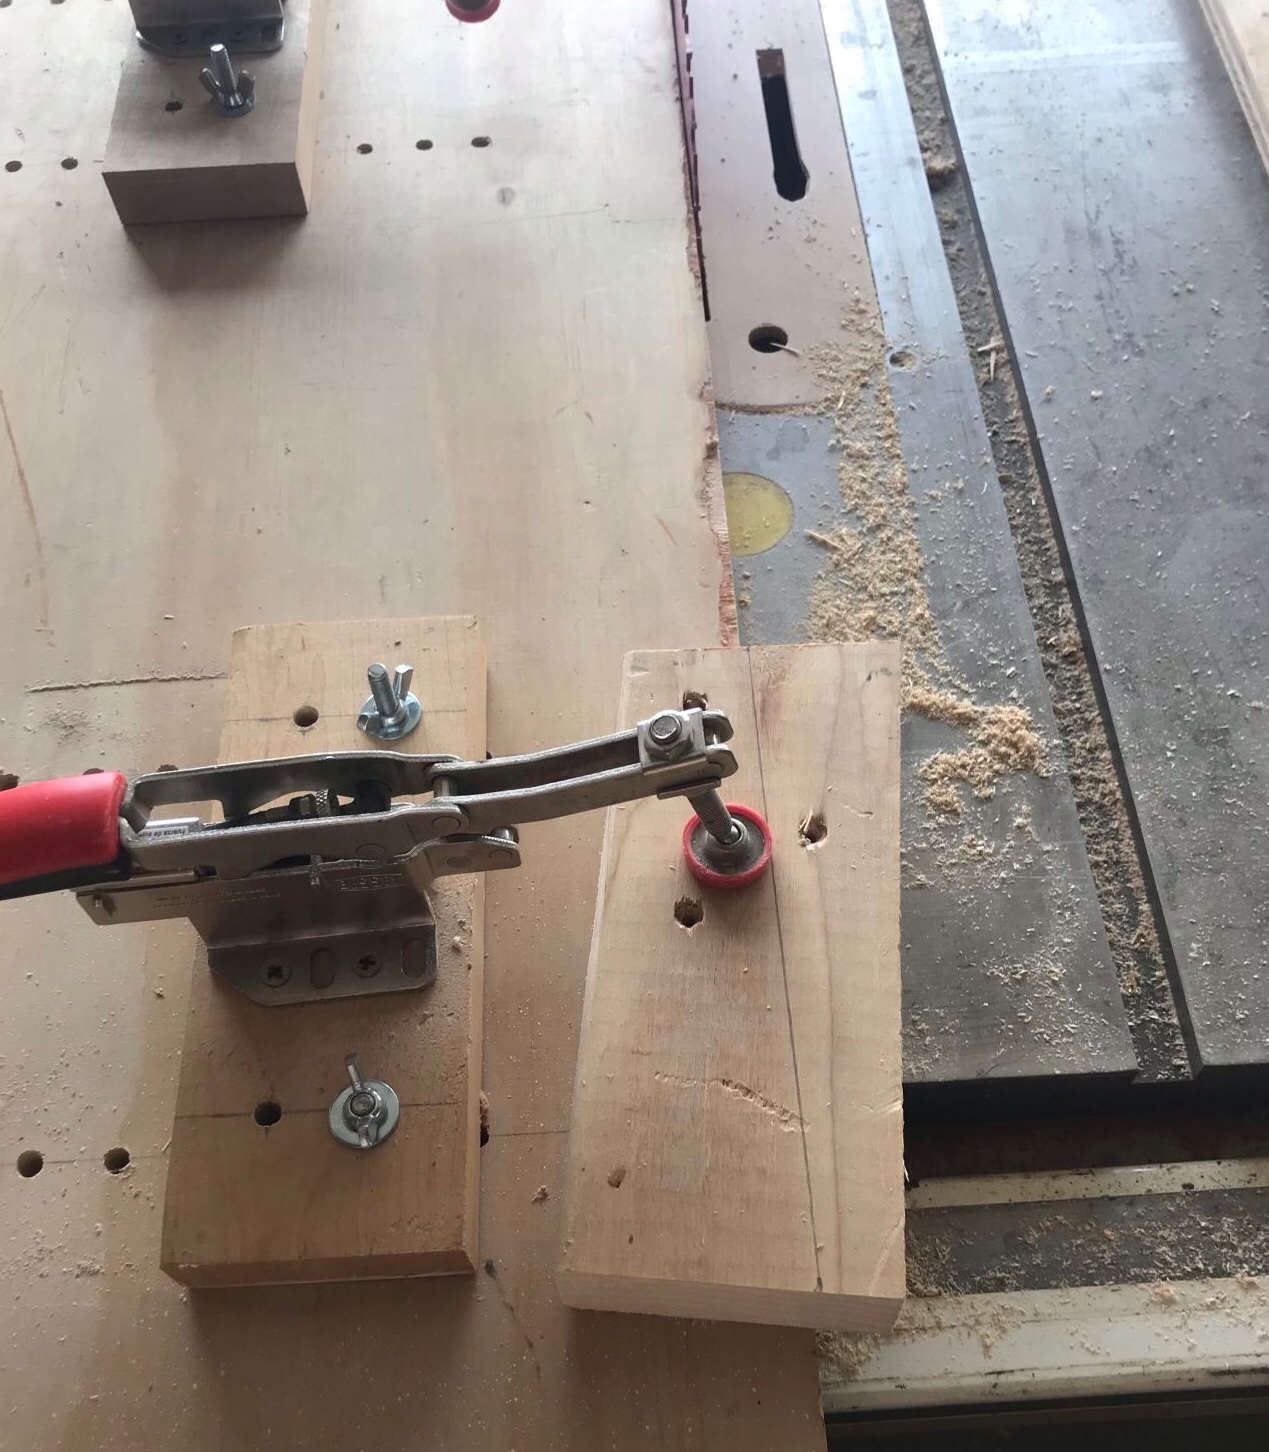
I like to use the drill bit from my Kreg pocket hole jig anytime I need to recess a screw in a 2×4. It already has a short pilot hole at the end, then I can use the longer bit driver with 2 -1/2” pocket holes screws to finish. These are not my favorite screws, compared to Big Timber’s torex screws I feel like they snap off easily when overtightened, really should just buy a 6” T25 driver so I can use the better screws. They work anyhow, and the cart was built.

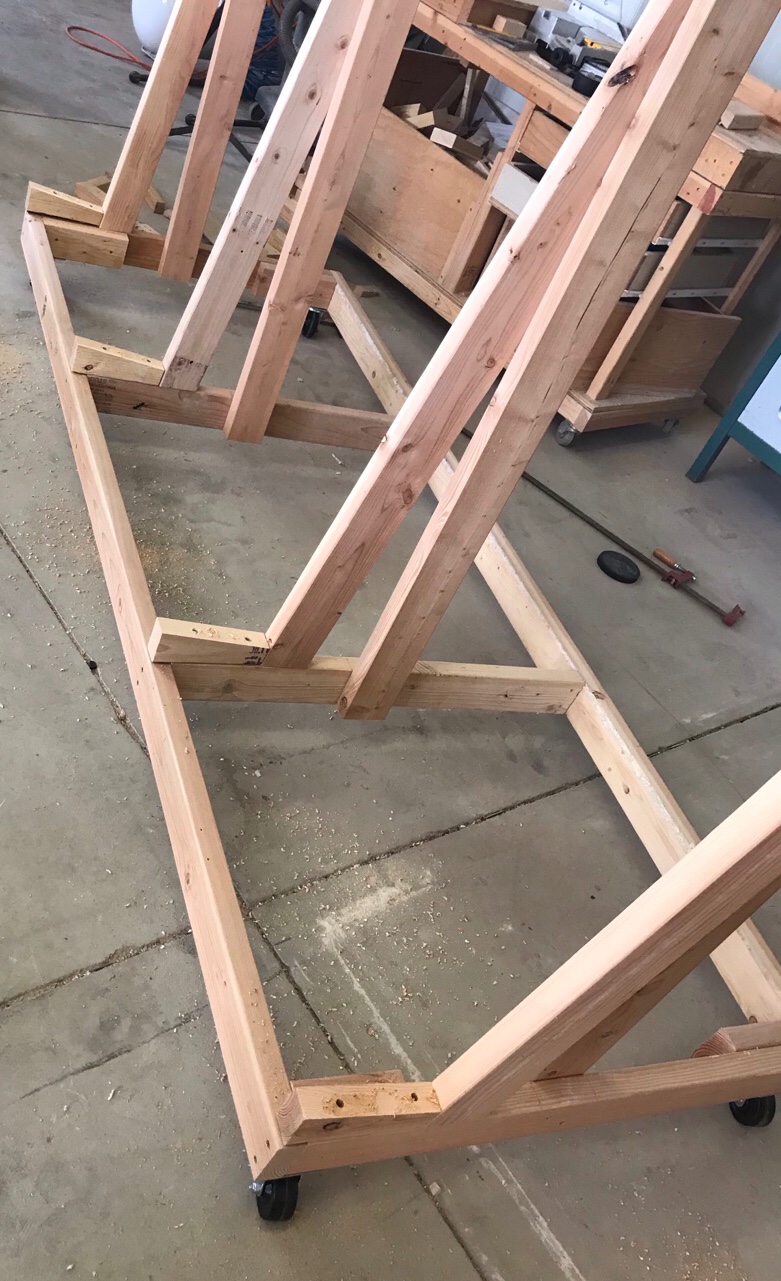
Next up I added some angled blocks so my plywood would easily lean back and stay in place when the cart was moved. Not that it’s going to travel far,it’s a heavy tank fully loaded. I’m sure there are many ways to cut these out, a band saw, jig saw, perhaps a circular saw, the easiest way for me is to pull out my Straight-Line Jig and cut them on the table saw.
For the sake of reducing the number of full sheets of plywood, instead of using a full sheet on the back I instead used some 1/2″ MDF strips, not my preferred choice, but free is nice :0).
That was it for one day! Next time in Part II we’ll add some shelves and bins.
Don’t forget to hit the follow button, or like my page on Facebook “Girl with a Hand Plane” for more projects and tips!

That is an awesome rack, and a great way to keep track of what you have.
LikeLike