

My mom recently decided to buy the inventory of a little quilt shop and run it out of her basement. I’m really excited for her, after woodworking I like sewing next :0) She likes sewing first and I hope this little quilt shop held her share her love of quilting and sewing with others.
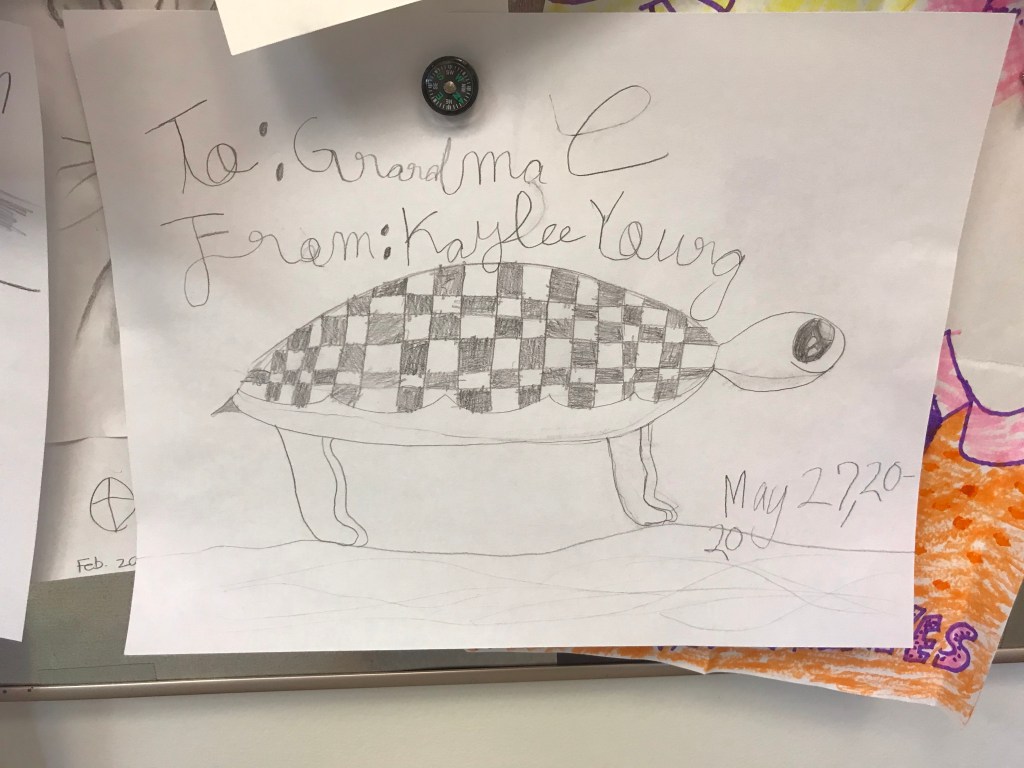
Naming a new business is always hard and when I saw this picture my 9 year old drew I thought “The Quilted Turtle” would be perfect since mom loves turtles. Nope, it’s already taken. I think she decided on “Quilted 4 Love” for the name.
Mom needed some help picking paint colors and shifting things around so I hauled the kids down to spend a week there getting started. I optimistically thought I would get to see all of the pretty fabric in her inventory….but instead I created more work by dreaming up shelving and other displays that still need to be puttied, sanded and painted….
When my family moved into this house there weren’t enough bedrooms for everyone, so my stepdad put up a temporary wall made of bookshelves and a plastic accordion door. The kids were so shocked when it came down since “it had been there as long as they could remember.” Yeah like 10 years before any of them were born….they had no idea that it wasn’t a real wall.

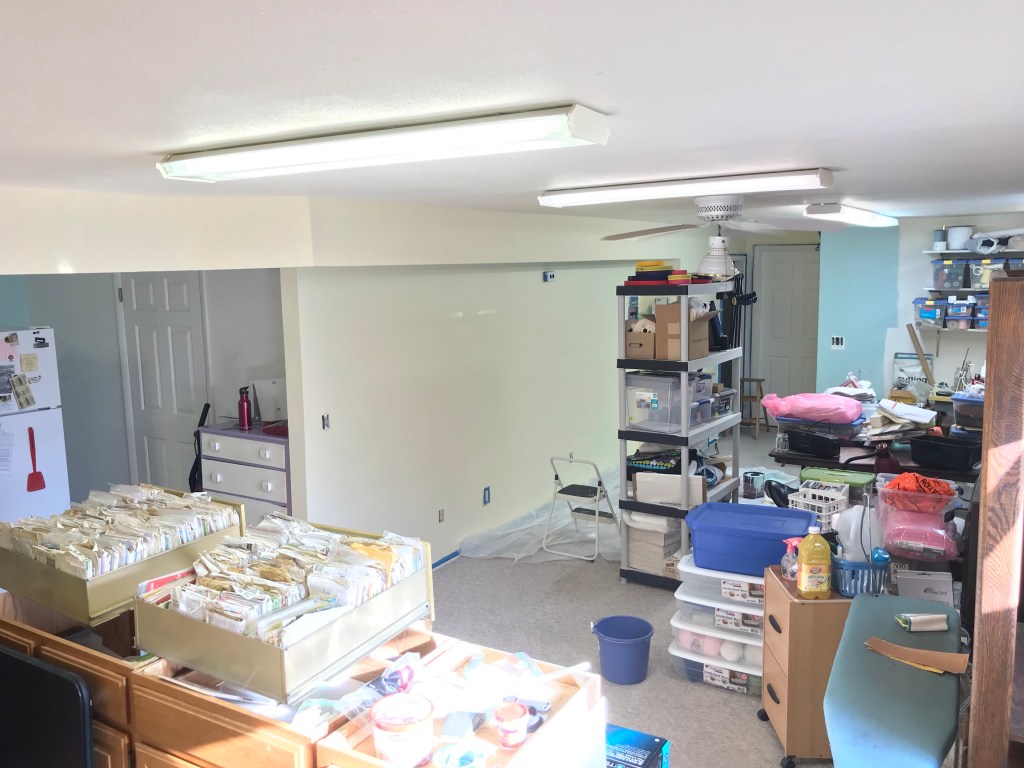
In this picture we had removed the temporary wall, painted the walls we could get to, hauled a pile of things out to the garage to yard sale and decided how we wanted to build the cutting counter. I know, it still looks like a mess, but a lot of work happened before this was taken :0)
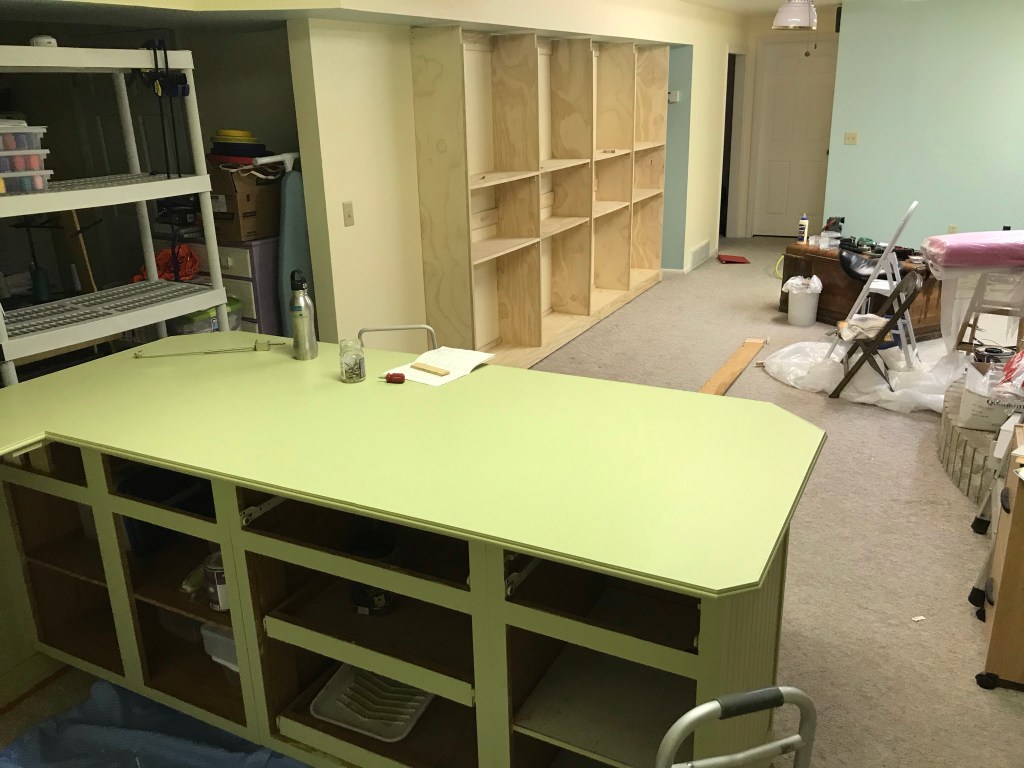
This is the same view right before I left. Everything has been crammed into the back room to be sorted later. The cutting counter is getting close to being done, fabric shelves are almost built along the wall and the walls are painted. We ran out of time and brad nails and time on the shelves, but they are up!
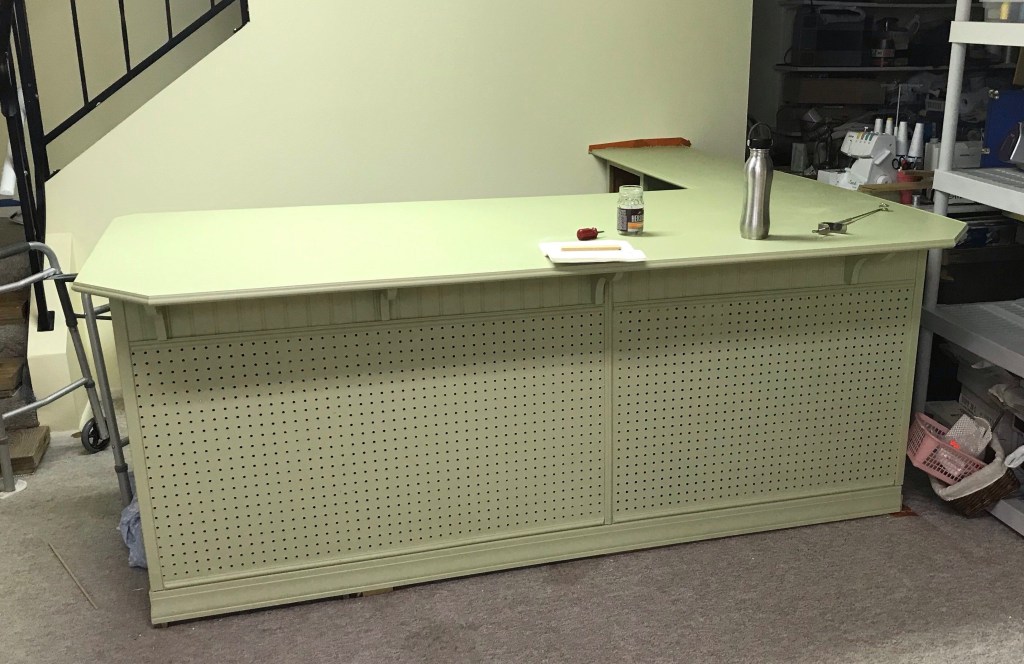
Mom’s first priority was to have a nice cutting counter. She had some old kitchen cabinets left from redoing her kitchen a few years ago. At first I wanted to haul them all off because there was a futon in the way and how we had them arranged wasn’t working out. Once she and Wes moved the futon and changed the direction the cabinets were facing, things started looking up :0).

There were three cabinets we ended up using for the main counter and one more we turned upside down so the door would open the right way for the narrow part of the counter. I screwed them all together, added a little headboard, pegboard and a lotta trip and a top and before long we had a very cute counter waiting for a coat of paint.

My mom lives with my grandmother, she is 93, lived through the depression and likes to keep things. The idea of minimizing the sewing stash is a bit foreign to her because “you might need that someday.” She ran various sewing businesses through their life and had collected quite a bit of stuff, *some* of which had made it’s way to this sewing room.
This is the old sewing room, very organized if not perfectly pretty. Kaylee especially enjoyed the button drawers.

Once the back room was painted and the shelves were back up, we started hauling the sewing room there so we could tackle this corner. It soon became apparent how efficiently the space had been used….transferring items soon became piling them and cramming the sewing tables in to get them out of the way. More sorting is in order, but first painting and new shelves where the sewing room used to be.
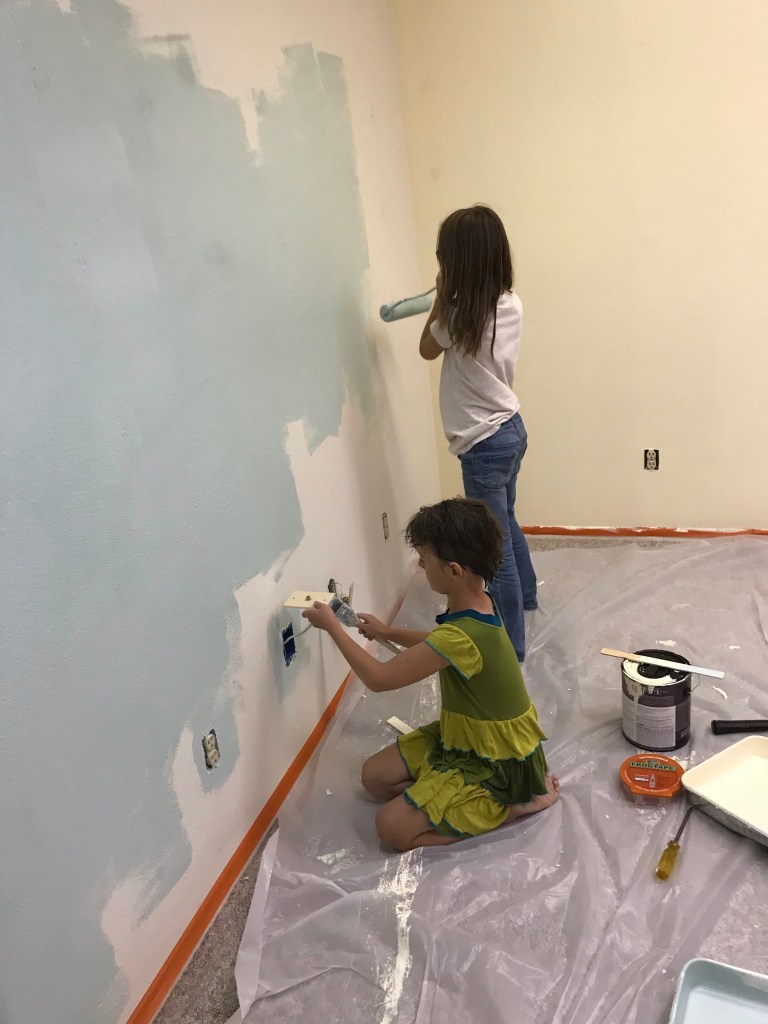
My kids always want to help paint…and I have a hard time wanting to let them. I keep trying to remember that they lose interest soon and if they do the first coat, I can fix it with the second. Still it’s hard to let the younger ones help. After much begging and being put off, these two finally got their wish. My 13 year old is turning into a pretty good painter and did a majority of the walls and even climbed on the scary scaffolding to paint and cut in on the stairwell. With her around I mostly just did the cutting in, but by the end of our week here, she had started cutting in some of the easier places as well.

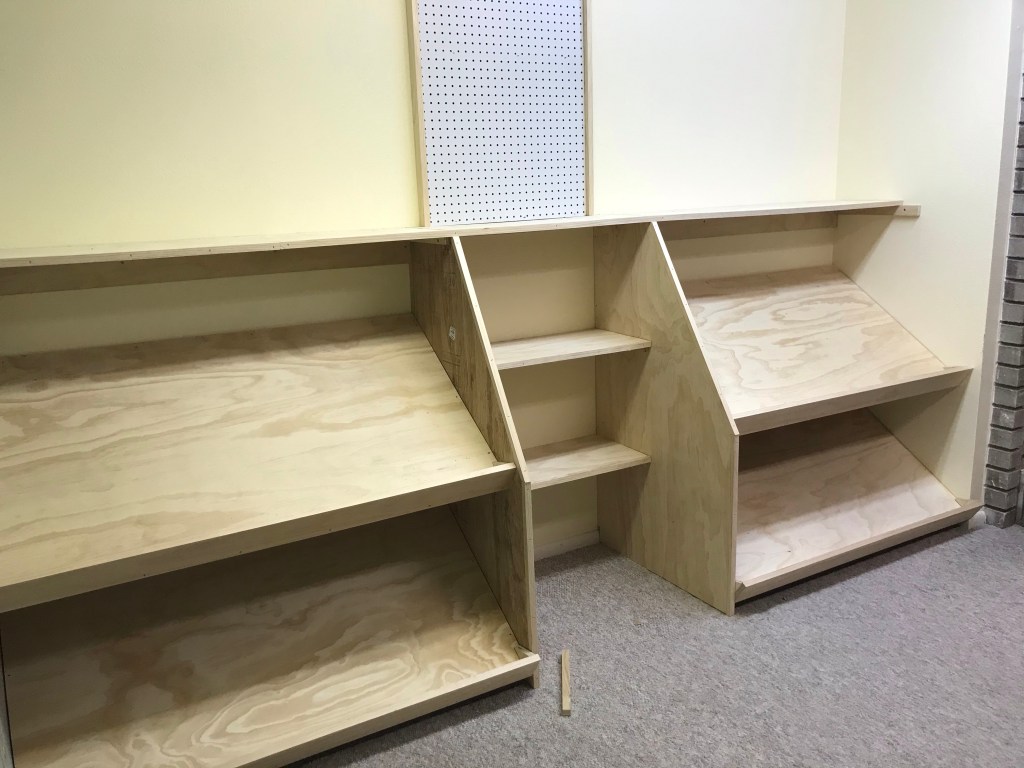
The sloping shelves we decided on for this corner were by far the hardest thing to figure out. Not all of the fabric comes on the same size bolts, so we needed a place for the larger bolts of fabric. The bottom shelves are 32” deep and the uppers are 28” deep and just thinking about trying to get the right angles was making my head hurt. In the end we laid dividers on the floor and stood the shelf pieces up on end and used bolts of fabric to figure out the spacing.
The final project I got started on was a long bank of shelves tucked into the space under the ducting. We had to leave a little room at the end for the breaker box and thermostat, we’ll Putin some little cubbies there next time I go down. And get the trim around the top of the unit.
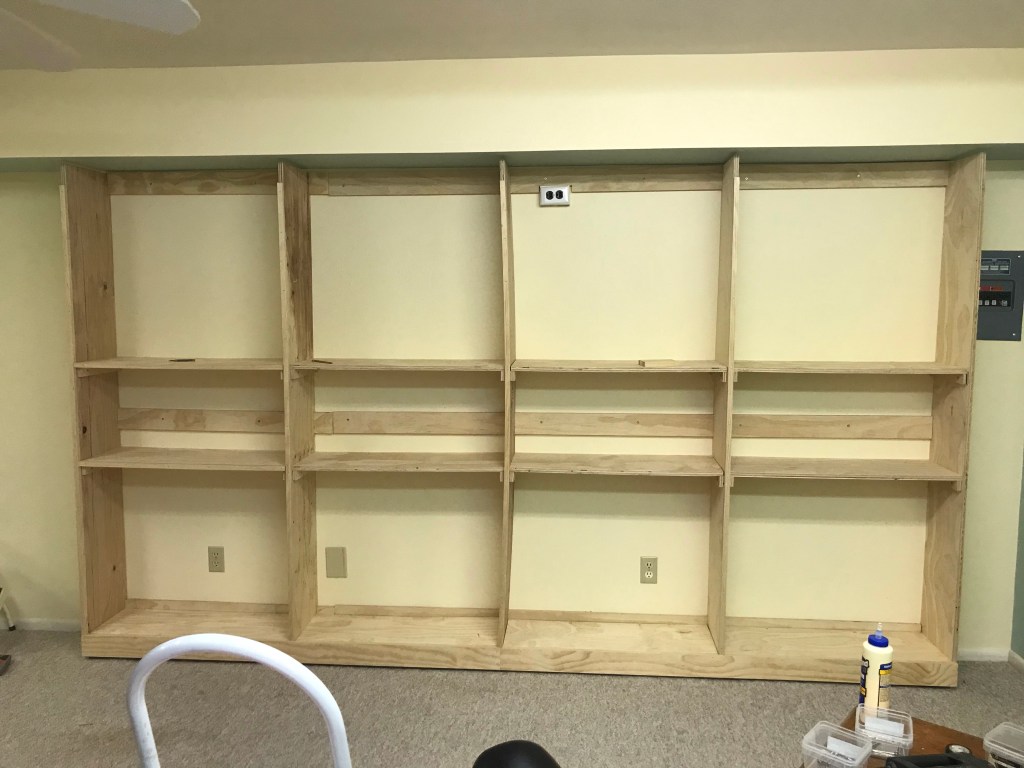
I would have built these slightly differently now that they’re done…there is a very embarrassing curved divider right in the middle we could have straightened out if I had assembled things in a different order….the mistake was thinking I should screw the dividers to the cleats from the back before attaching anything to the wall. I chose this so there would be less visible hardware
If I had added shelves as I went and used them as spaces we would have noticed the curve earlier and could have used the shelves to pull it out a little more. Instead we added the shelves last and the curved board was screed in from behind and taking the whole thing down again at 10:30 sounded less appealing than cutting the shelves to fit. Lesson learned.
I’ll get better pictures next time :0). And hopefully everything will be painted and ready for the inventory to be put on display!
Don’t forget to hit the follow button, or like my page on Facebook “Girl with a Hand Plane” for more projects and tips!

1 thought on “Mom’s Quilt Shop part I”