

I think it was last September or October I went to Home Depot and spent an hour trying to find the best quarter sawn 2×10’s I could in the rack thinking I would be whipping out my very own portable Moravian bench in short order…not so much, I’m still working on it.
Last month sometime Mary came wandering out to the shop while I was chipping away at my bench and wanted to build something. Lucky for her I had stashed away a pieces of a broken hoe handle for just such an occasion. We went through the plywood scraps and found enough to throw a box together.

The hardest part is always waiting for mom to get all of the pieces ready so they can start building ;0)

We needed some sloping sides at the end of the tool box, so Mary impatiently waited while I cut them with the skill saw, clamped together so I could cut both at the same time. To prevent mistakes we traced the thickness of the plywood and marked where the holes needed to be.

Once we had all of our pieces cut and marked, she finally got to do something! We predrilled our holes together, I hold the top of the drill for them while they pull the trigger. This works pretty good until they’re big enough to use my monster drills on their own.
Soon enough it was time to start assembling the pieces! I attempted a video of Mary screwing the sides together. I think she did a great job! It’s always a little hard to learn how hard to press the trigger and hold the drill and screw in line so they go in straight.
Using torex screws and an impact driver always helps with this. I remember being much older than her and struggling to get a Phillips screw in with a conventional drill and being frustrated more often than not.

In my speed to get pieces cut to assemble, they didn’t quite fit perfectly, but we made it work!

I saved a broken hoe handle for occasions just like this. here we have it clamped in place, hole predrilled ready to attach.
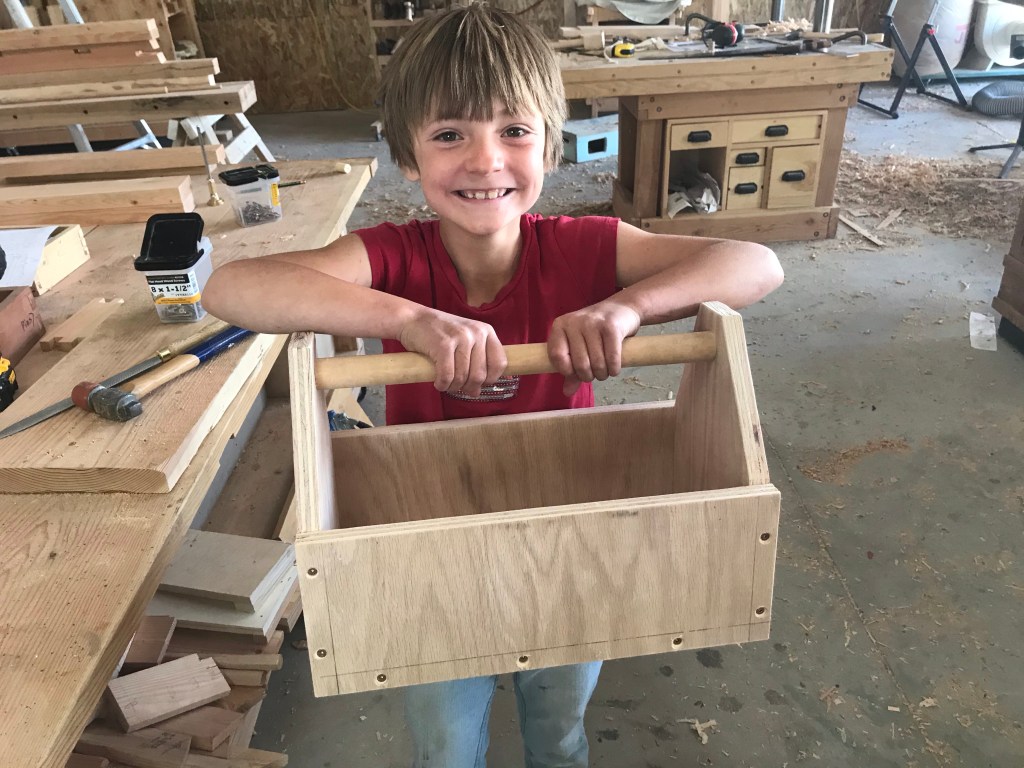
It was only after we had started assembling this toolbox that I realized it was a bit on the large size for carrying heavy objects…but that’s alright, it’s not as if a 7 year old needs to be lugging around pipe wrenches :0).

No project of Mary’s is complete without a coat of paint! She used craft paint, so we sprayed a clear coat over the top to help preserve the paint a little longer. She was happy! And it really only took me about 30 minutes to stop what I was doing and build this with her. Kids don’t want perfection, they just enjoy the process ;0).
Don’t forget to hit the follow button, or like my page on Facebook “Girl with a Hand Plane” for more projects and tips!

1 thought on “Mary’s Toolbox”