

This whole desk adventure started with the twins, Mary and Cora. I had decided to build a wall to separate what was their room with the TV area in the basement and build a large corner desk unit for them to share. I had drawn the plans, bought the plywood, cut the plywood…and then Cora decided she could not possibly share a room with Mary for one more day. After rearranging the basement yet again to accommodate her, a change of plans was in order.
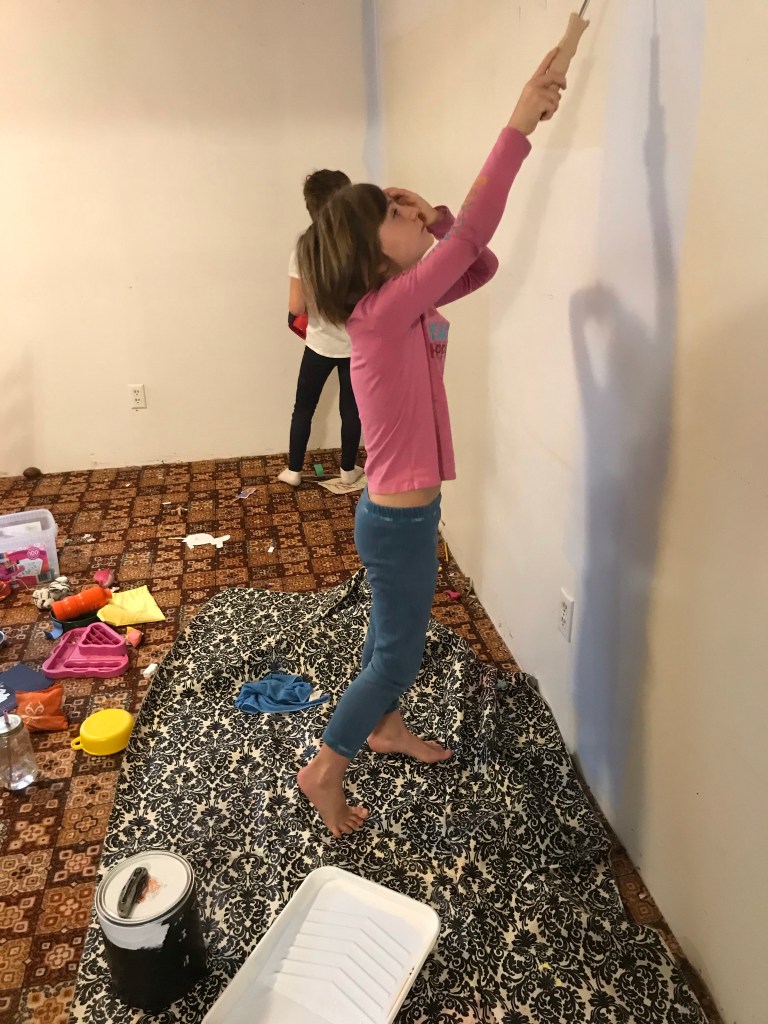
Since this made the desk I designed for them to share a little obsolete, I rethought my entire plan. Instead of building a wall, I moved Mary’s furniture around to create a wall and changed the location of her desk. This exposed the ugliest wall in the house which now needed to be painted. The original owners had painted around a sort of built in cabinet thing and the wall was two toned dirty primer and white in an odd shape.

No fear! Slave labor to the rescue!! The main reason for building the desk was to make it possible to put all of their toys away. With the hope that we could do better at keeping their rooms picked up. It’s a hope anyway :0)
In the original plan there was going to be two 6’ counter tops with a corner piece between them. Identical shelving units on either end and a couple of corner shelves above the desk.

I always like to lay out how I’m going to cut my plywood before I buy it, that way I’m less likely to make a big mistake cutting it and end up needing more than I bargained for.
With a new layout in the room, there was only room for a 4’ counter on one side of the design and I was going to need two more shelving units to make two desks instead of one :0) Nothing like tripling your work a few weeks before Christmas! I say tripling because at this point I had also decided to build Wesley’s desk after seeing the butcher block counter tops at Home Depot and knew they would be perfect for him.
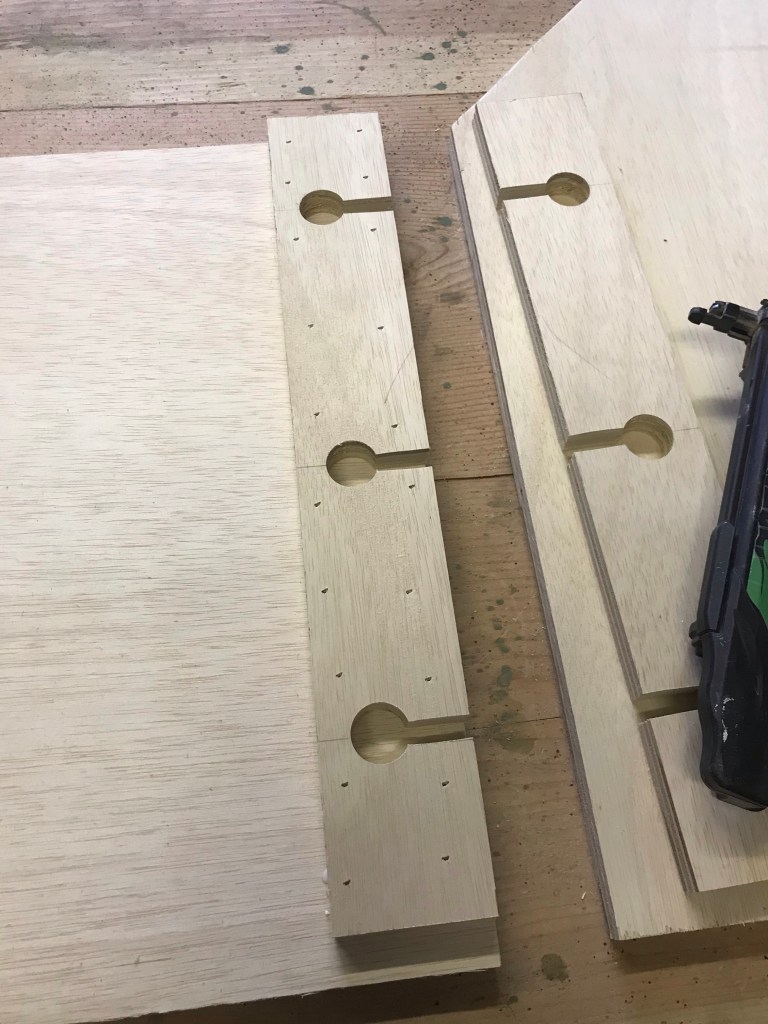
I tried to plan ahead a bit assembling the desk tops :0). It almost worked, when I went to install them there was one or two things that didn’t quite work out. Rather than try to use a router to make the connecting line for the anchor bolts like I did on the Moxen Vice work station, I decided to cut everything out the easy way before gluing and nailing it down.

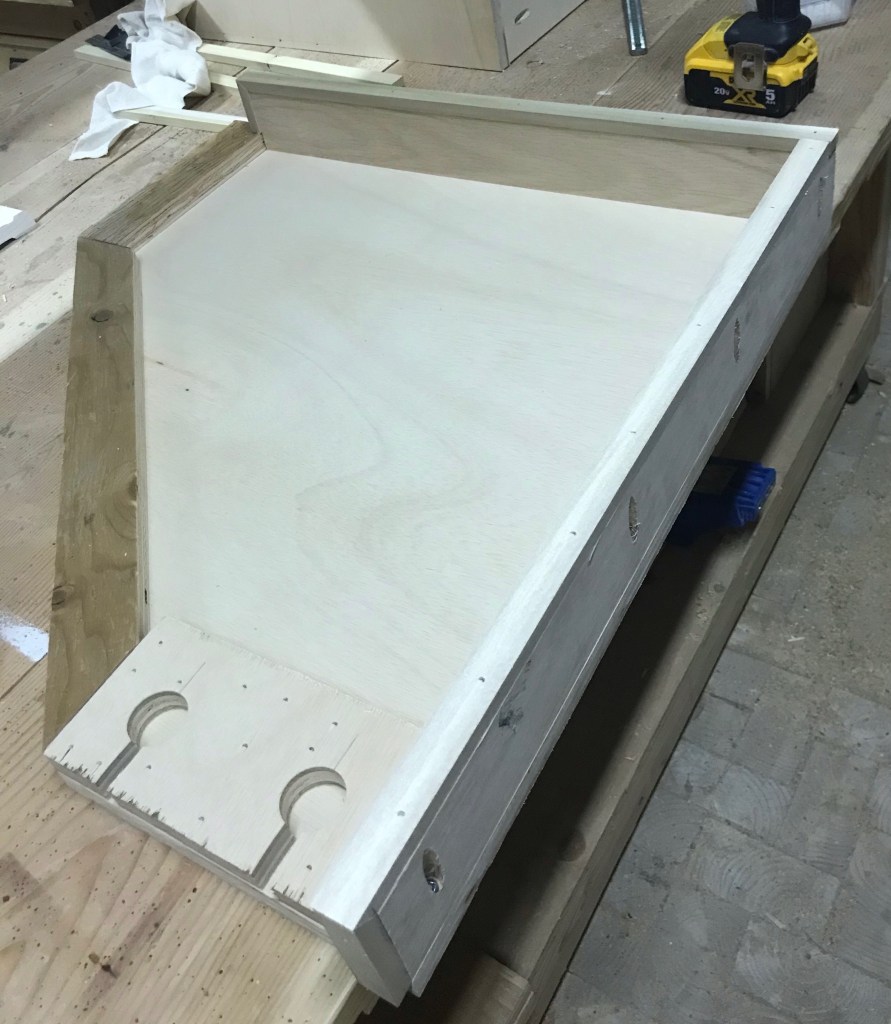
If you’ve ever looked at the underside of a kitchen counter top, you know that it is mostly 3/4” thick with a second layer added at the edges and at the edge of the cabinets to help stabilize the whole thing and keep it in place. I used the same concept on Mary and Cora’s desks. I added a cleat to the side next to the wall and a 2-1/2” band around all edges that would be finished with trim.
I had bought just enough plywood to build the main parts of the desks…then pulled out everything else I had stashed around the shop to finish the rest. Some of it definitely looked better with some sanding and a coat of paint ;0). The shelf had added edge banding on the cleat since it would be more visible.

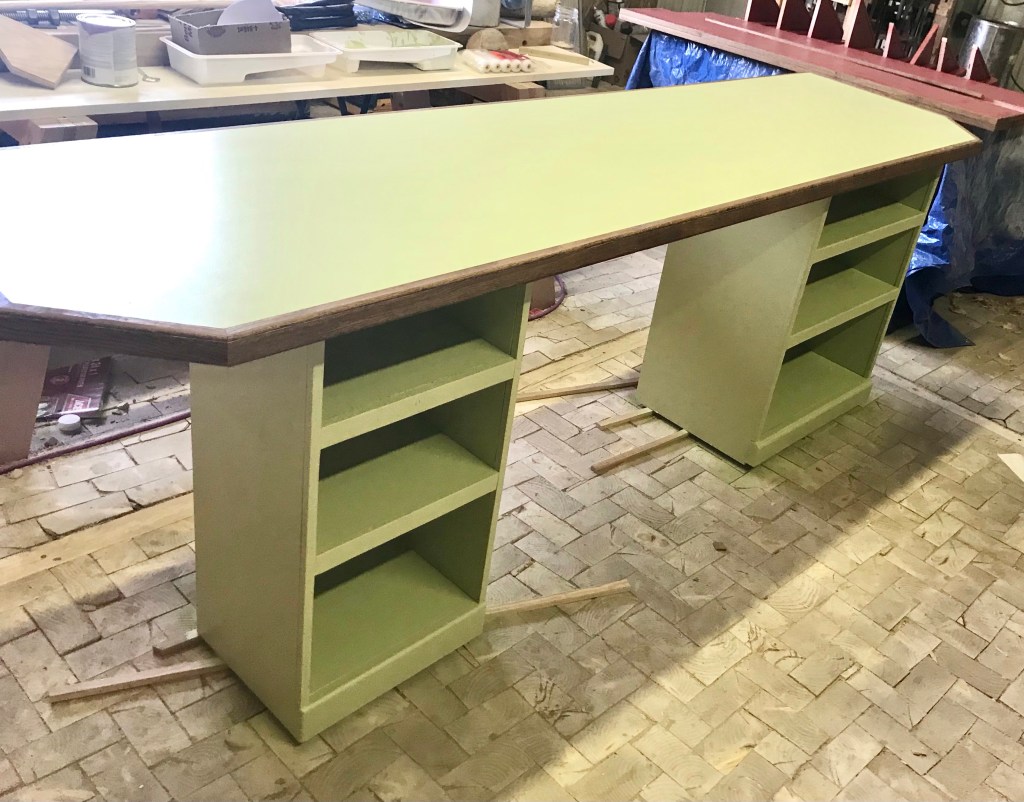
It would have been easier to built, paint assemble everything one at a time, but since they were all Christmas presents and needed to be done on the same day with nowhere to store them in the meantime, painting three colors and staining trim and a counter top became a little tricky.

Somehow they all got painted mostly the correct color and it was time to trim all of the raw edges. I ran out of trim and didn’t do the second shelf I had planned for Mary or Wesley, but had enough for the main parts.


Installing Mary’s desk was a bit of a challenge, corners are not always square, but I kept in mind that she was 7 and would be overjoyed with anything…so plugged away at it until it was secure if not perfect.

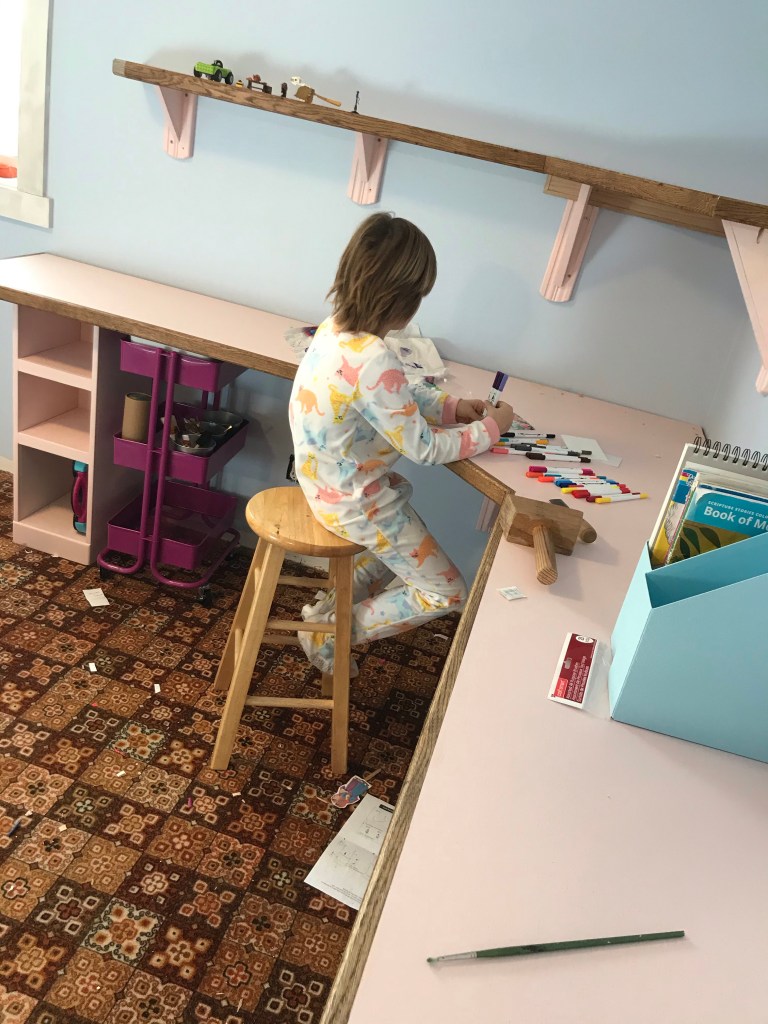

Cora’s corner is in desperate need of a light fixture with working lights, preferably with a pull chain so the two halves of the room can work independently, so getting a good picture of her desk in it’s new home was more difficult.

As you can see we’re still cleaning and organizing…it never really ends, but at least they have somewhere to store things besides under the bed!
Don’t forget to hit the follow button, or like my page on Facebook “Girl with a Hand Plane” for more projects and tips!

I just think you are a marvel, a very talented mother.
LikeLike