

I always planned on making Mary & Cora a magnet board to go with their desks and finally got to it this month. I wasn’t sure where to start shopping for sheet metal and stopped first at a local machine shop. They had a dumpster I could look through as well as some 1/16th inch stuff I bought. The guy who was helping me out told me that where I really wanted to go was to a heating and cooling shop where they had thinner galvanized sheet metal they cut to size with a sheer.
A few days later I ended up at the heating and cooling shop and ended up having a 3×8’ sheet cut into 4-2×3’ pieces for about $26….then went back again to get a second sheet cut into 2-2×3’ pieces and 4- 18”x 2’ pieces to do some smaller boards on.

Cora came out to the shop first and chose some spruce for her frame. She wanted to paint it herself. I used the router table to cut a 3/8” deep dado by 1/2” wide on all of my pieces, then had to remember how to cut a picture frame the right size :0/
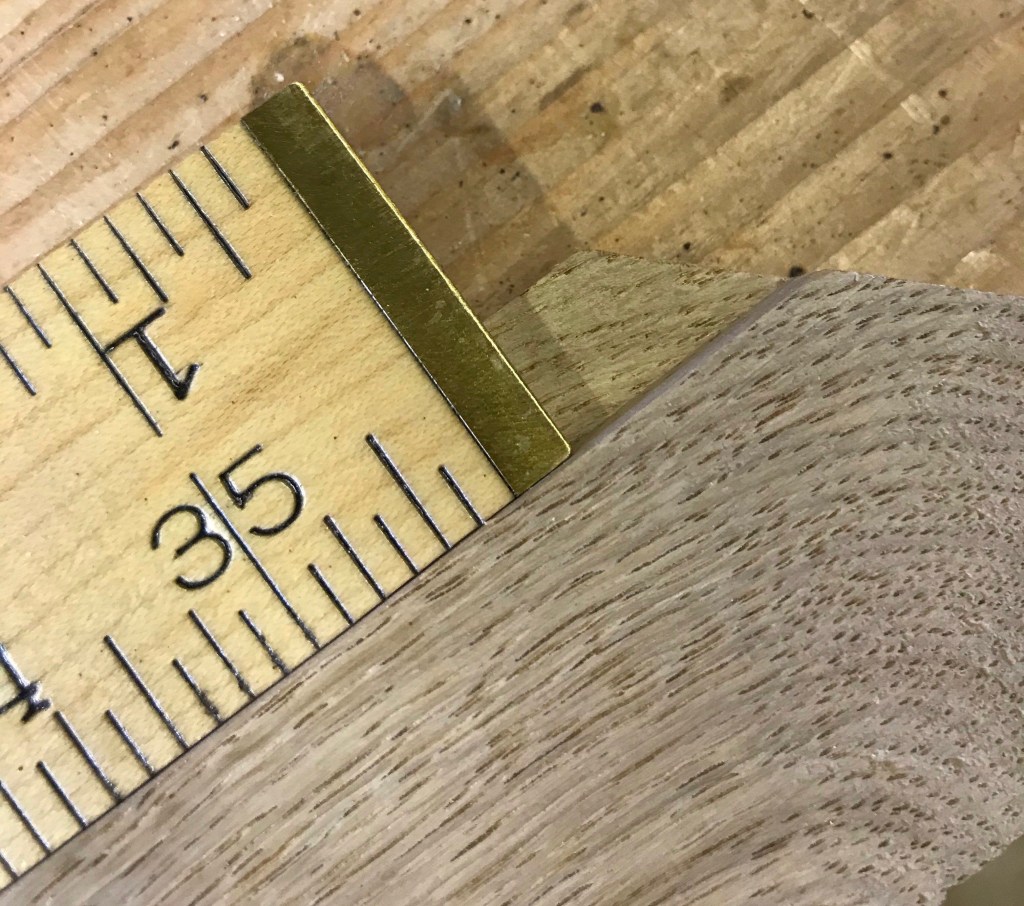
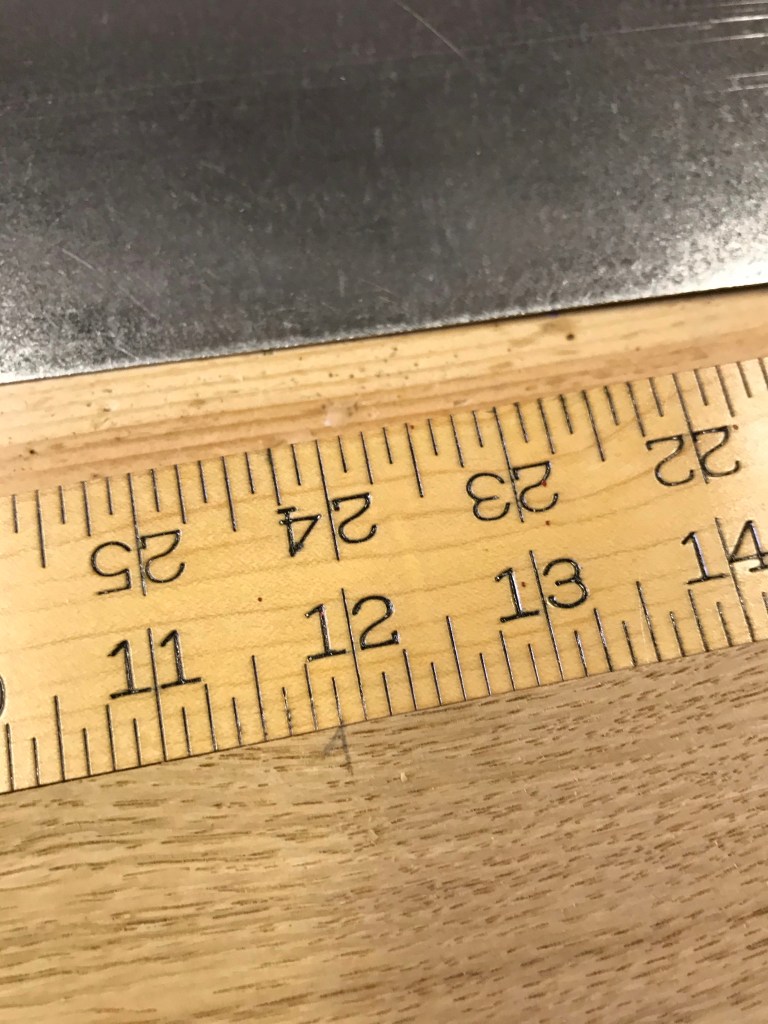
I start with my first 45 angle cut, then started measure for the next cut. I really like using a ruler for this kind of measuring. The picture shows it sitting in the rabbet, you want to measure from the very edge of your 45 degree angle at the bottom of the rabbet. A tape measure can be a bit cumbersome to get in the right place.

I like to mark the cut with a straight line indicating my measurement, and half of carrot indicating which way the angle is going. Then I ditch to a square with a 45 degree angle and finish marking my cut.
Since getting it done quickly was a priority I opted for pocket hole screws on the corners vs. clamping and gluing each corner one at a time…I only have 1 corner clamp ;0). And the wood was too wide for it anyway…

First I glued each joint, then clamped the two corners I was joining to the workbench before screwing them together. It makes for a pretty quick frame. It seems like 1-1/4” screws always poke through on picture frames, I almost always end up using 1” screws with 3/4” stock.
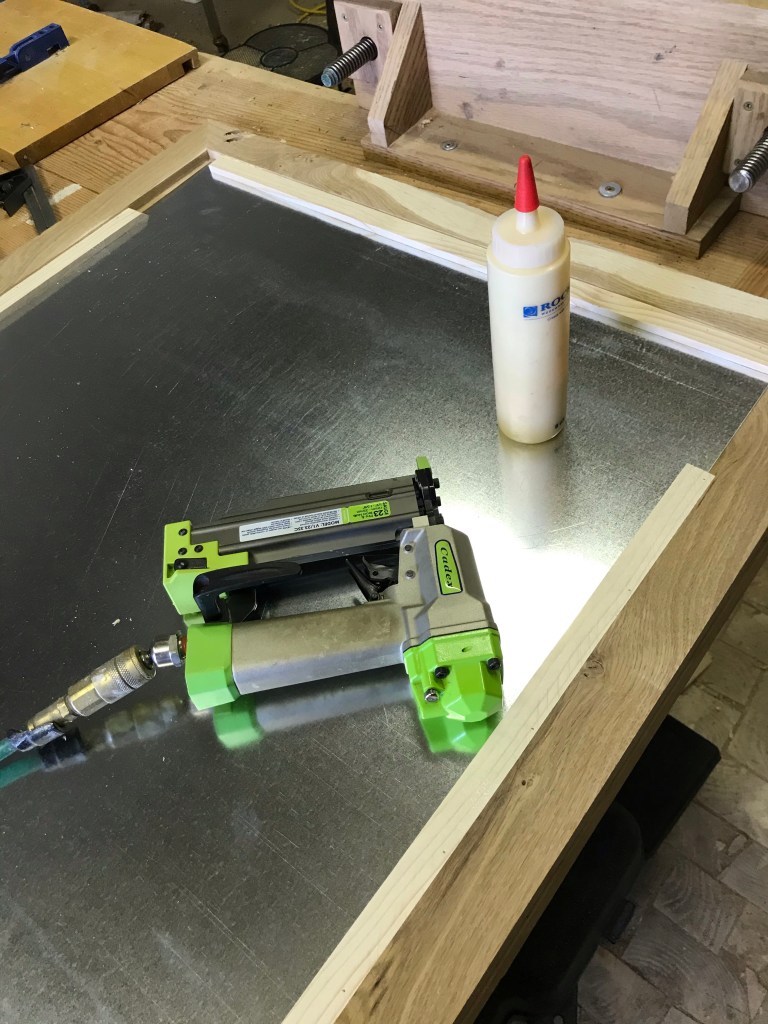
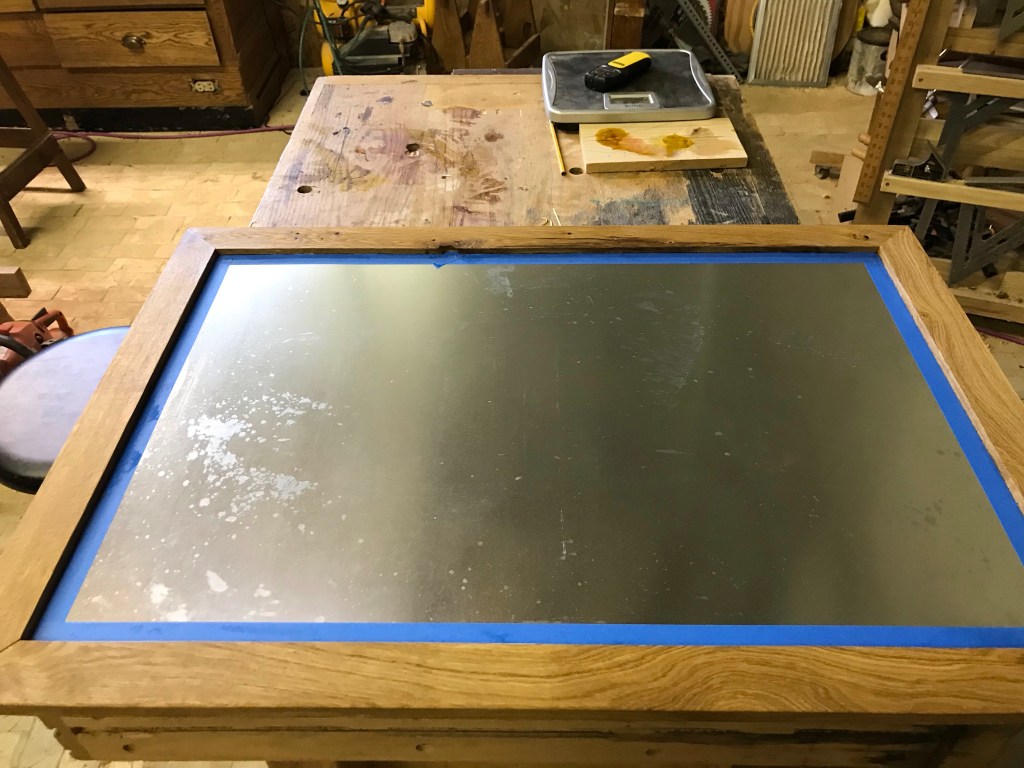
All that was left was to lay in the sheet metal then tack it down. I did this with strips of wood that I glued on both the bottom and the side next to the frame.

Mary opted to have hers made out of oak….which is a little harder to drill pocket holes in, but stains so pretty ;0)

Mary can be rather artistic when the mood strikes her and chose each piece of wood she wanted to use in her frame with care.

After sanding the edges, she brushed on the Danish Oil by herself :0). I helped wipe off the excess, then we waited. This was the hardest part for an 8 year old….waiting overnight.
Mary wanted to decorate her magnet board with alcohol inks and then cover the design with resin. It was fun to watch her…even if the end result was a bit dizzy ;0). You could see her personality in the final picture and how she approaches things.
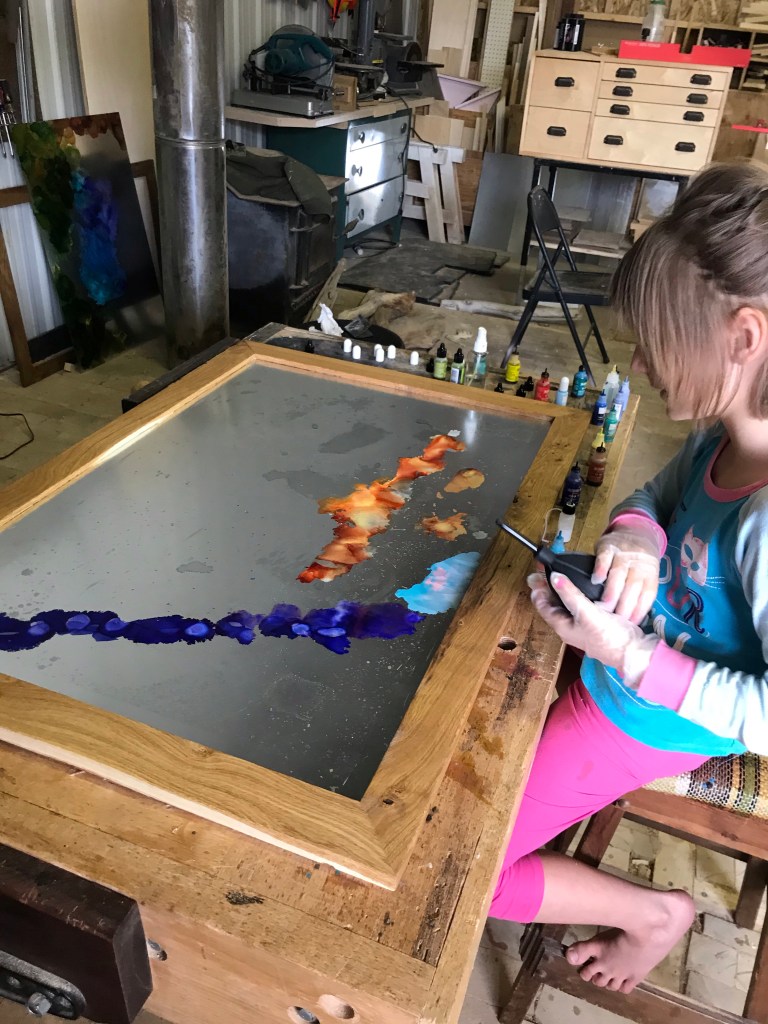
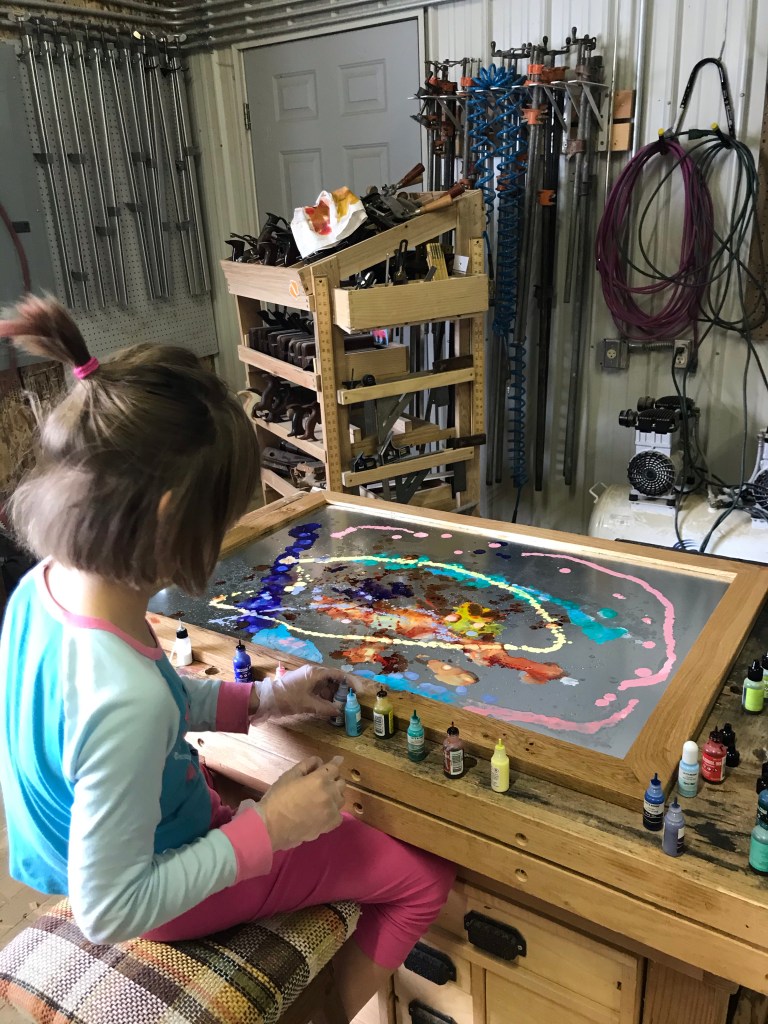


Adding resin over the top of the alcohol inks made the already vibrant colors really pop and you could see the the different layer of color even better. I should have taken a picture in better light…but it’s now covered with artwork ;0).
Don’t forget to hit the follow button, or like my page on Facebook “Girl with a Hand Plane” for more projects and tips!

1 thought on “Magnet Boards with the Kids”