I had never even heard of Swedish Ladders until my sister approached me to build one for her daughter. This little girl needs to climb, like a fish needs water :0). This is a first draft of what I designed for her to climb on. I ended up changing my mind on the spacing so that each section would attach to studs.
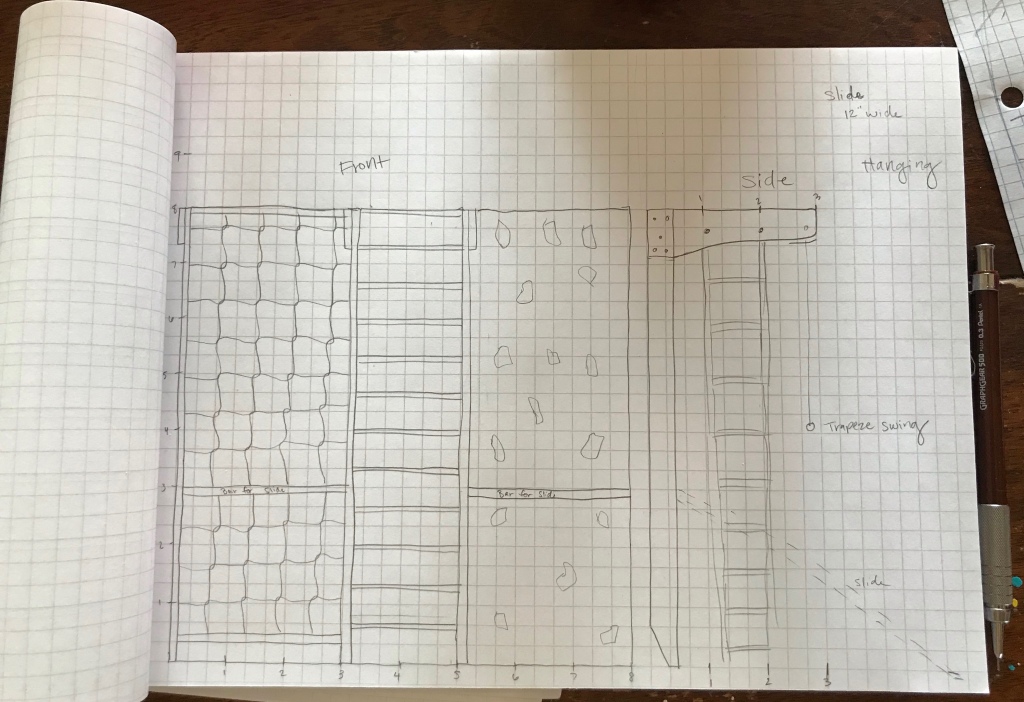
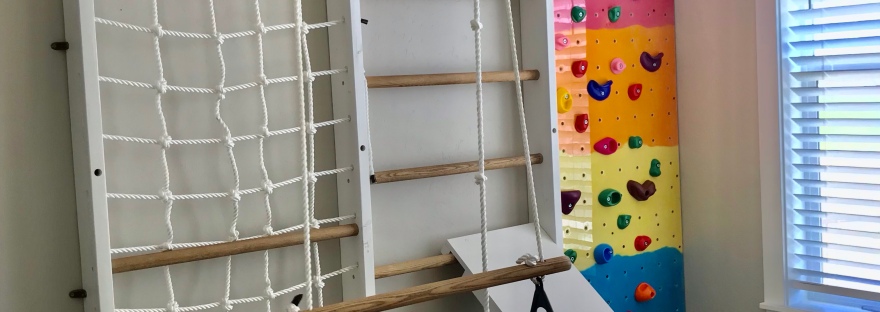
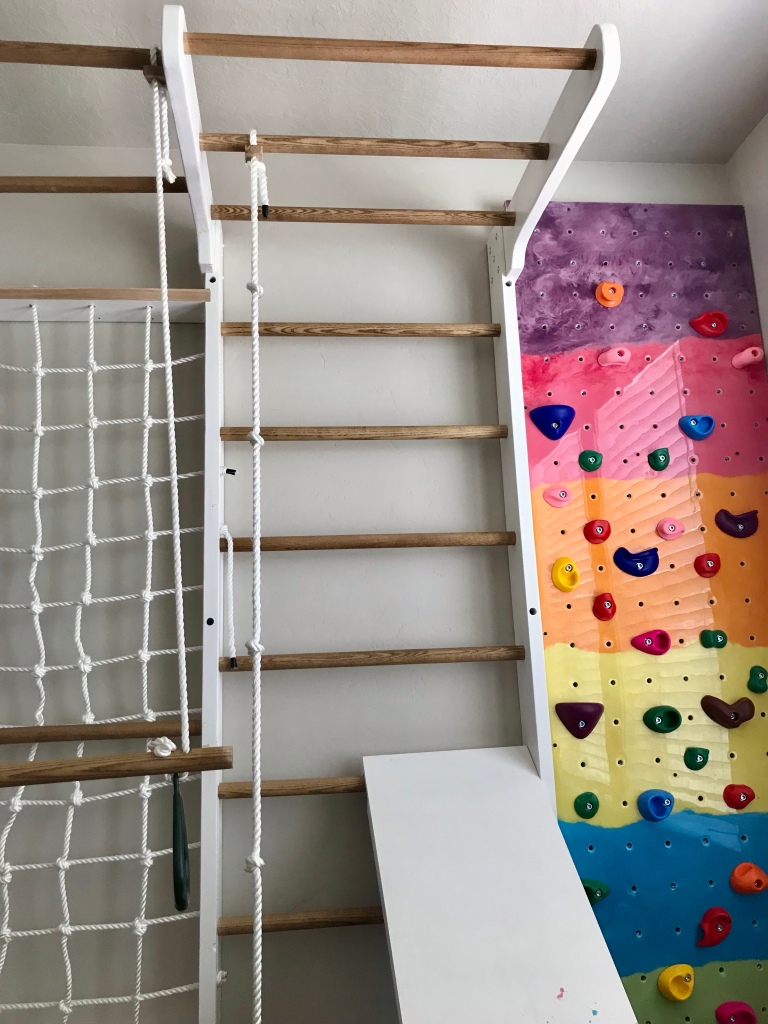
The three sections from left to right are: a cargo net, Swedish ladder and a rock climbing wall. Both the cargo net and Swedish ladder have overhangs to attach other climbing things such as swings and trapeze bars to. I didn’t take a ton of in progress pictures…but there are a few :0)
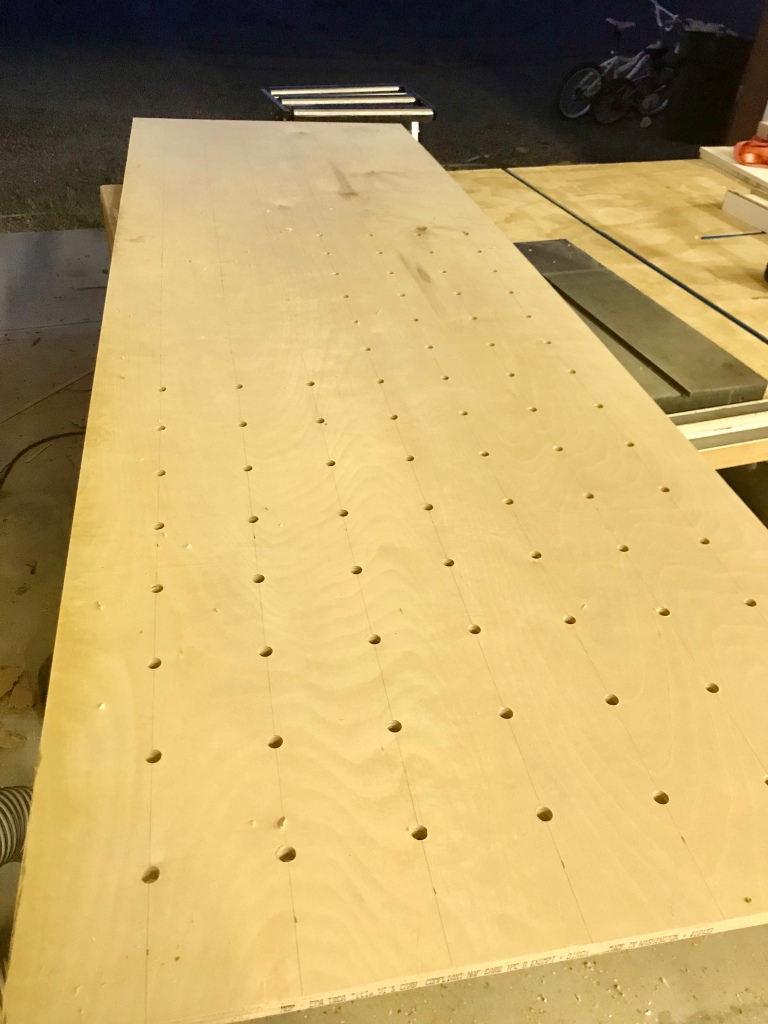
One of the first things I did after coming home with a huge pile of lumber was to lay out the climbing wall. I chose to do a 4” grid and drilled a 1/2” hole at every cross point. The hand holds attach to T-nuts which we pounded in the back…in every other hole since I didn’t order enough to go in every hole. This way the climbing wall can be rearranged without taking it back down.

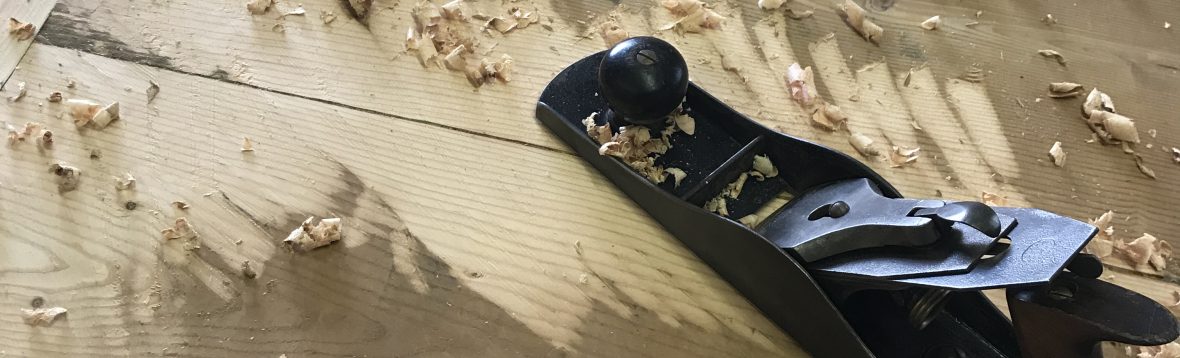
The uprights I made from 2×6’s and lapped the tops of both them and he 2×8 cross pieces. These would be bolted on and I wanted a ledge for them to sit on. My kids enjoy helping with this part. I cut kerfs across the removal area with a circular saw, then cleaned up with chisels and hand planes.
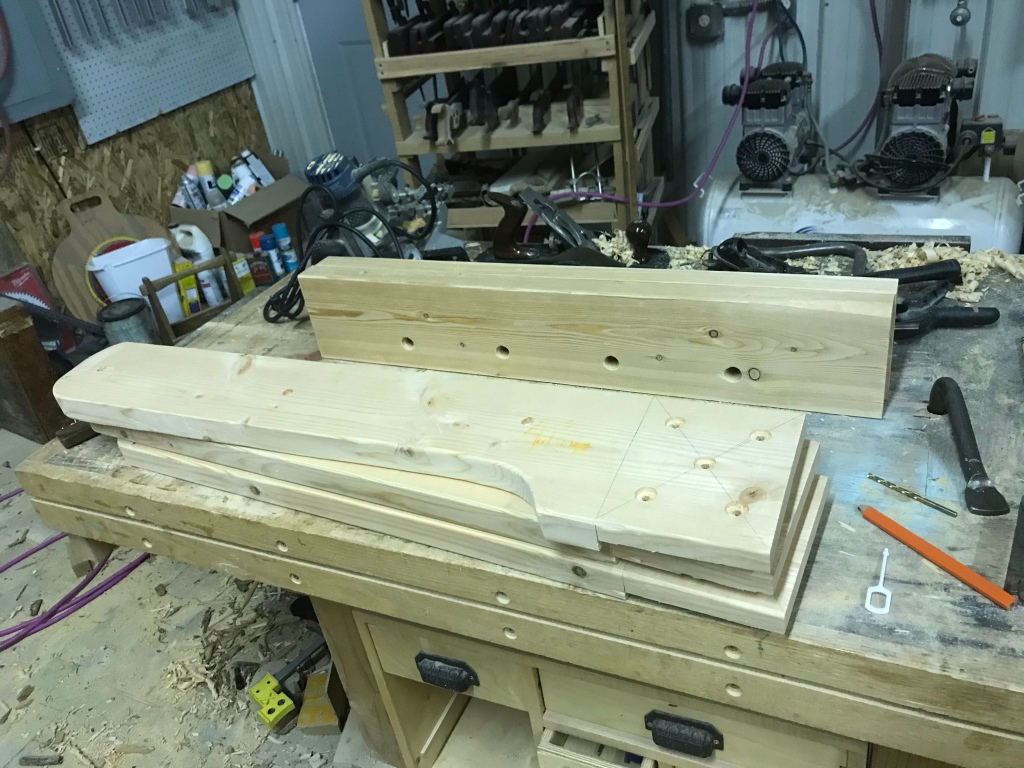
Next was tons of measuring and drilling, then countersinking the holes for the washers, bolts and screws and ladder rungs. I’m very glad to report that there was only one major mis-measurement :0/.
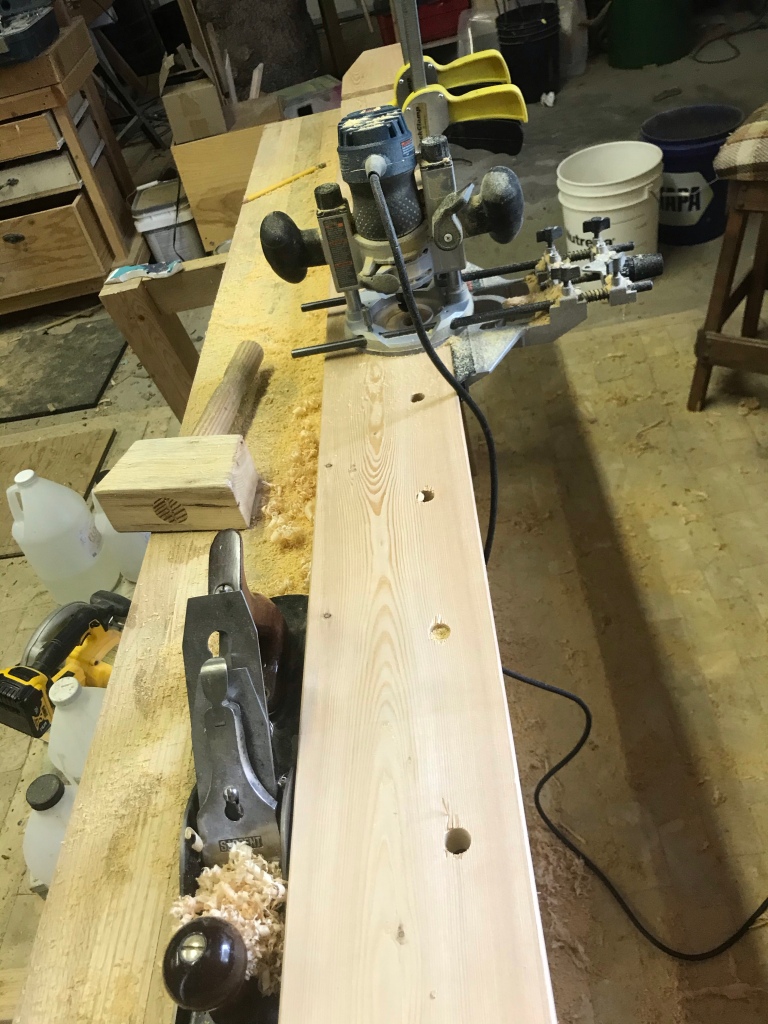
At first I tried to be tricky and only cut a groove where the top would be…then got off somehow and ended up putting a groove along the entire course of rope holes.
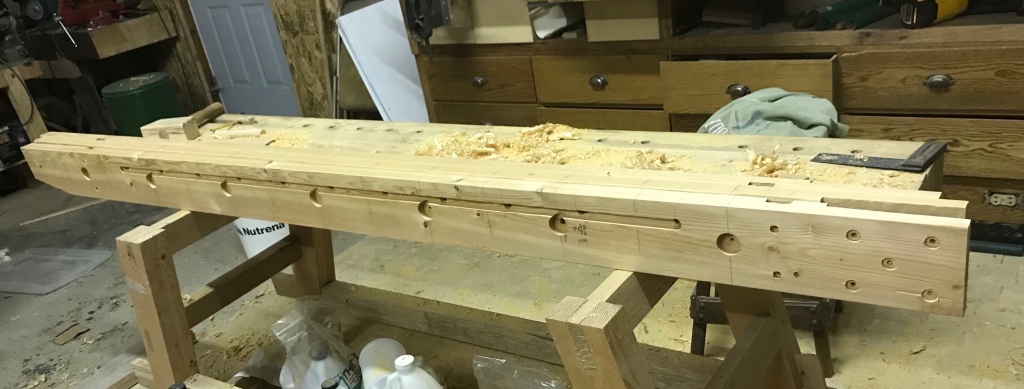
Compared to the loft I was building for her sister, B’s project really didn’t look like much until we started attaching things to the wall, just a pile of lumber with a lot of random holes drilled in.
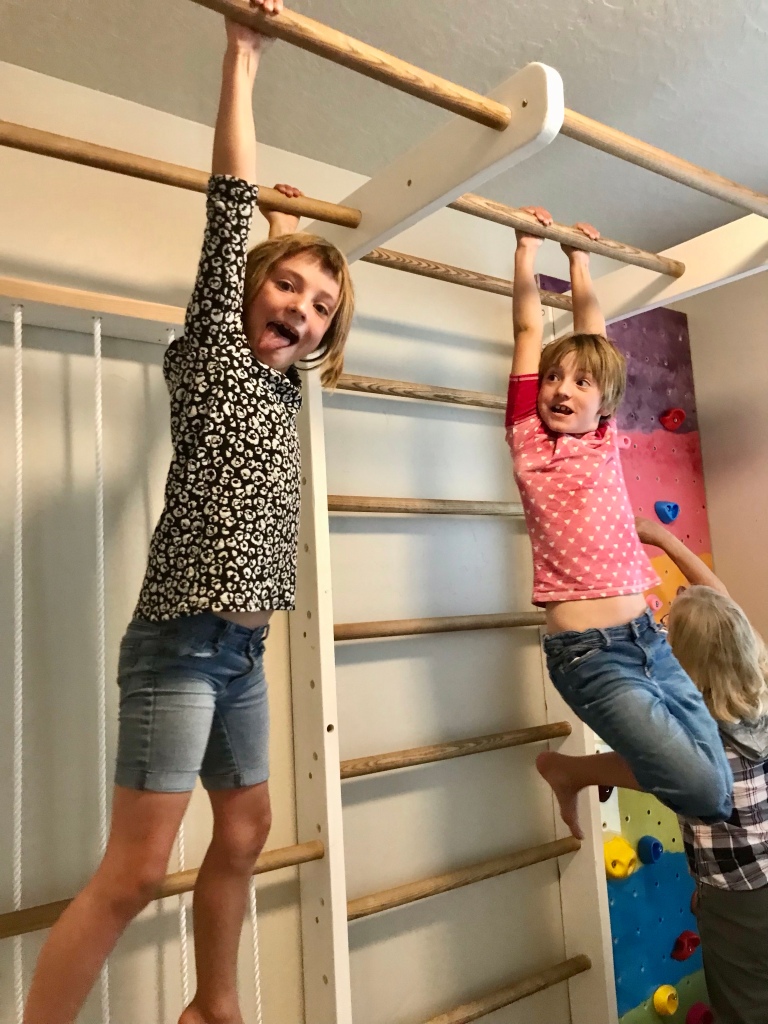
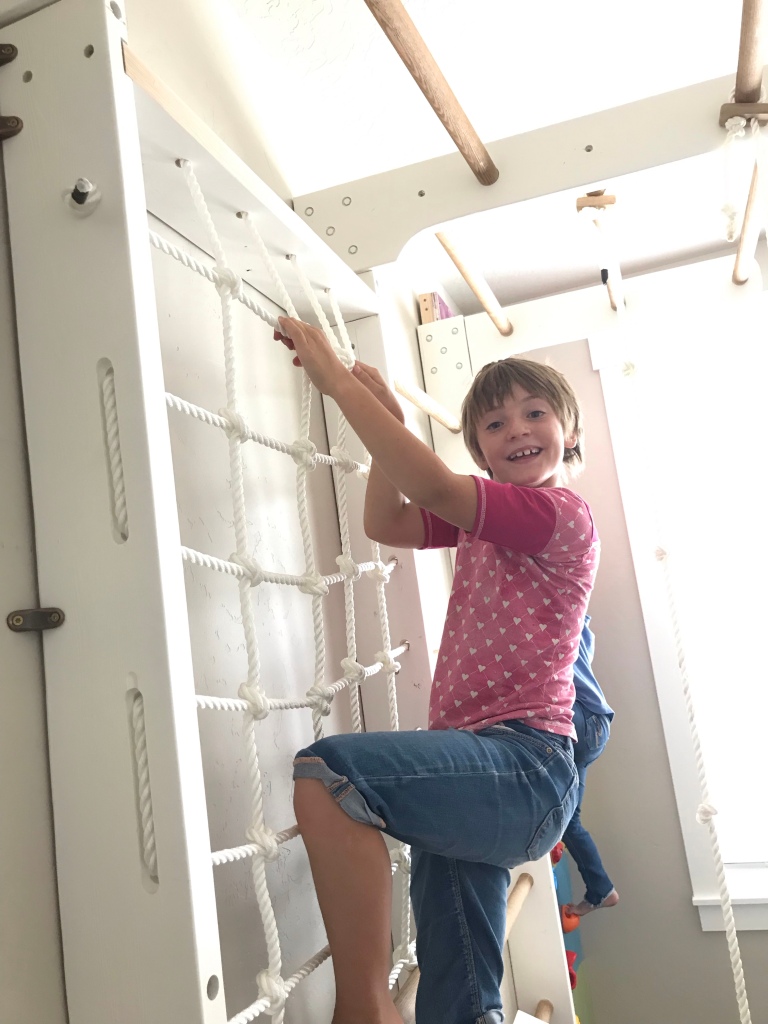
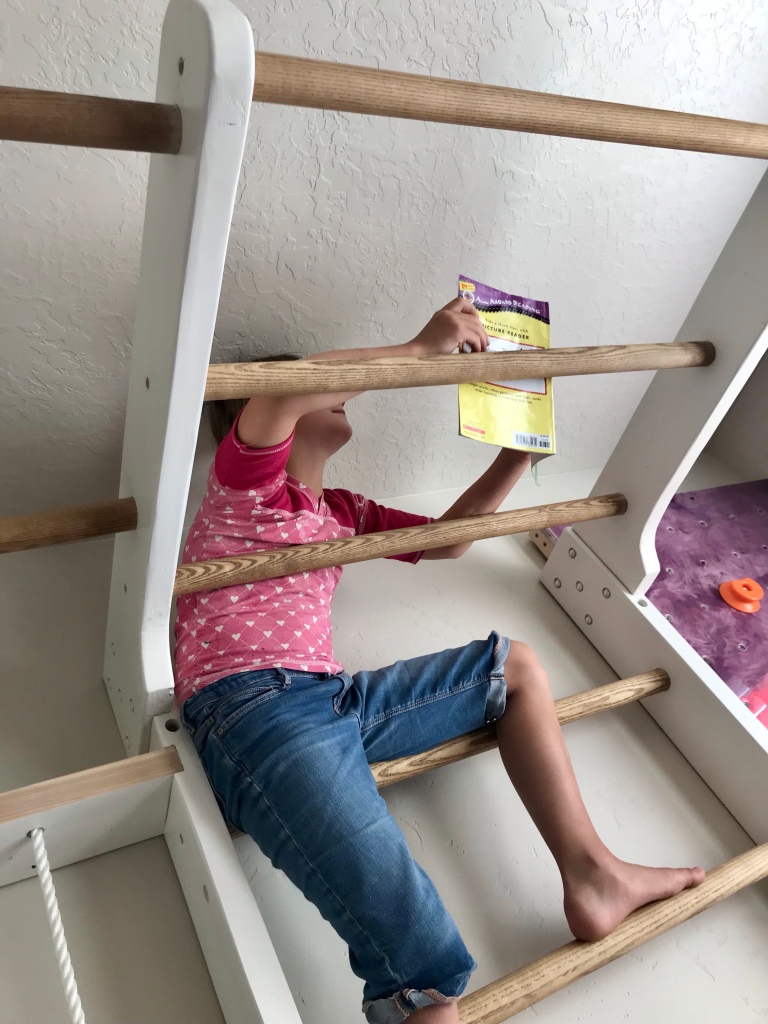
The picture below really made my day! B was helping her grandma place the holds on her wall and already climbing on it!

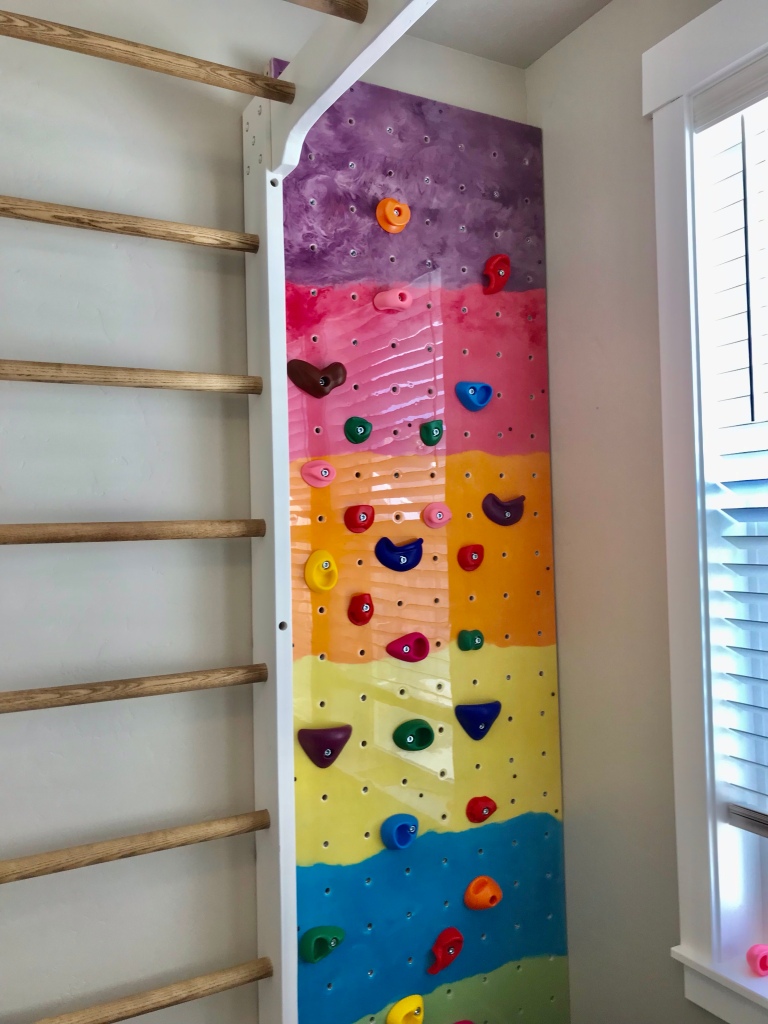
The last thing I did before packing up and hauling these projects 200 miles was to use some countertop epoxy on B’s climbing wall so I could add some color to the project since the paint was going to be white for both of them. In my head this rainbow was going to be a lot more artistic and look like a grassy hill with a sunset, instead we have stripes. Oh well ;0)
It didn’t take the kids very long to start climbing all over everything ;0).
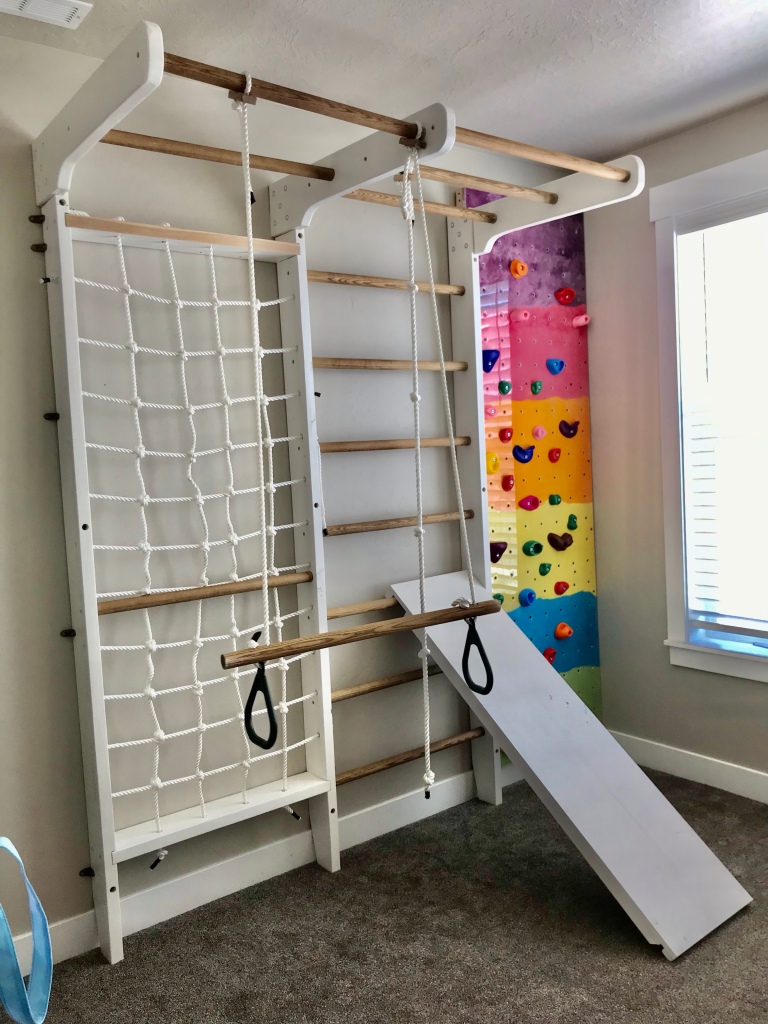
The slide was a big hit! It can be adjusted up and down the Swedish ladder a rung or two. We ran out of rope and couldn’t finish the hanging ladder or swing, but all in all it was a success!!
We used both 6” and 8” anchors to attach the 2×6’s to the studs. It was really nice to have helpers mark where the studs are hold the level as we were anchoring this to the wall. Everything went according to plan until the last stud we were using was not where it should have been, it was next to where it should have been. We ended up using some chair brackets to anchor to the stud.
I built a frame of 2×2’s with two cross pieces to put behind the climbing wall. This we anchored to studs with 3” screws, and to the adjacent upright. Once we had the frame in place we attached the climbing wall with pan head pocket-hole screws along the frame. I predrilled all of the holes beforehand to eliminate any guesswork.
The climbing holds can be changed, rotated etc. from the front with an Allen wrench. As the girls get bigger, braver or bored they can rearrange the wall. I hope this wall provides my nieces with hours of fun!!
Don’t forget to hit the follow button, or like my page on Facebook “Girl with a Hand Plane” for more projects and tips!

2 thoughts on “Climbing Wall with a Swedish Ladder”