Earlier this summer I decided to try making a River table for Jared out of some of the Burr oak slabs I left live edges on…it was a bit of an adventure to say the least ;0). But did work eventually. Once the epoxy decided it would in fact cure, I had tons of cleanup to deal with.

It took hours of sanding and planing to get the extra epoxy cleaned up. I killed my trusty Makita sander on this project, it went down in almost flames (started smoking) and I had to buy a replacement. Enter the wish for buying a slab flattening mill to help with these kinds of projects.
I’d had a few paying jobs over the course of the summer so I started collecting the other things I would need for a mill. First on the list was a dedicated router for the mill, then a Spoilboard router bit. Finally the day arrived when I felt I had enough cash in hand to order the mill itself.

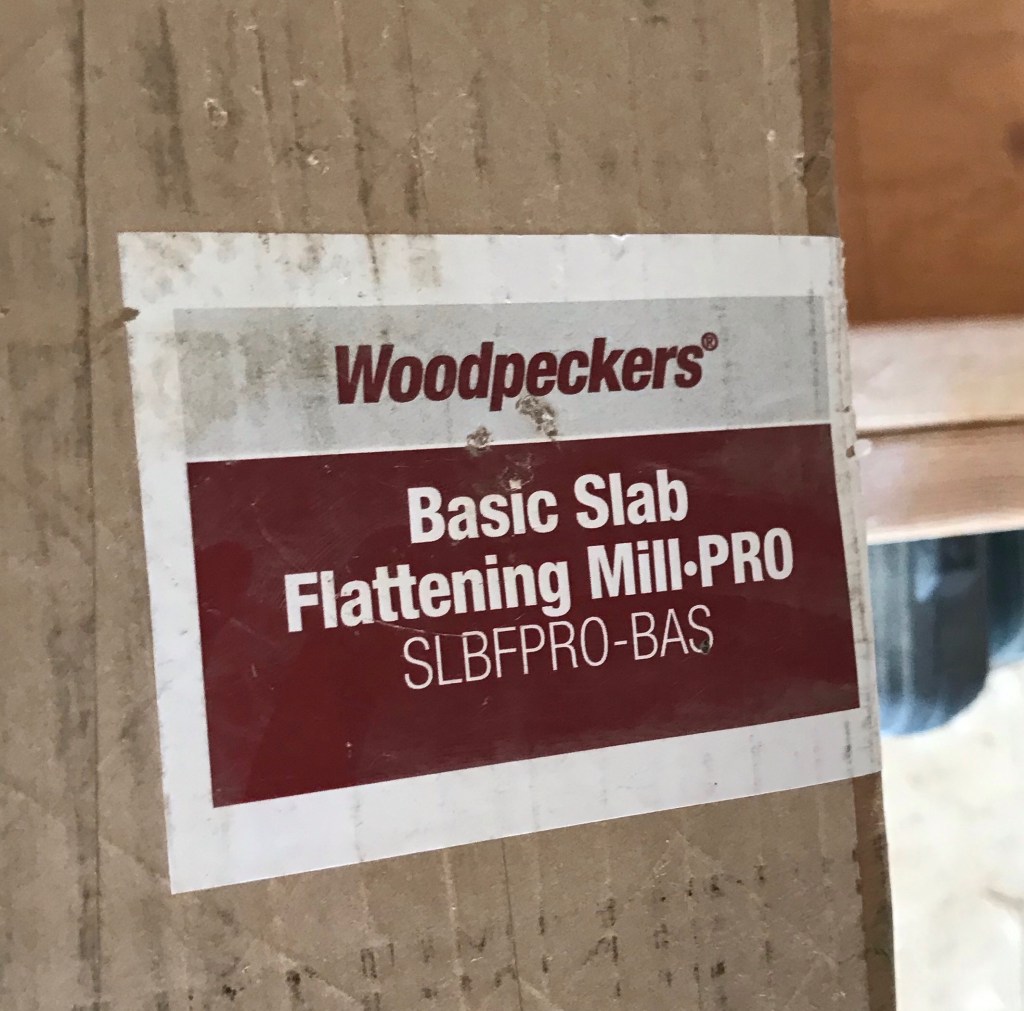
I won’t lie, the box was heavy and used the tractor to move it from the porch where UPS left it to get it closer to the shop. Then came the exciting part of opening the packages and starting to assemble the mill.

There were lots of parts to put together with this thing….so many parts ;0). At one point in the assembly it says to build a simple wooden box to aid in the process and storage of the mill. And I had to give up for the day because the table saw looked like this:

It’s easy to unload plywood from the back of a pickup onto the table saw….but getting it anywhere else in the shop is usually a two person job, so I had to wait for help in order to move forward.
It probably took a full day to get everything assembled on the mill. Nothing difficult, but lots of pieces to put together and screw to put in by hand so they wouldn’t strip out. Finally I had a mill and a project to try it out on!

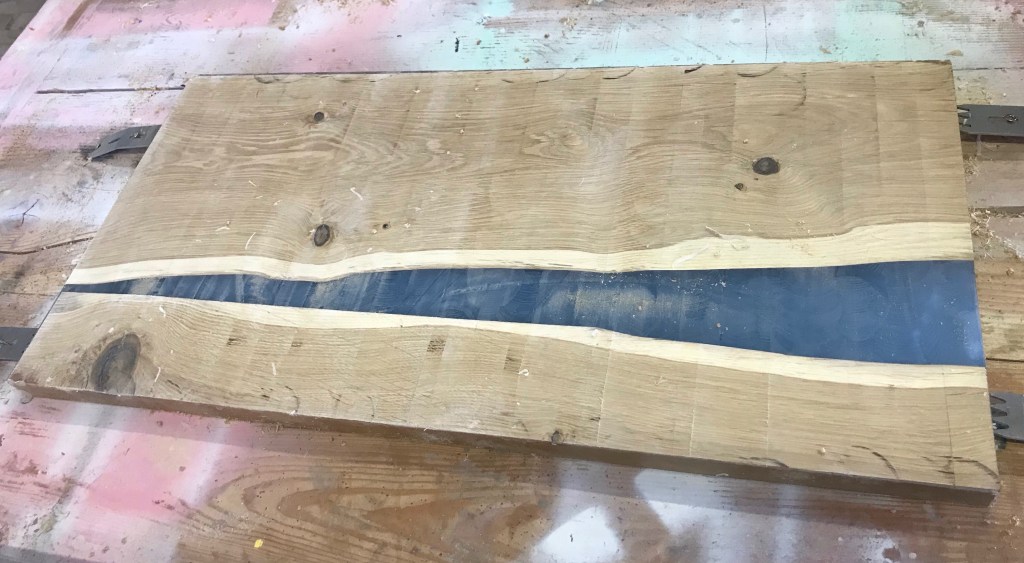
There was left over epoxy when I made the first river table, so we scrambled as fast as we could to make a second mold and then threw in some wood…it leaked a little since the silicone didn’t have time to set, but we did end up with something :0).

There is still a fair amount of work involved using the mill, with a heavy router and 2” bit that you are pushing and pulling on the sled it can take some getting used to to advance the mill the appropriate amount per pass. Even with all of that I had this little project flattened on both sides in a fraction of the time that I spent on the table.

It still needs to be sanded before it can be finished and that is a project for another day. Next up is getting that pile of plywood converted into a new covering for this old sheep camp.

Don’t forget to hit the follow button, or like my page on Facebook “Girl with a Hand Plane” for more projects and tips!

